My first Dungeon Diorama Board setups
Looking Back: First Setups from the “Curse of the Citadel” Campaign In this post, I’m looking back at the first of currently three campaigns I launched on MyMiniFactory – “Curse of the Citadel”. The diorama set introduced during this initial campaign has continued to evolve ever since. The setups I showcased back then weren’t just […]
Read More
My Temple Diorama Built with 3D-Printed Dungeon Tiles

From Test Build to Full Layout – My Modular Temple Board Journey This project began as a simple experiment: placing two freestanding temple structures made from my modular “Curse of the Citadel” 3D-printable dungeon tile set on a classic grass-matted gaming board measuring 210 x 140 cm. I wanted to see how well these tiles […]
Read More
Storage – the foundation for setup creations!

Keeping all the parts of the set well sorted means that you can quickly find the parts you need. This not only allows for a quick build-up, but also a lot of fun when creating a new layout!I always try to sort the parts back when disassembling a setup and have now developed a fixed […]
Read More
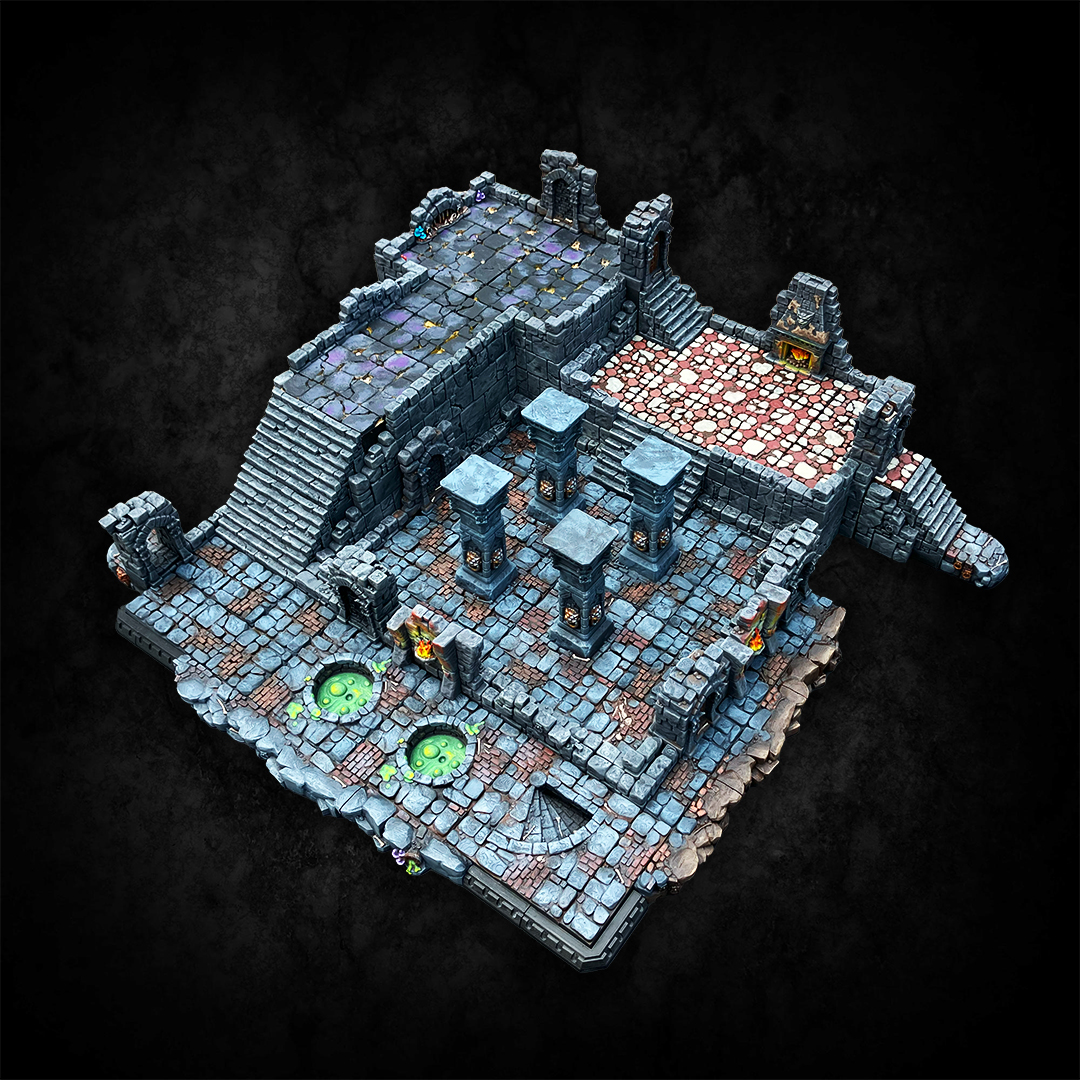
Great Hall Dungeon Setup Guide

Welcome to the first setup guide for a “Cursed Citadel” Dungeon Map. The modular dungeon board consists of 7 areas (A-G). As these are only connected by doors and stairs, the individual areas can be easily pulled apart and moved separately. Below you will find a small assembly documentation for each area, so that you […]
Read More