After applying a black primer, I applied a first coat of brown paint.
2. Some more brown spots!
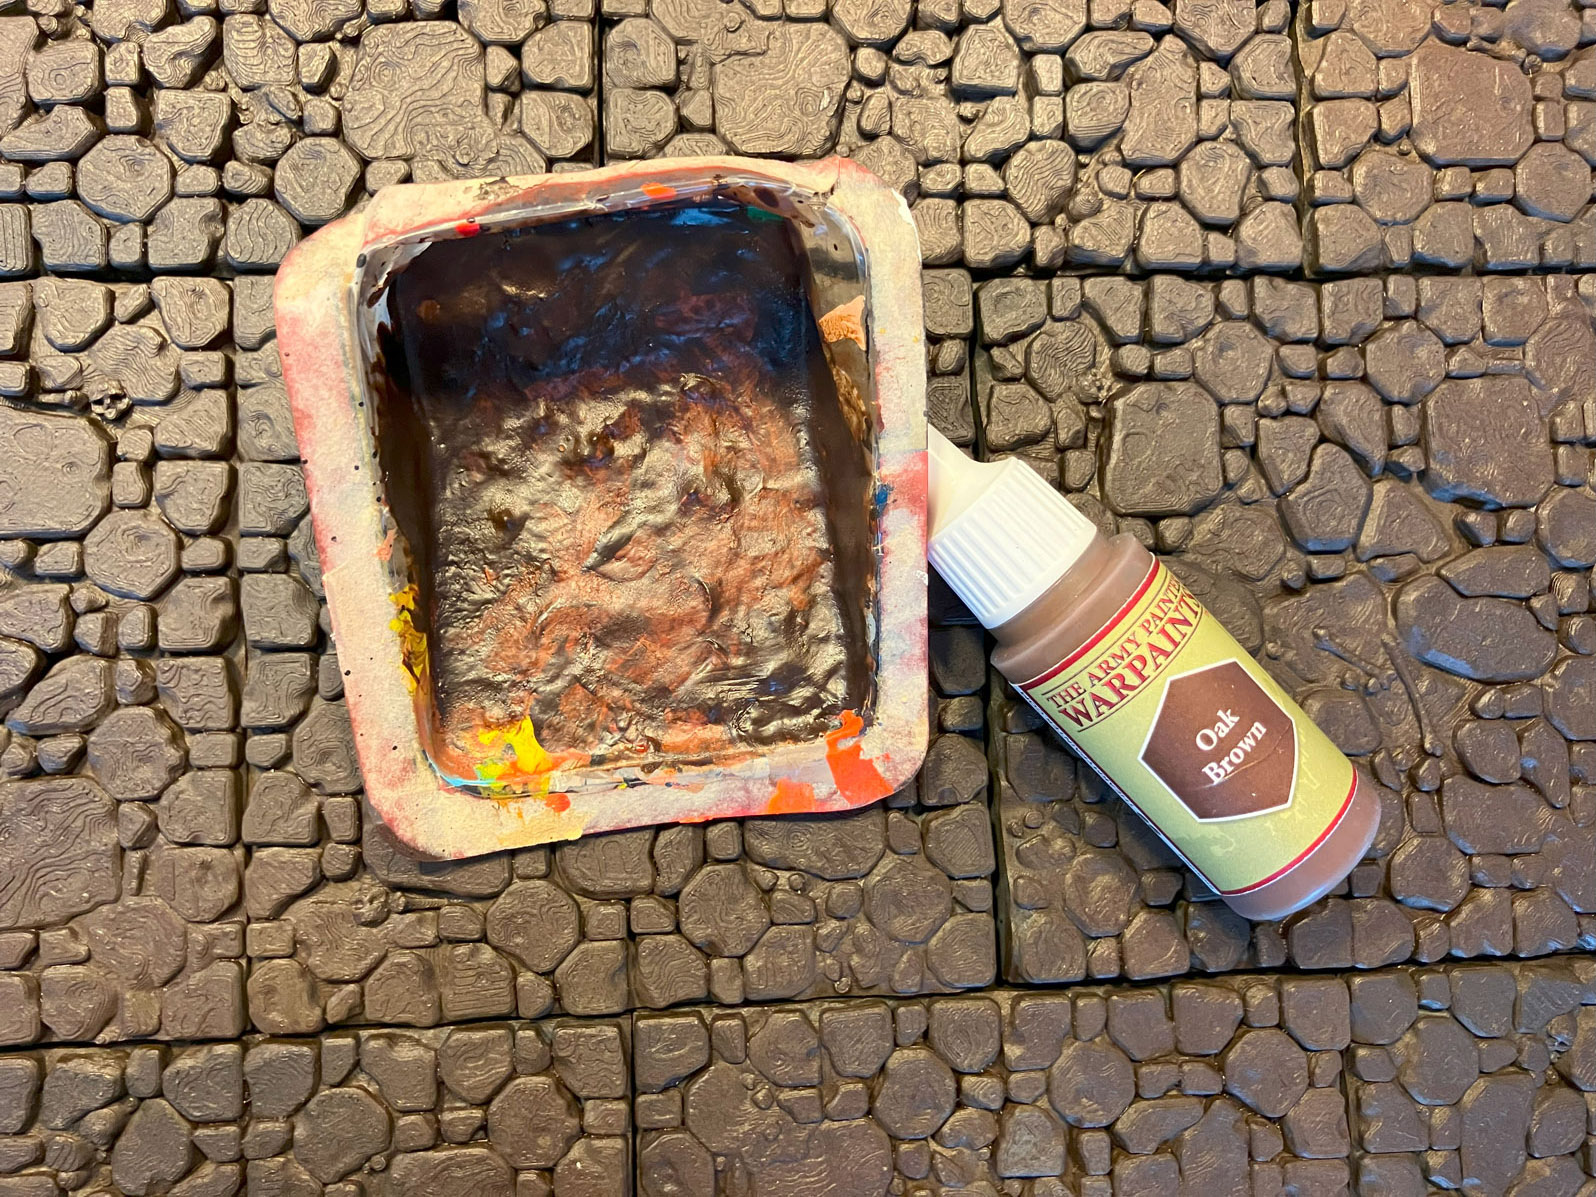
I wasn’t entirely satisfied with the result: So I added some more brown spots with Army Painters Oak Brown and concentrated on the areas where you can see a lot of soil and dirt.
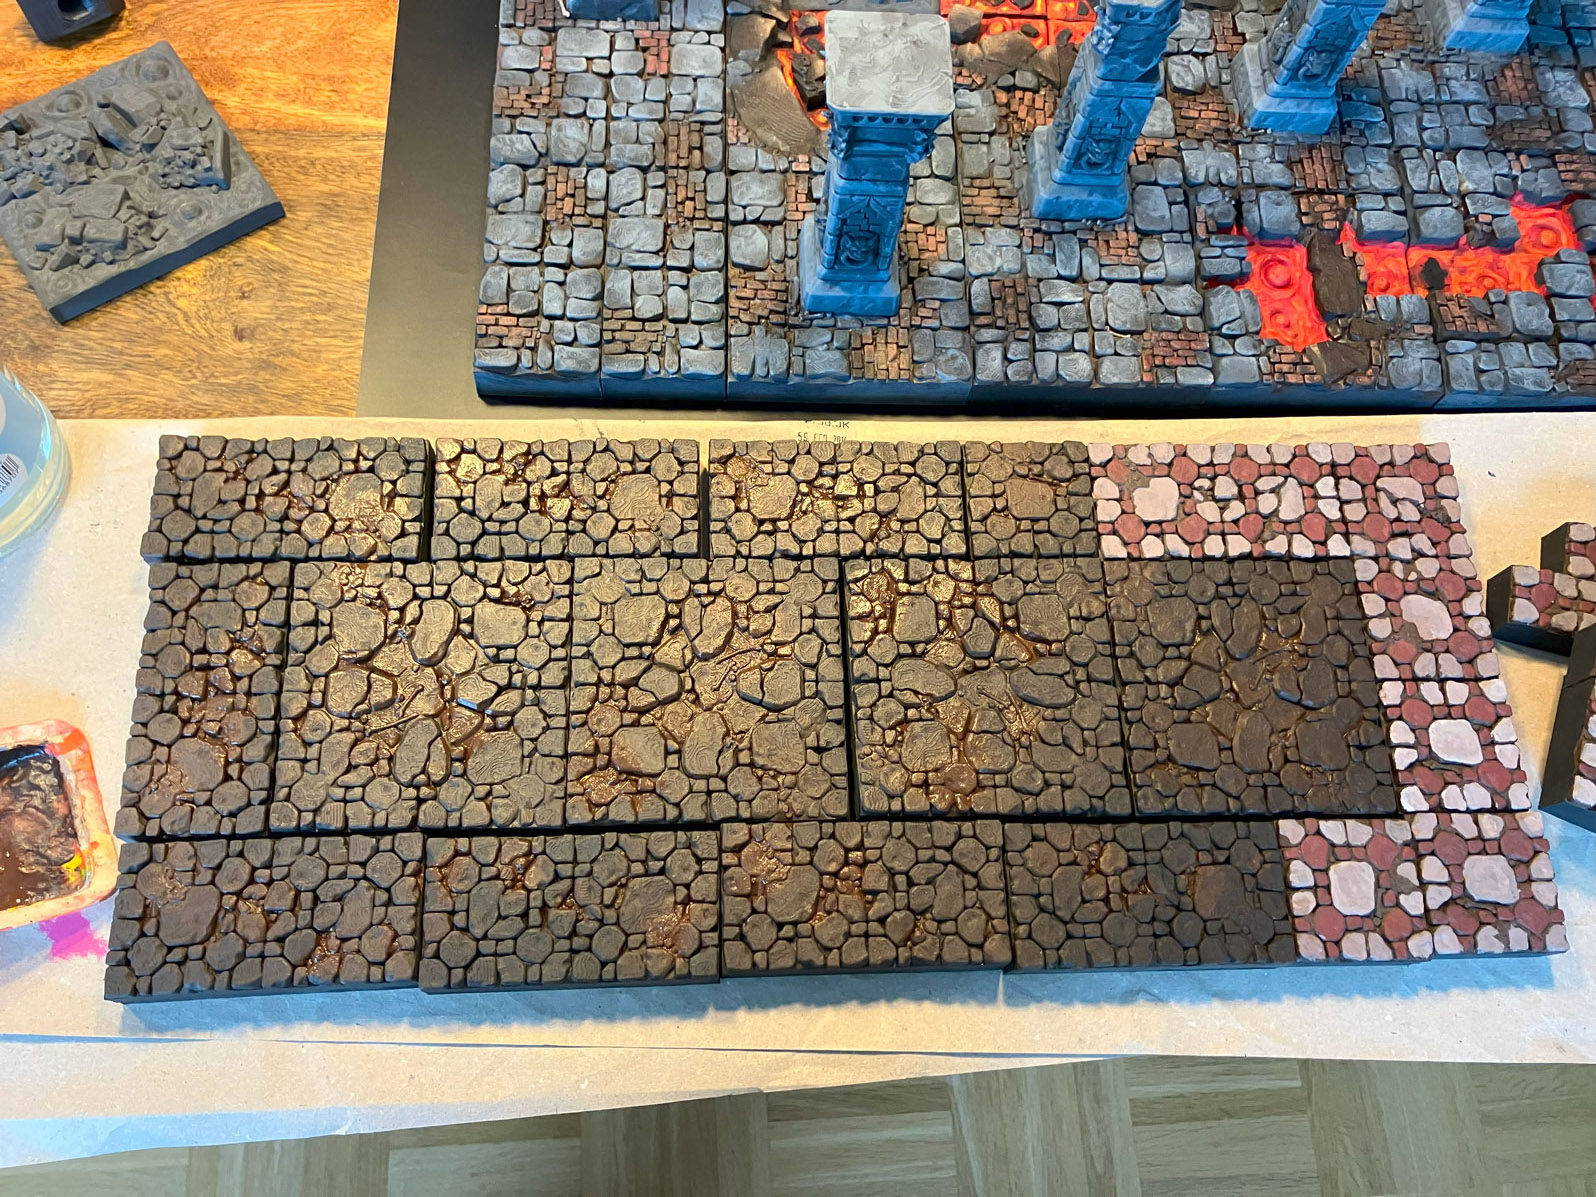
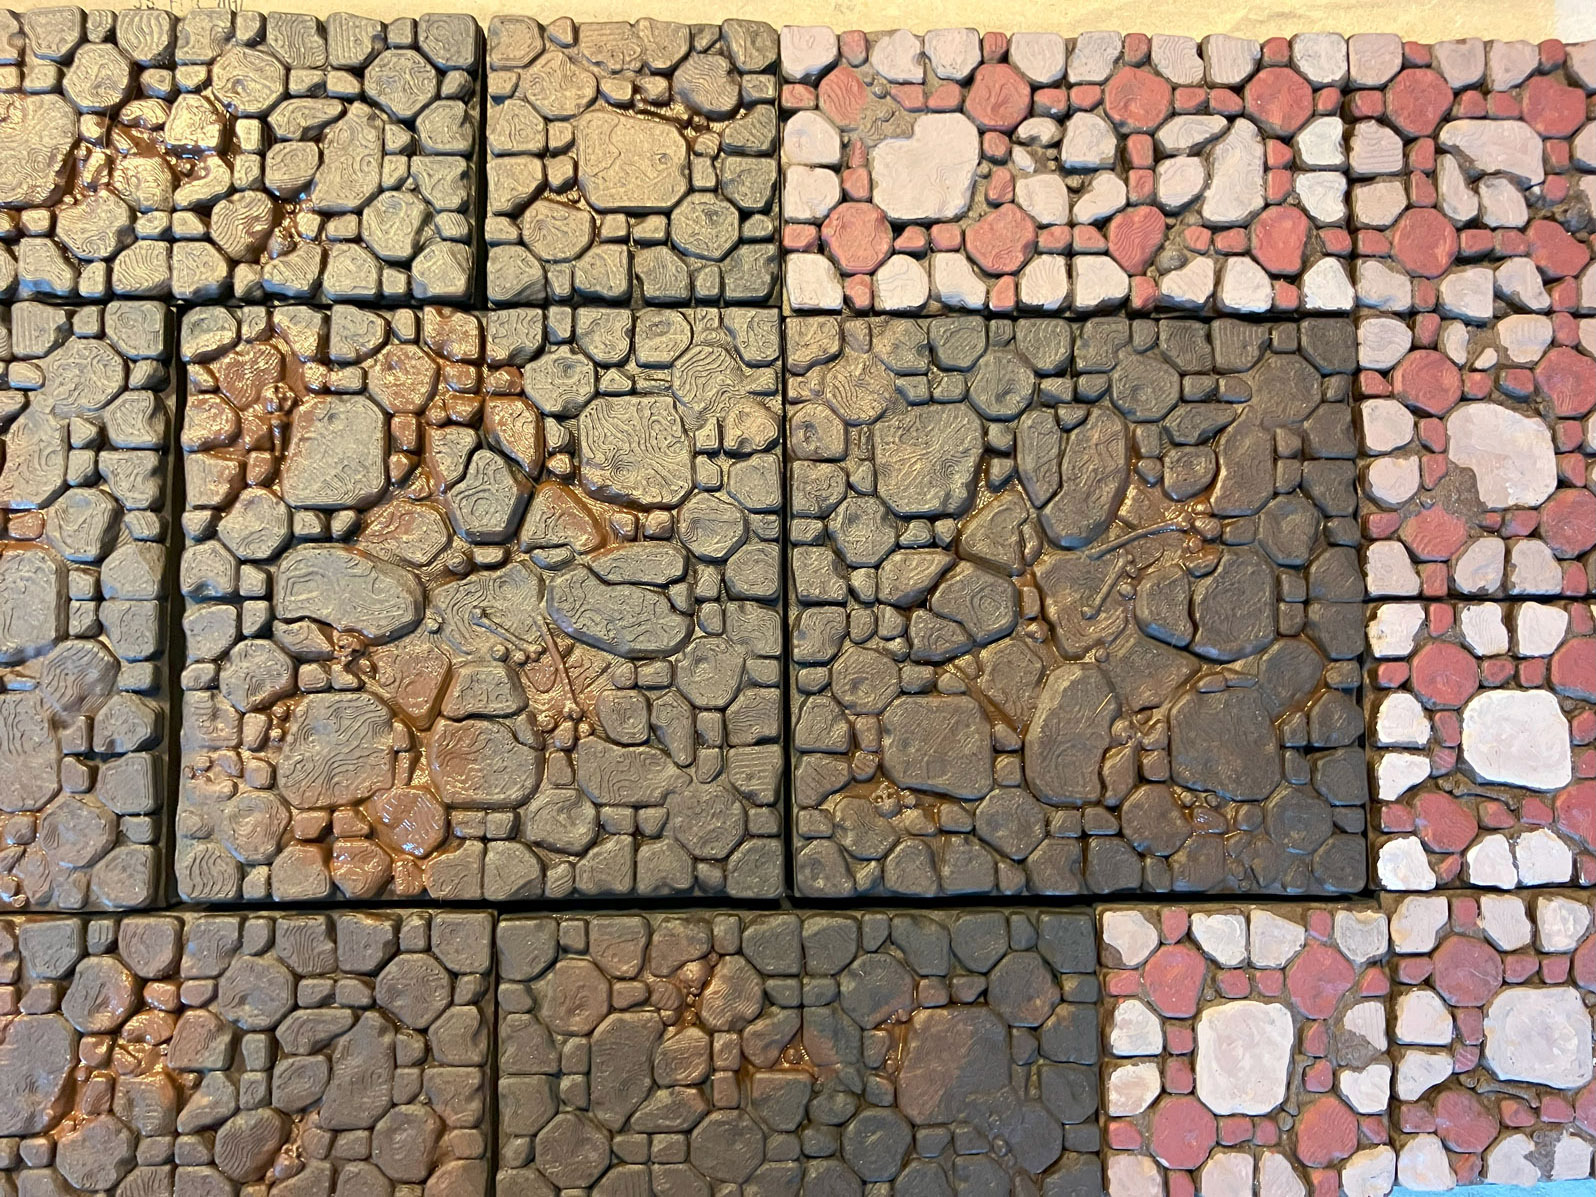
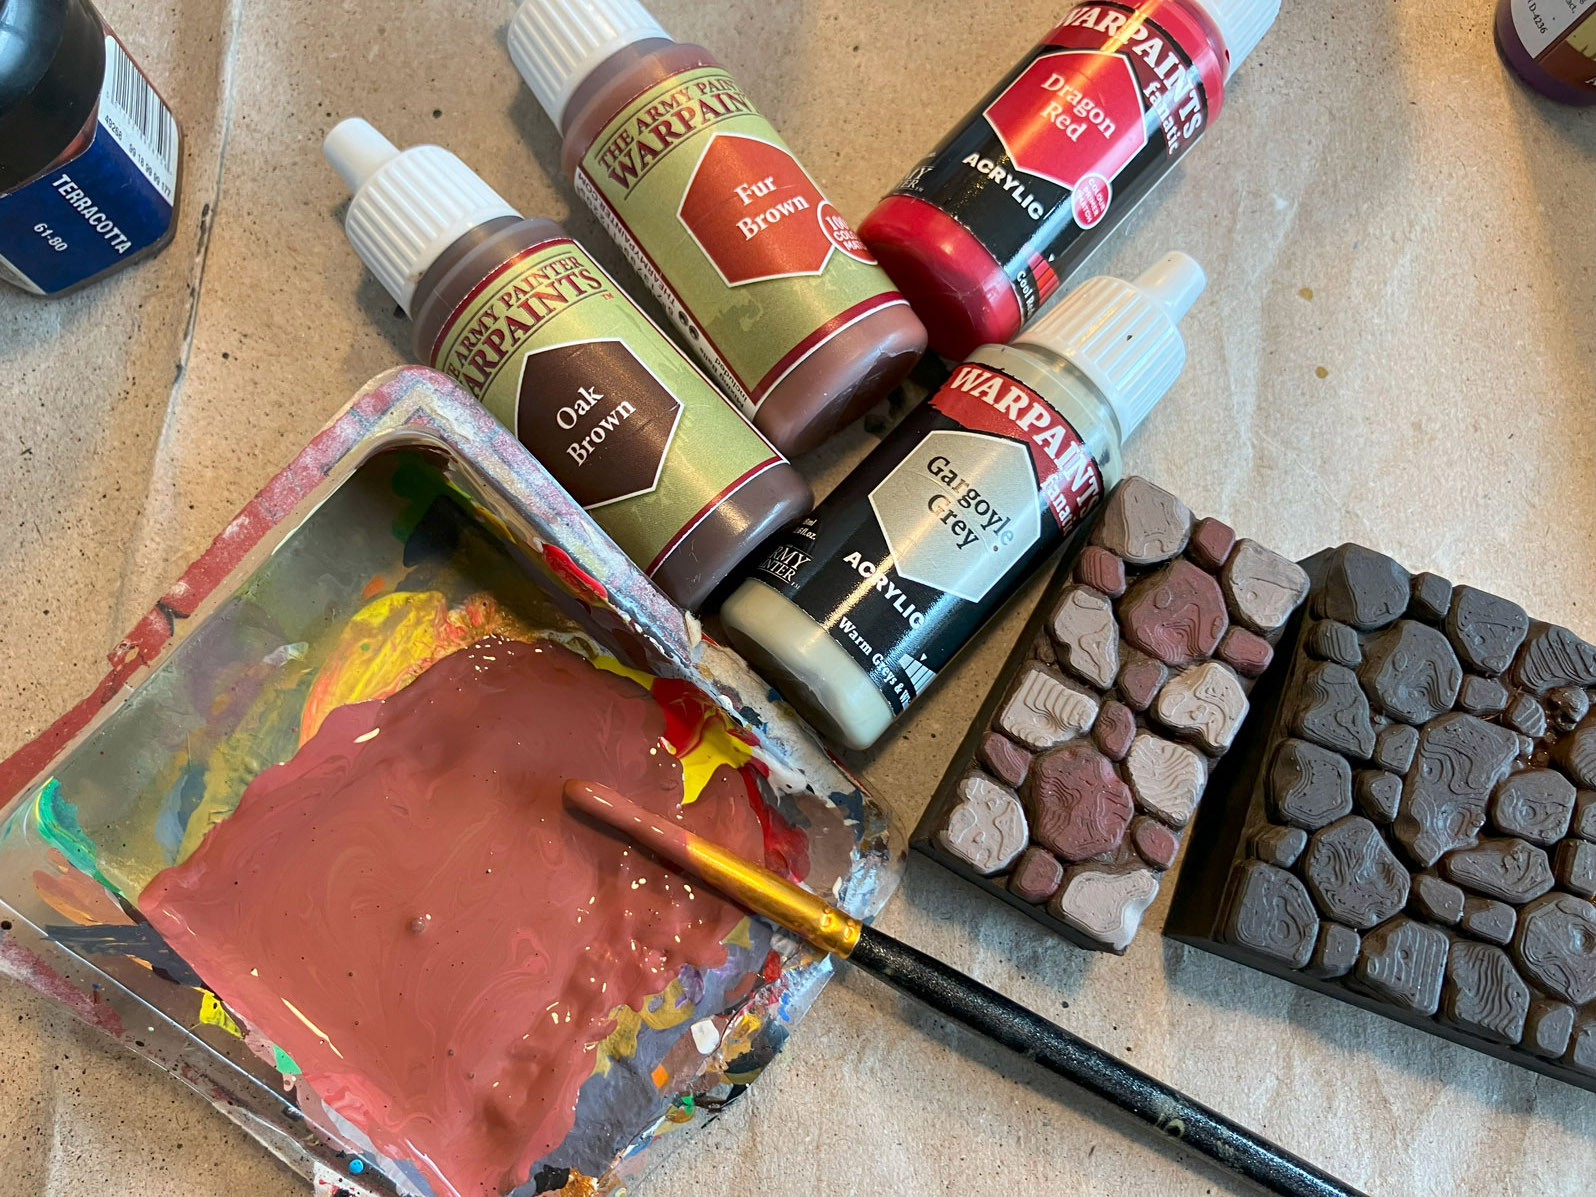
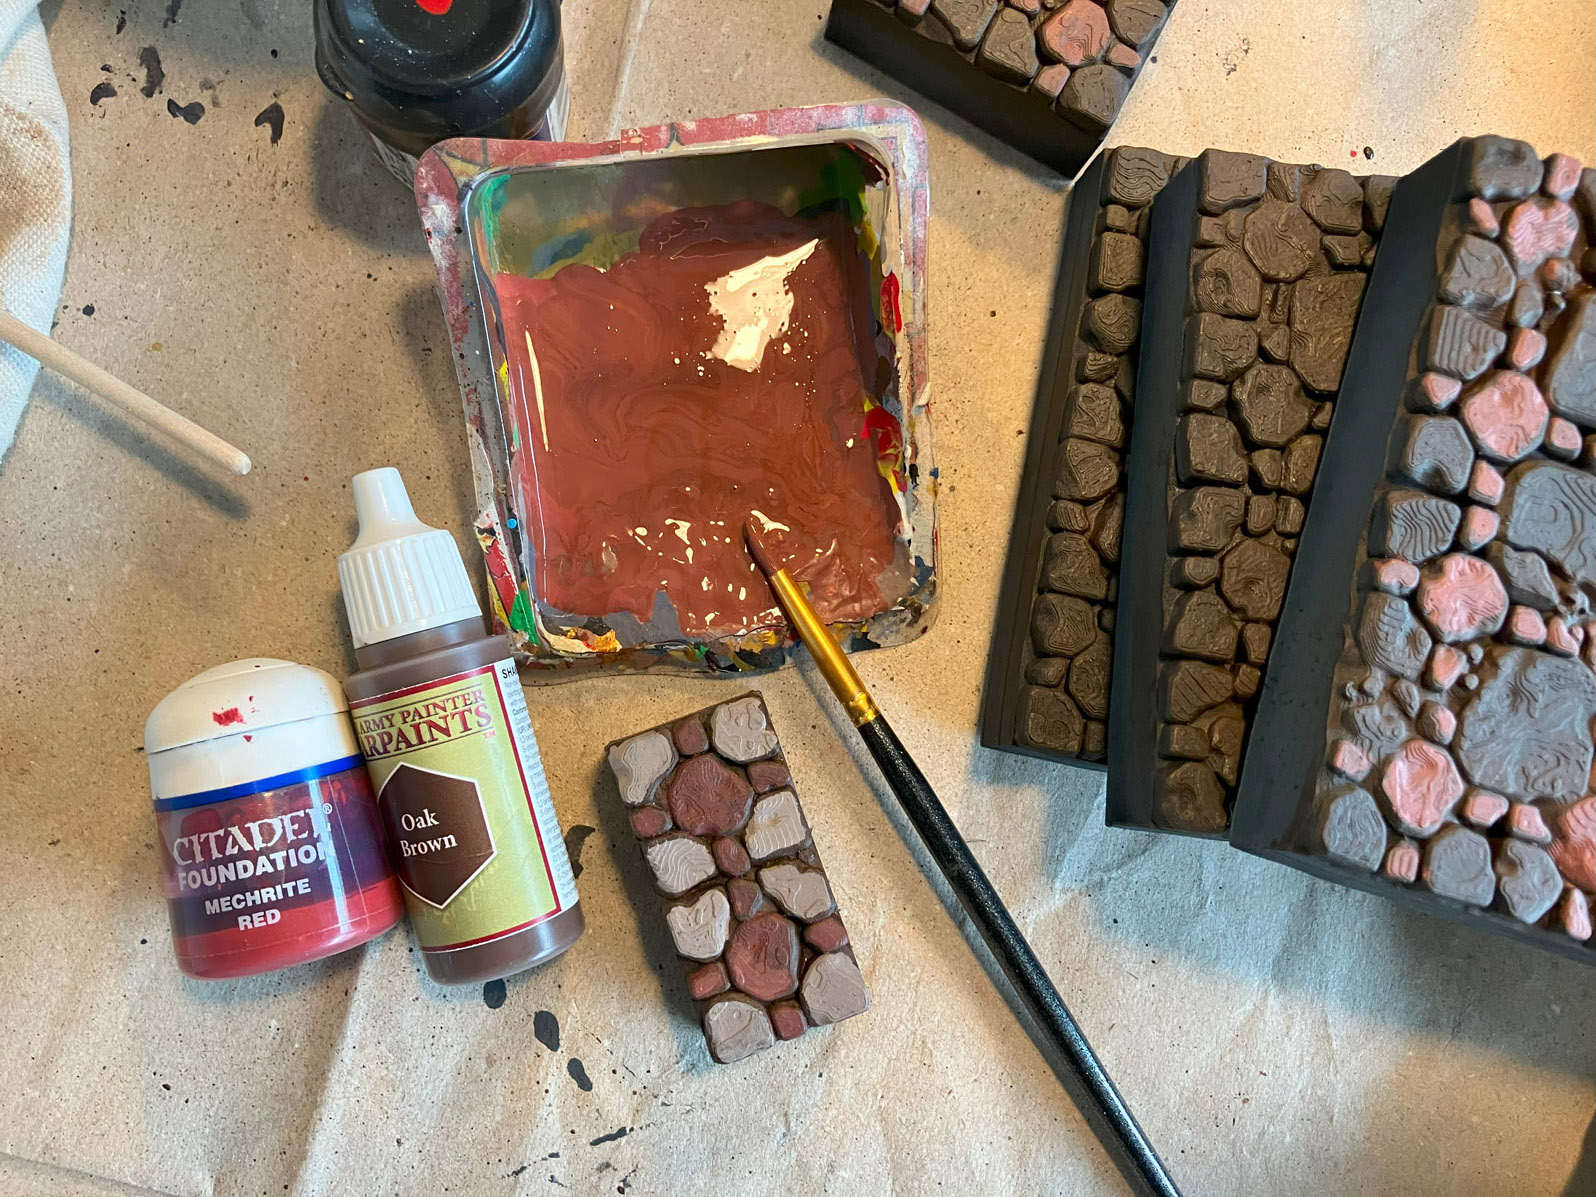
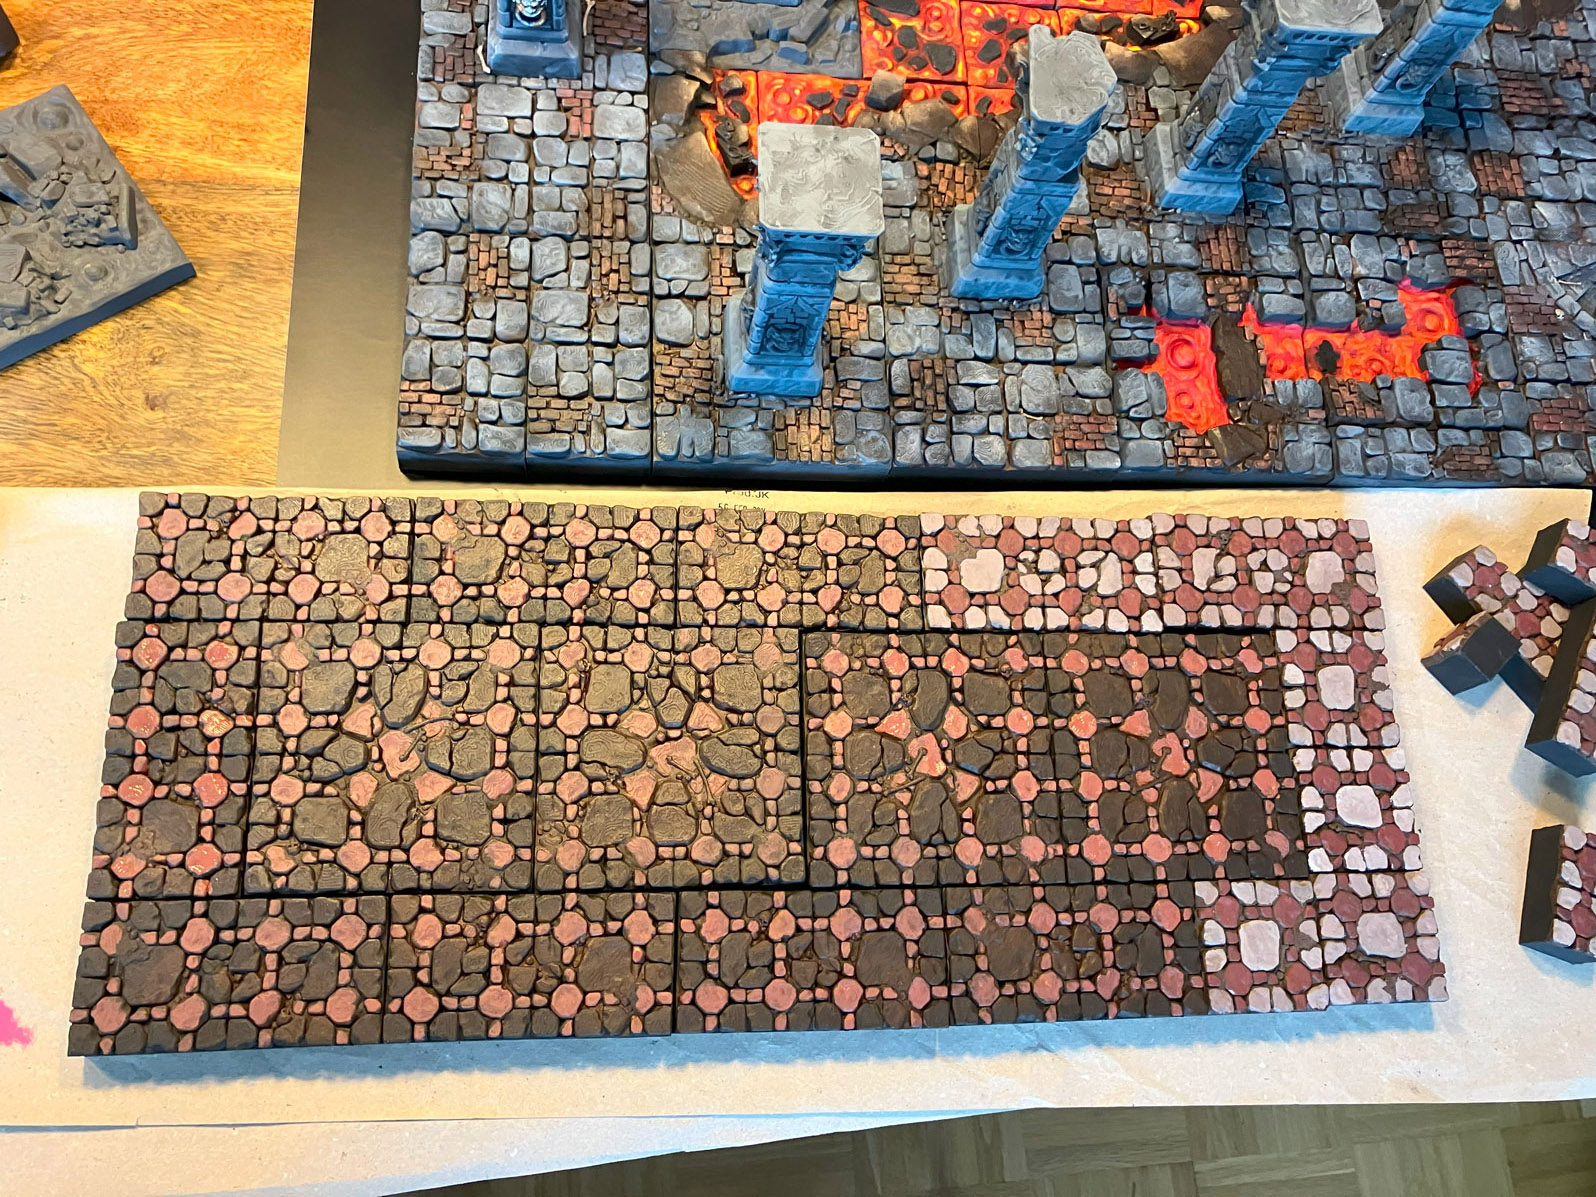
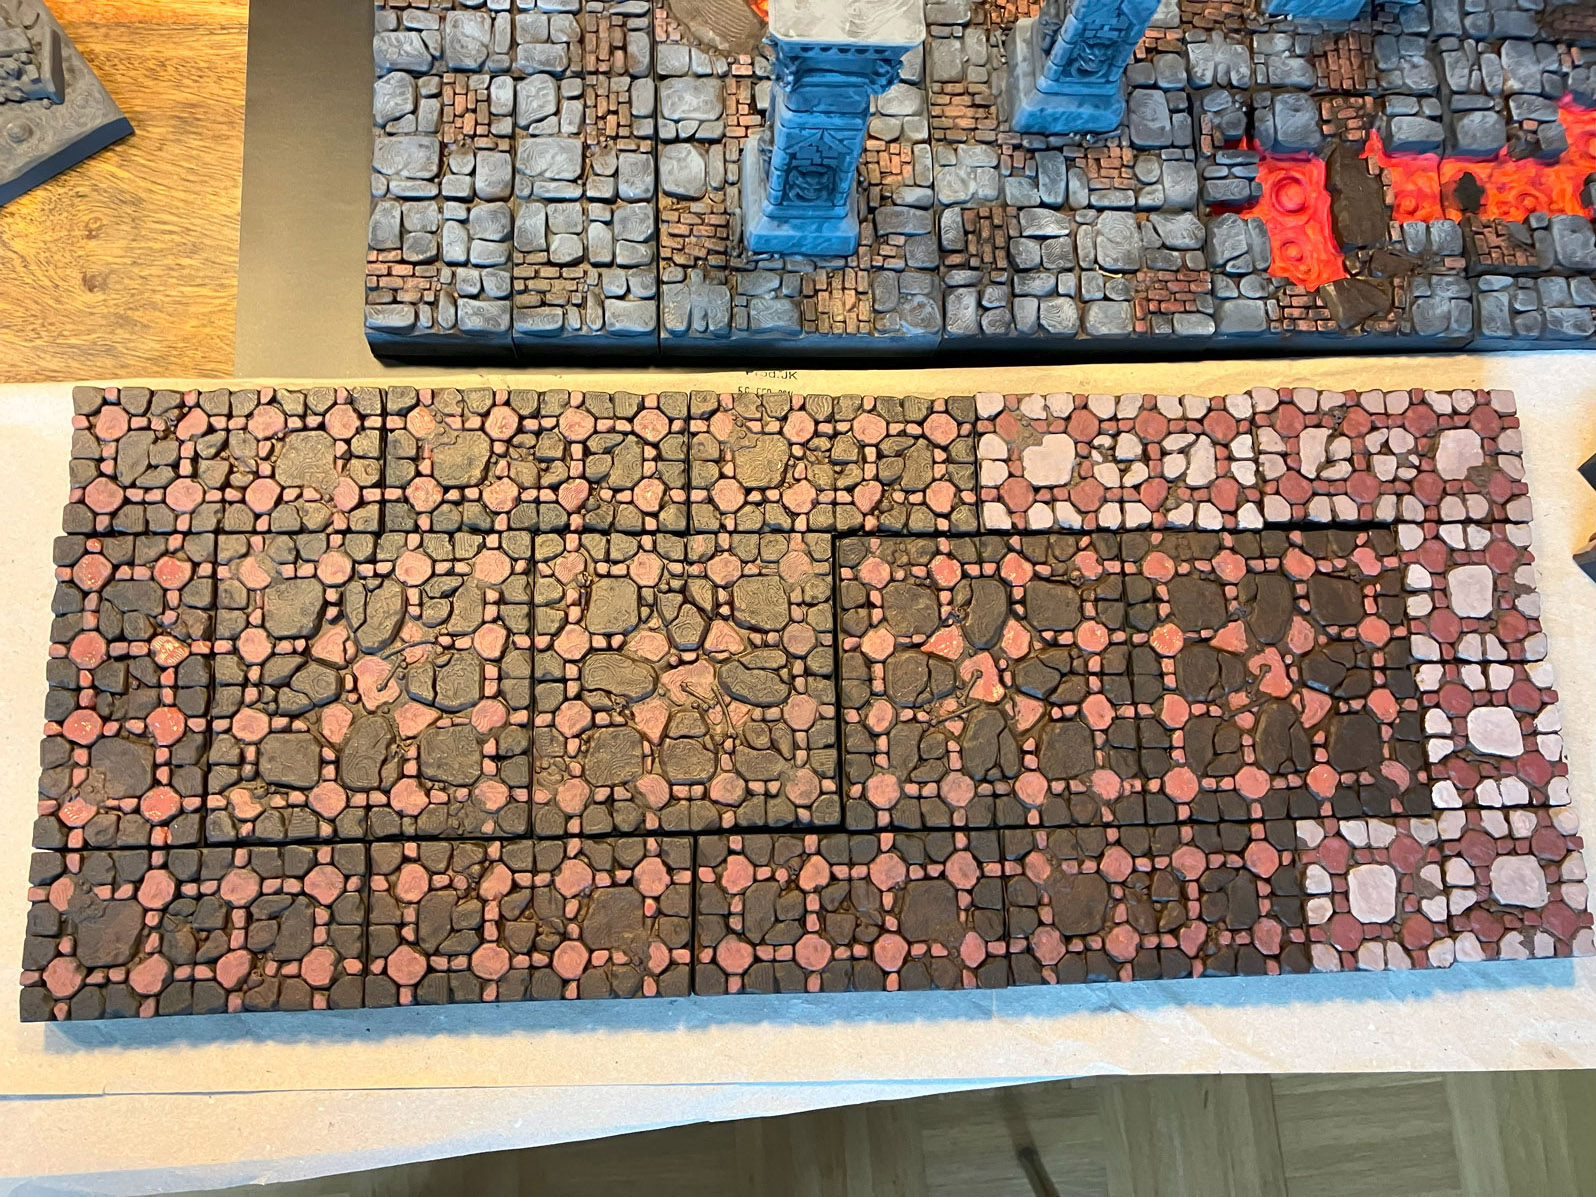
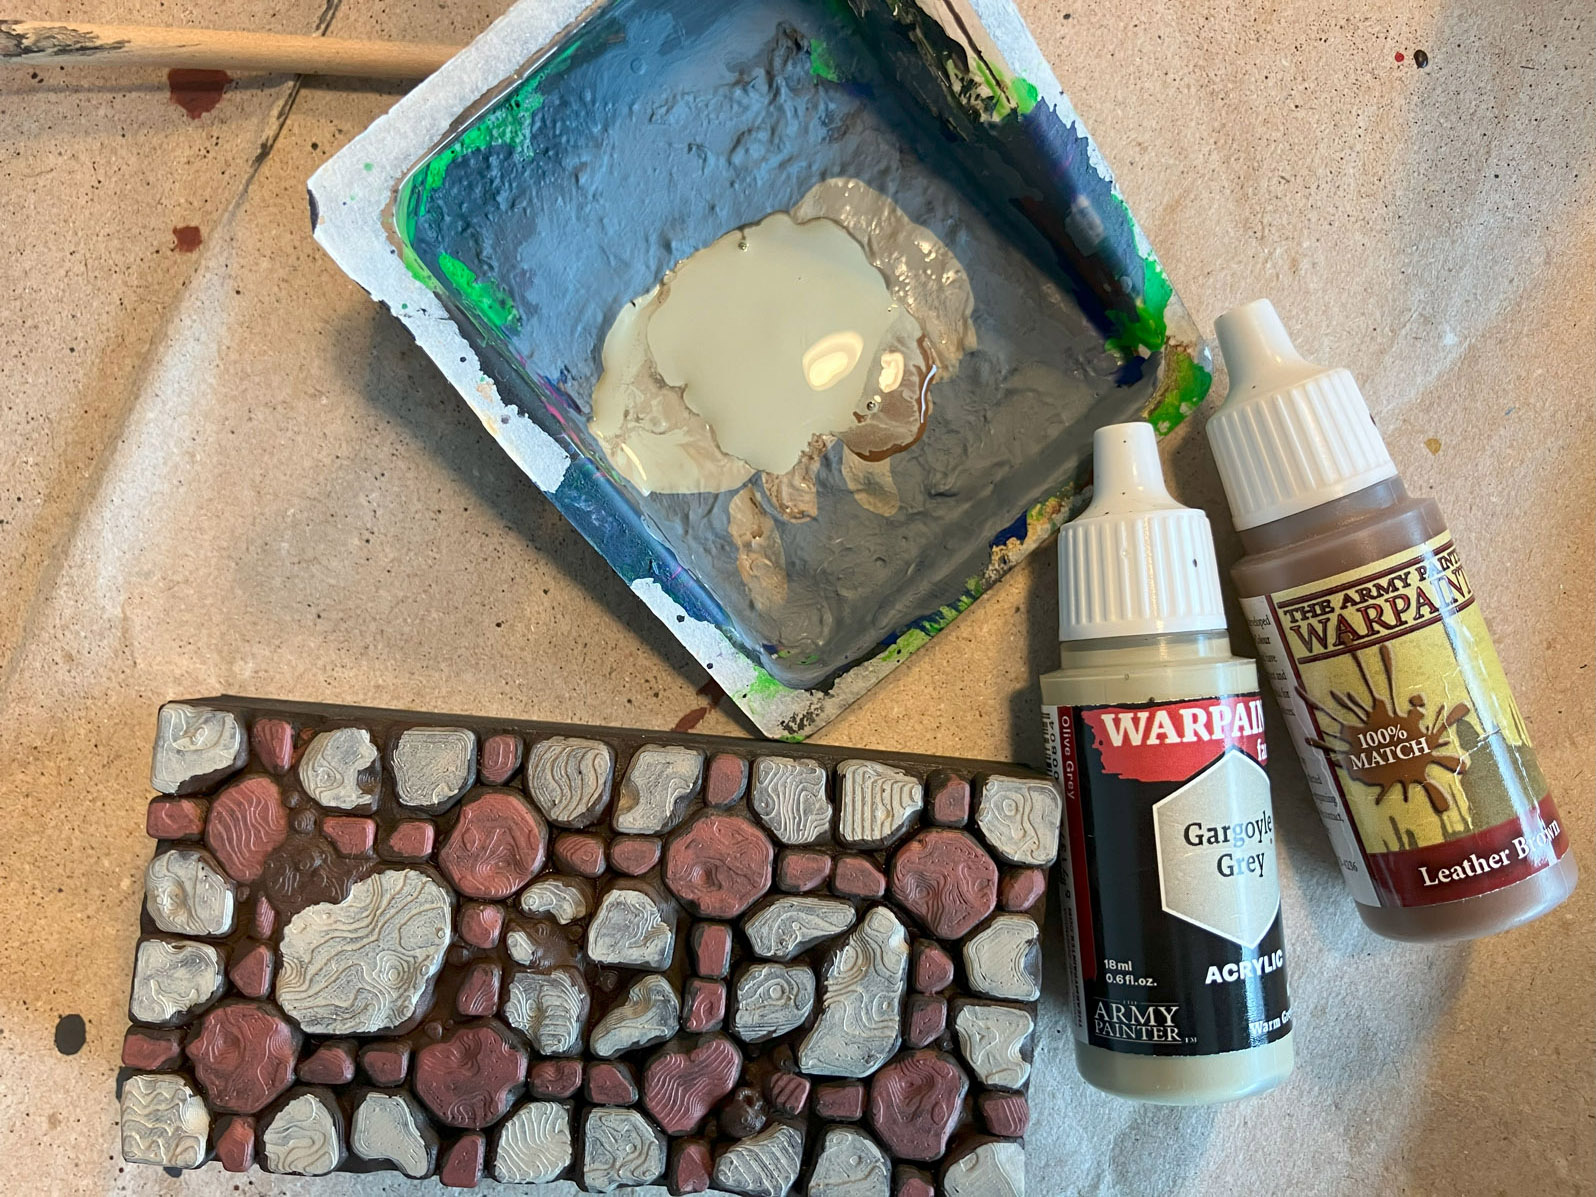
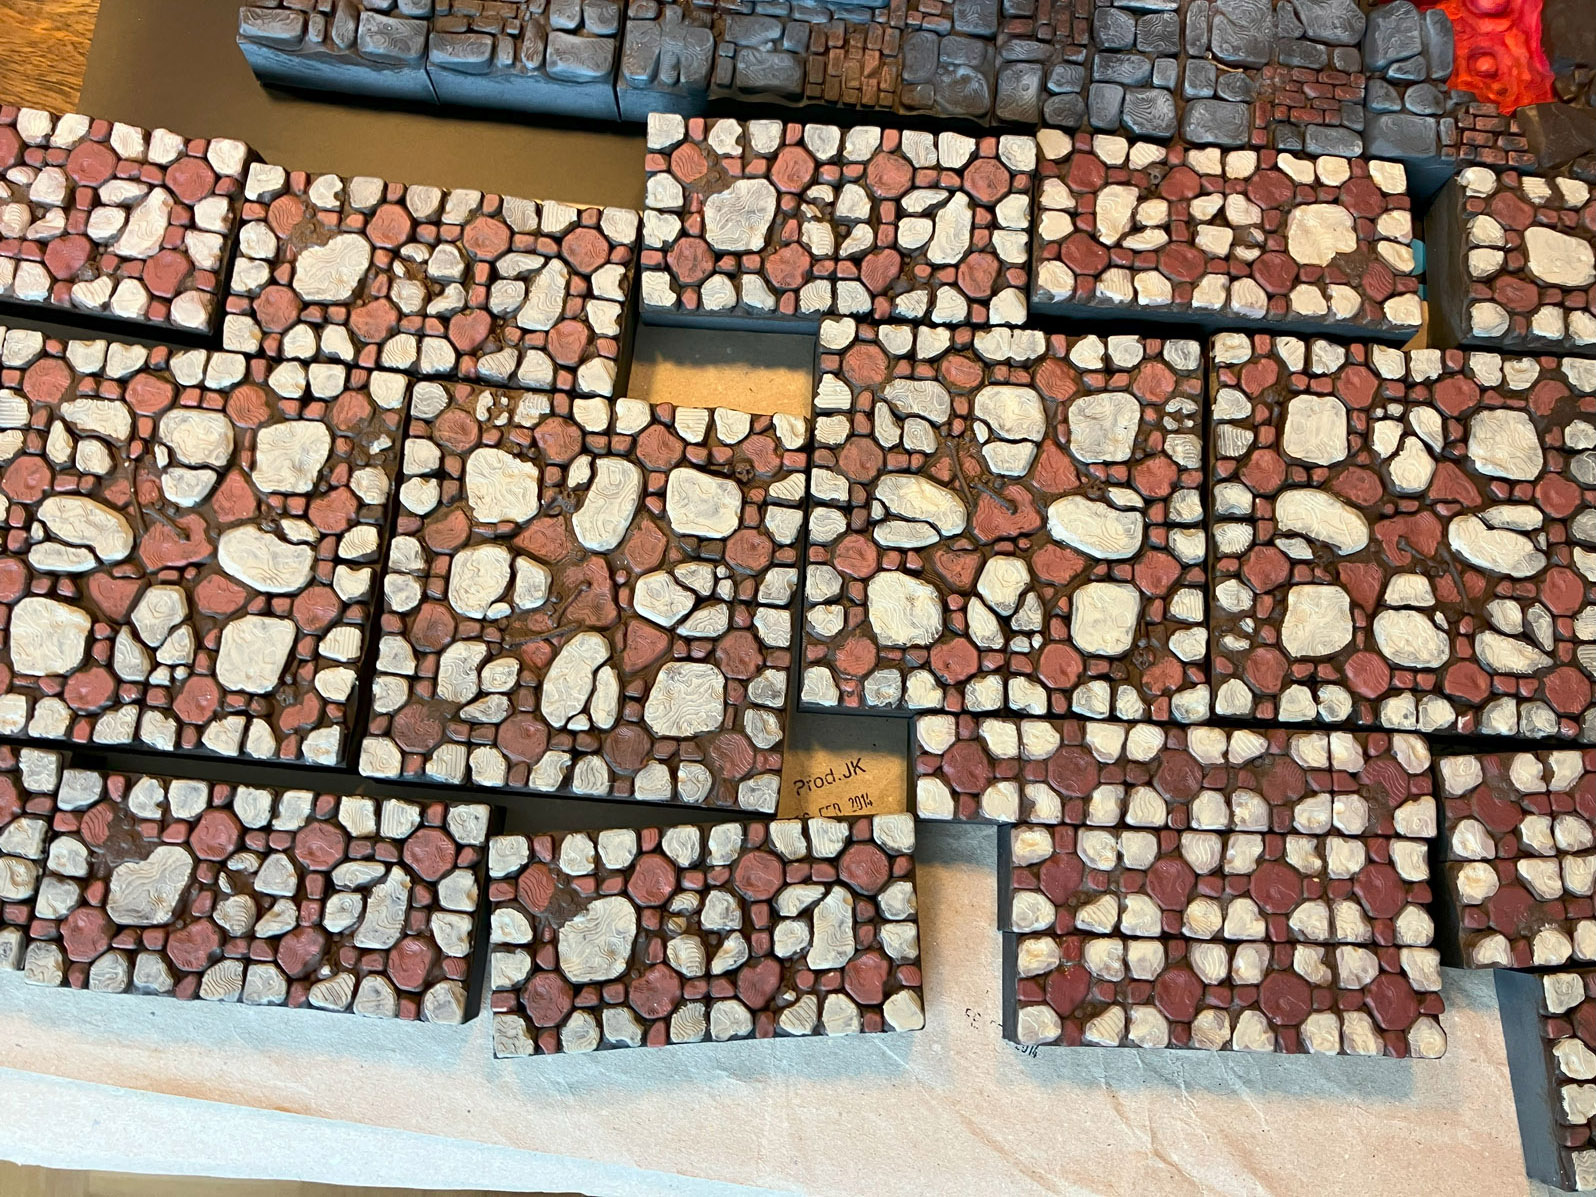
3. Painting the terracotta red.
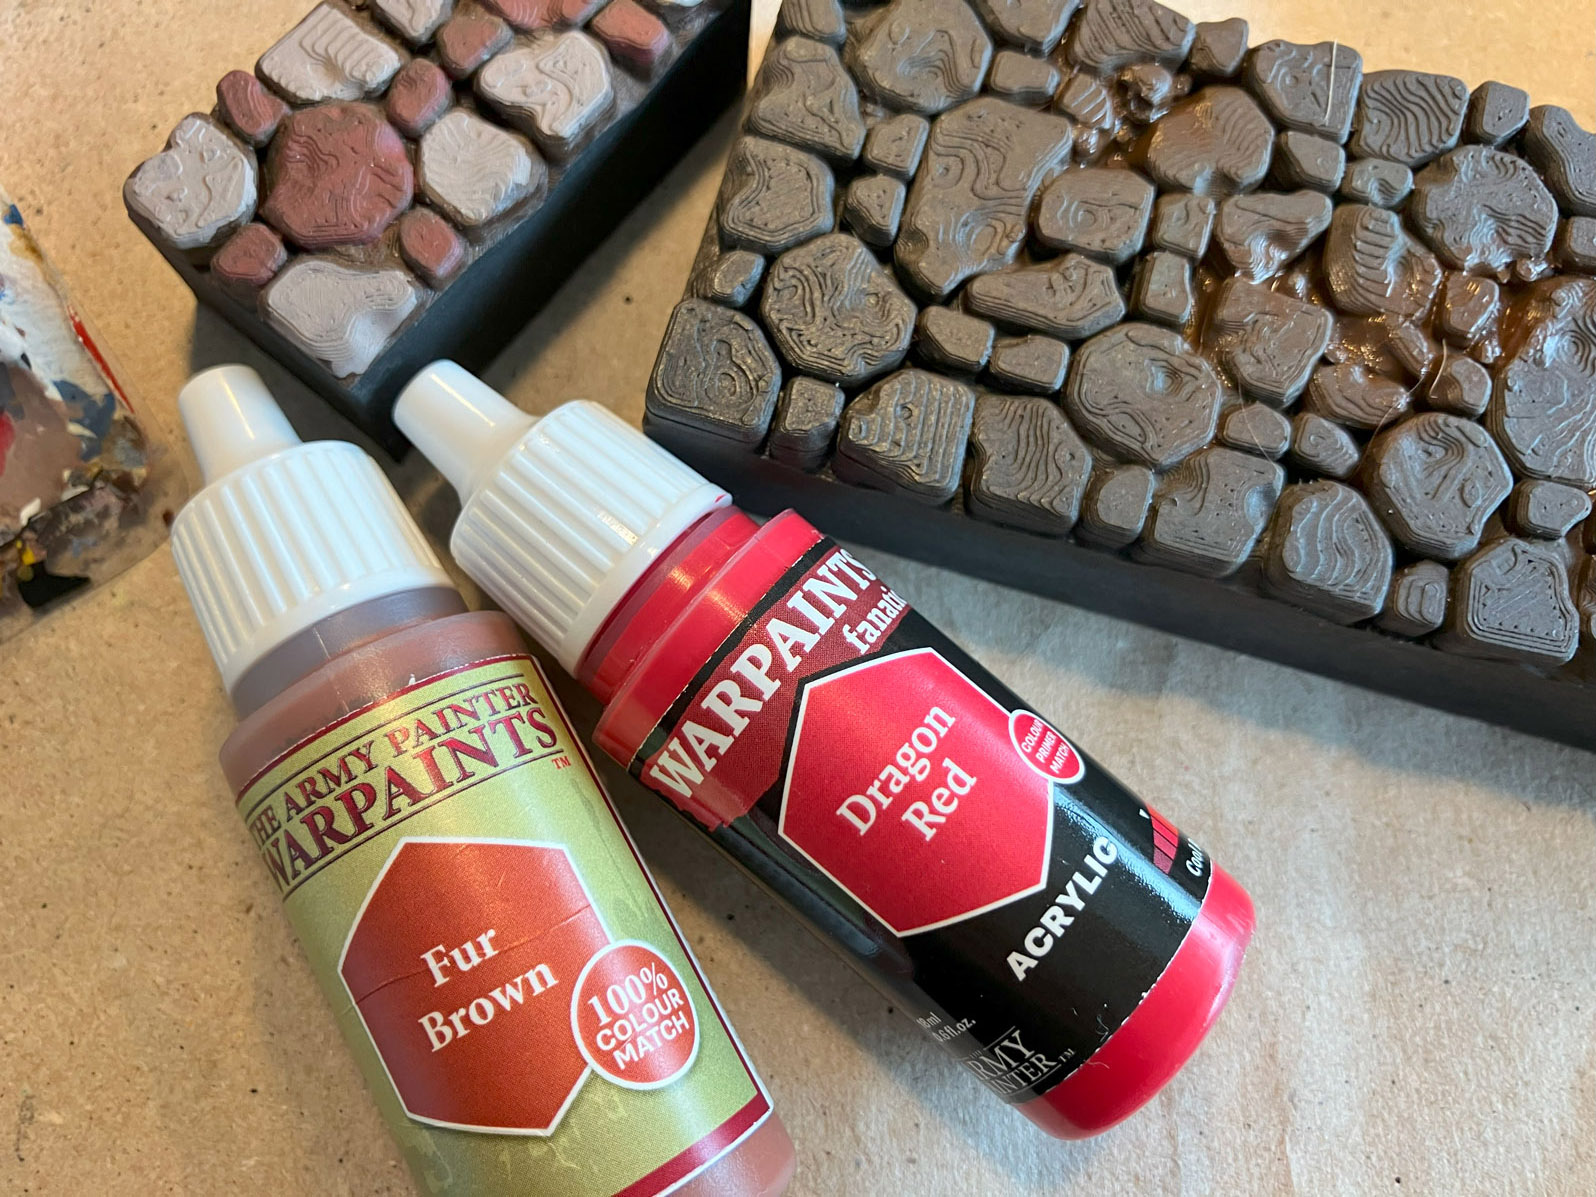
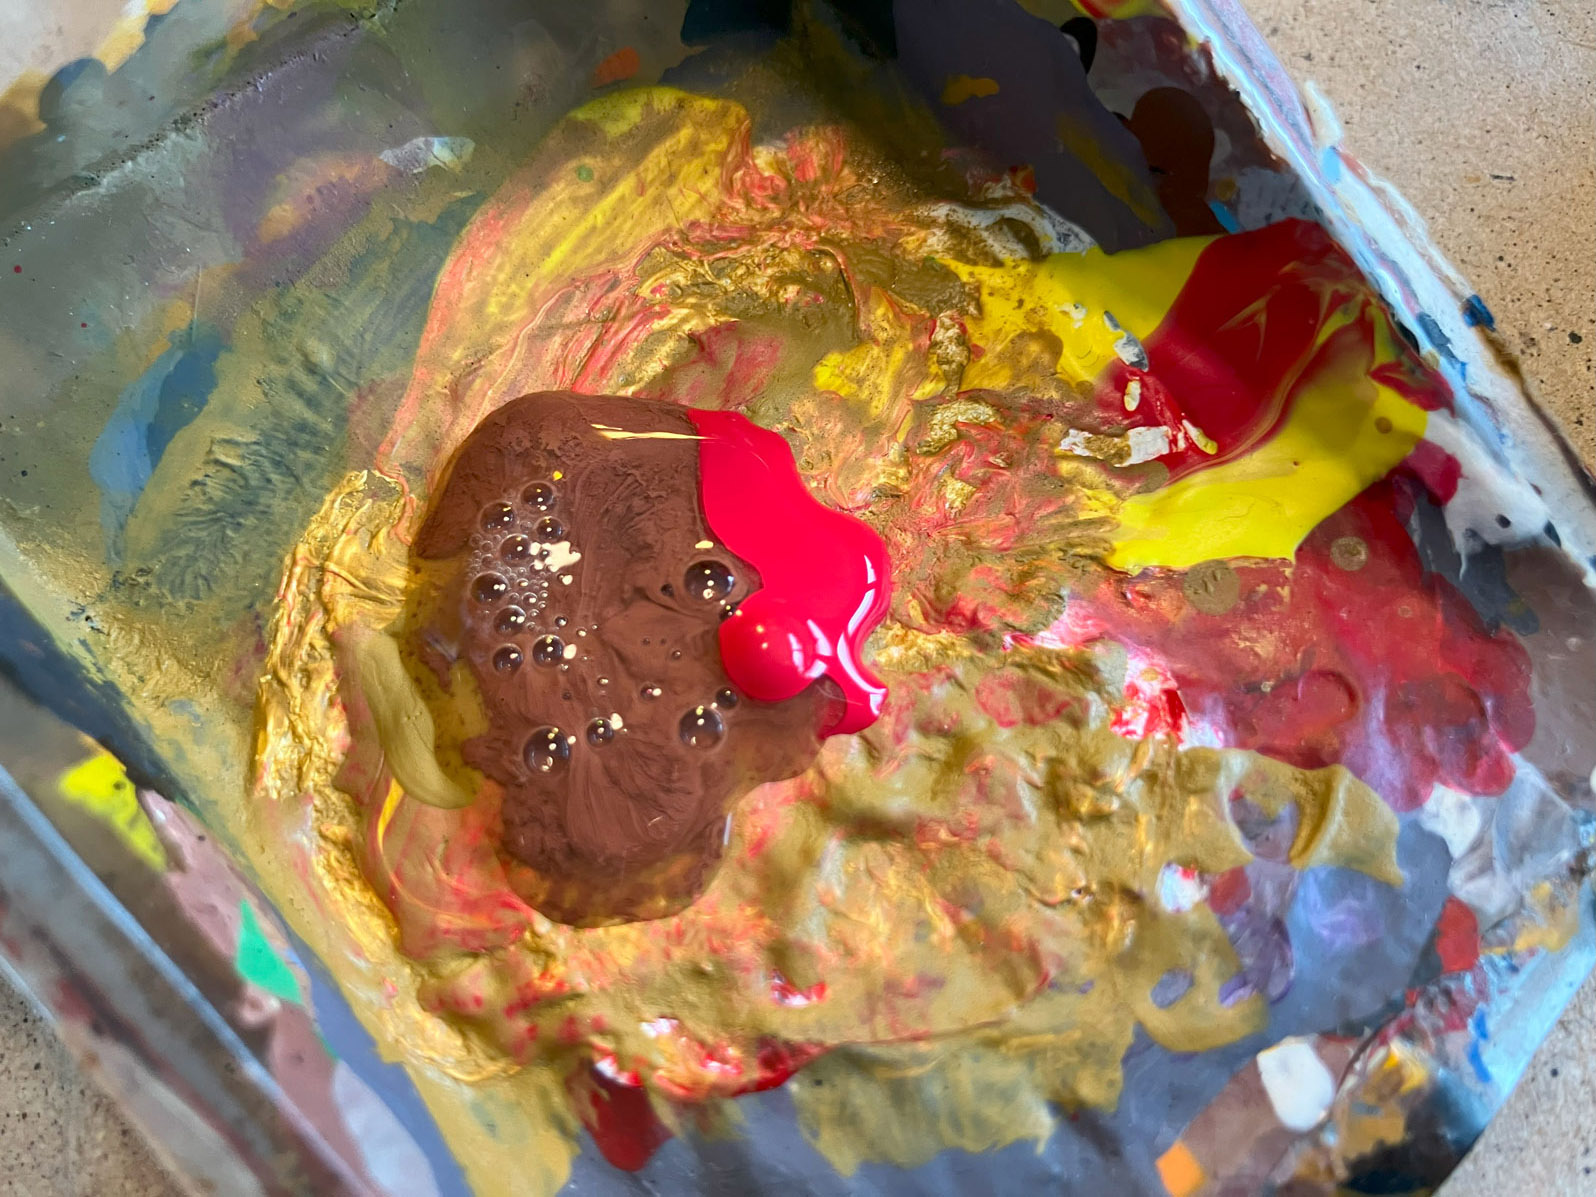
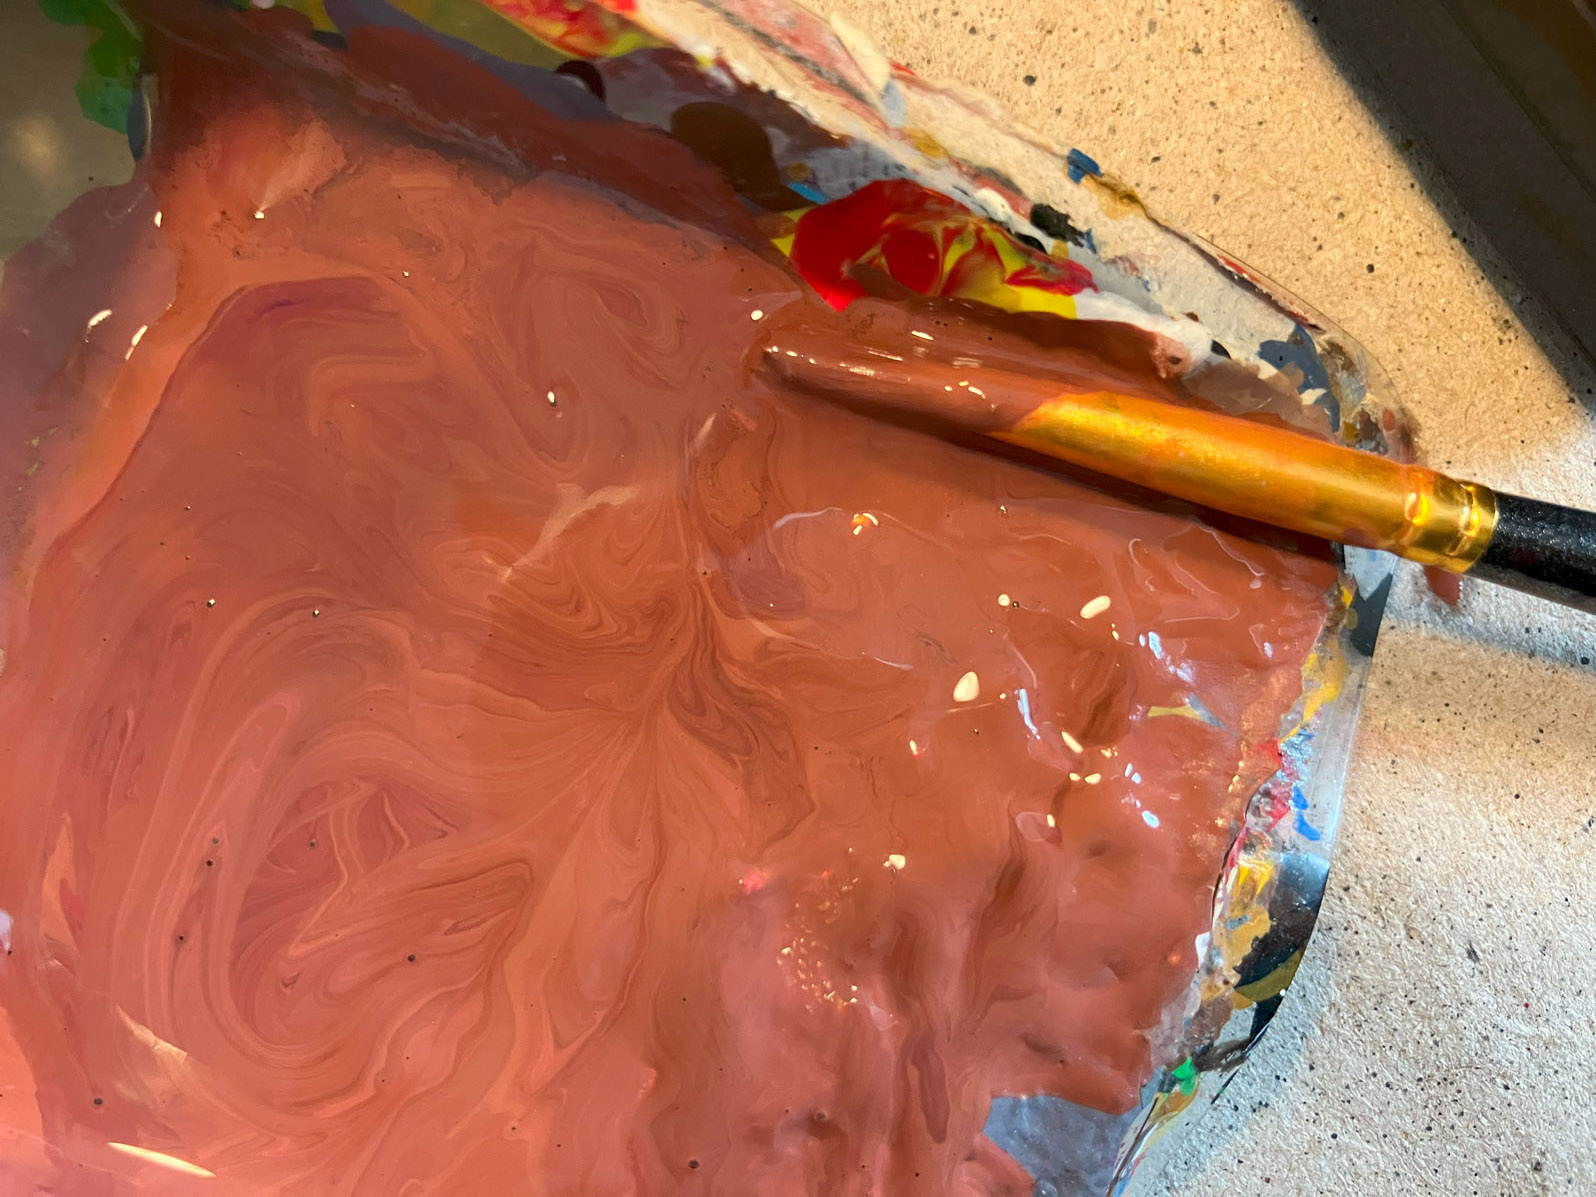
Next, I set about mixing a suitable terracotta clay. As you can see, I needed a few attempts and used various colors. You can use this as a guide or simply use a terracotta color if you have one in stock. Depending on your taste, you can then add some red or brown – whichever you prefer.
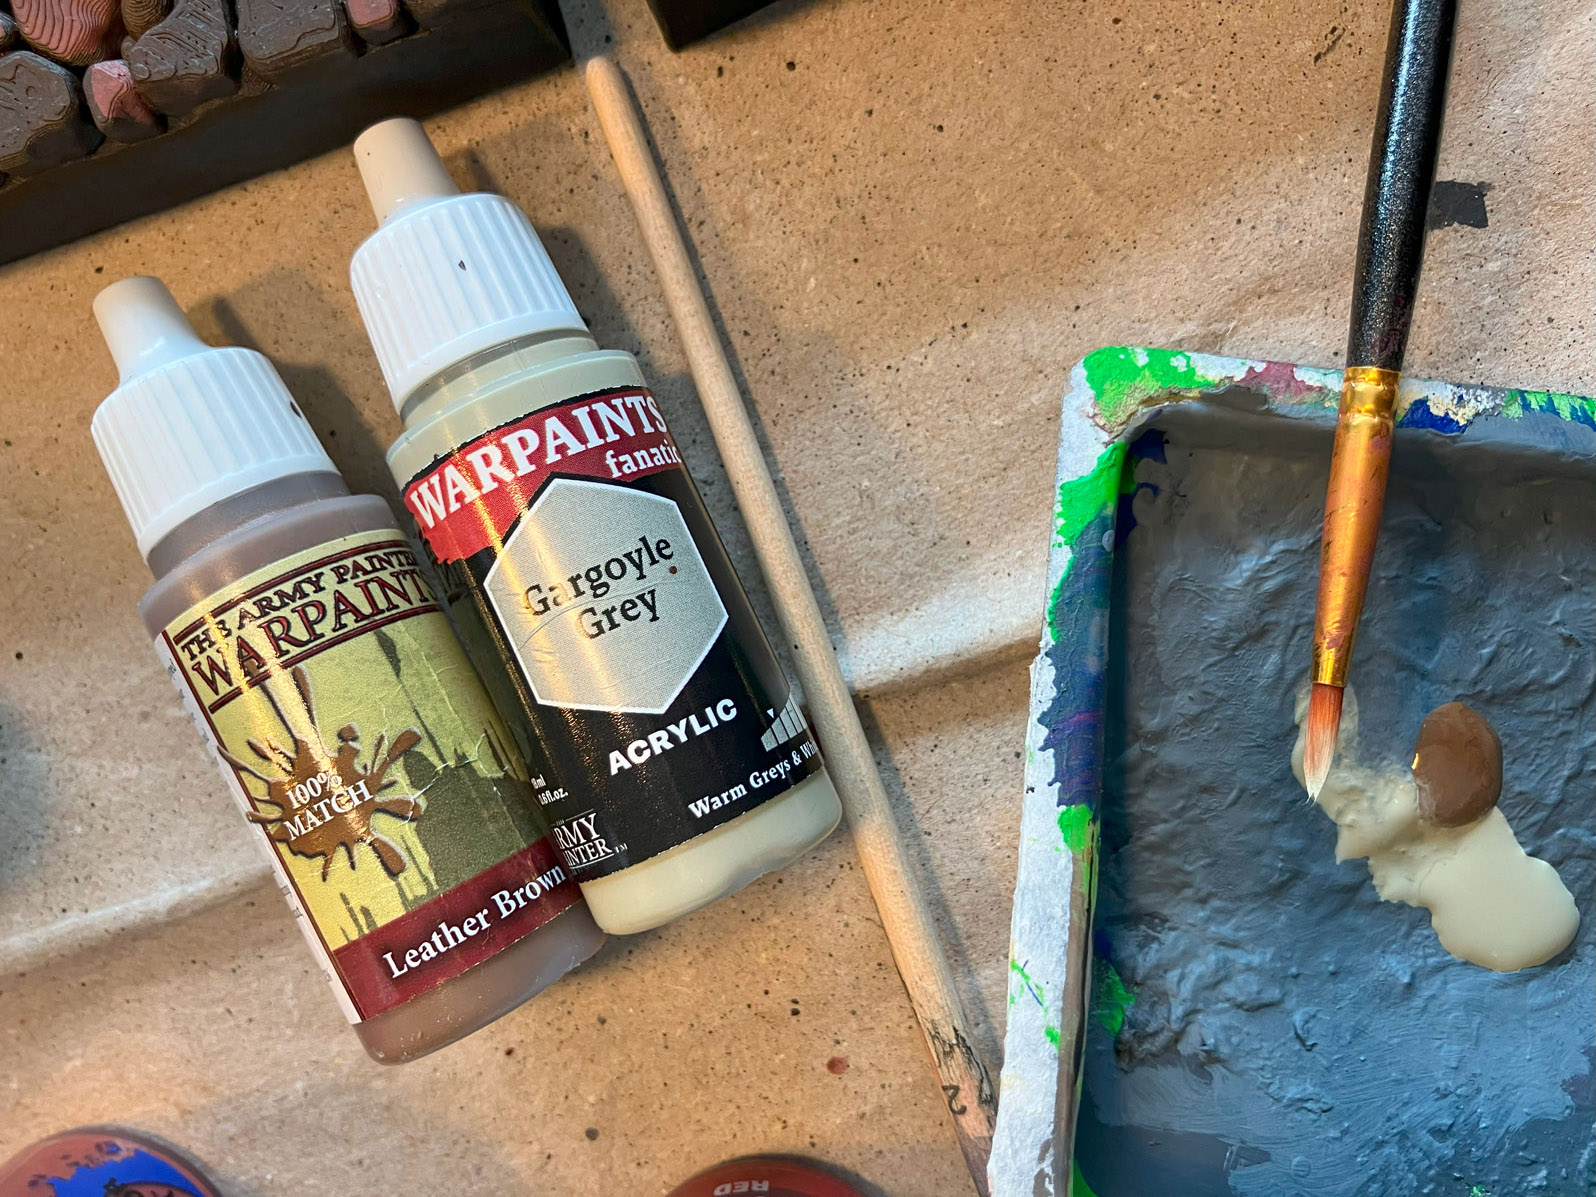
4. Painting the White
Finally, paint the white tiles and the Castle Tiles are ready for the dungeon!
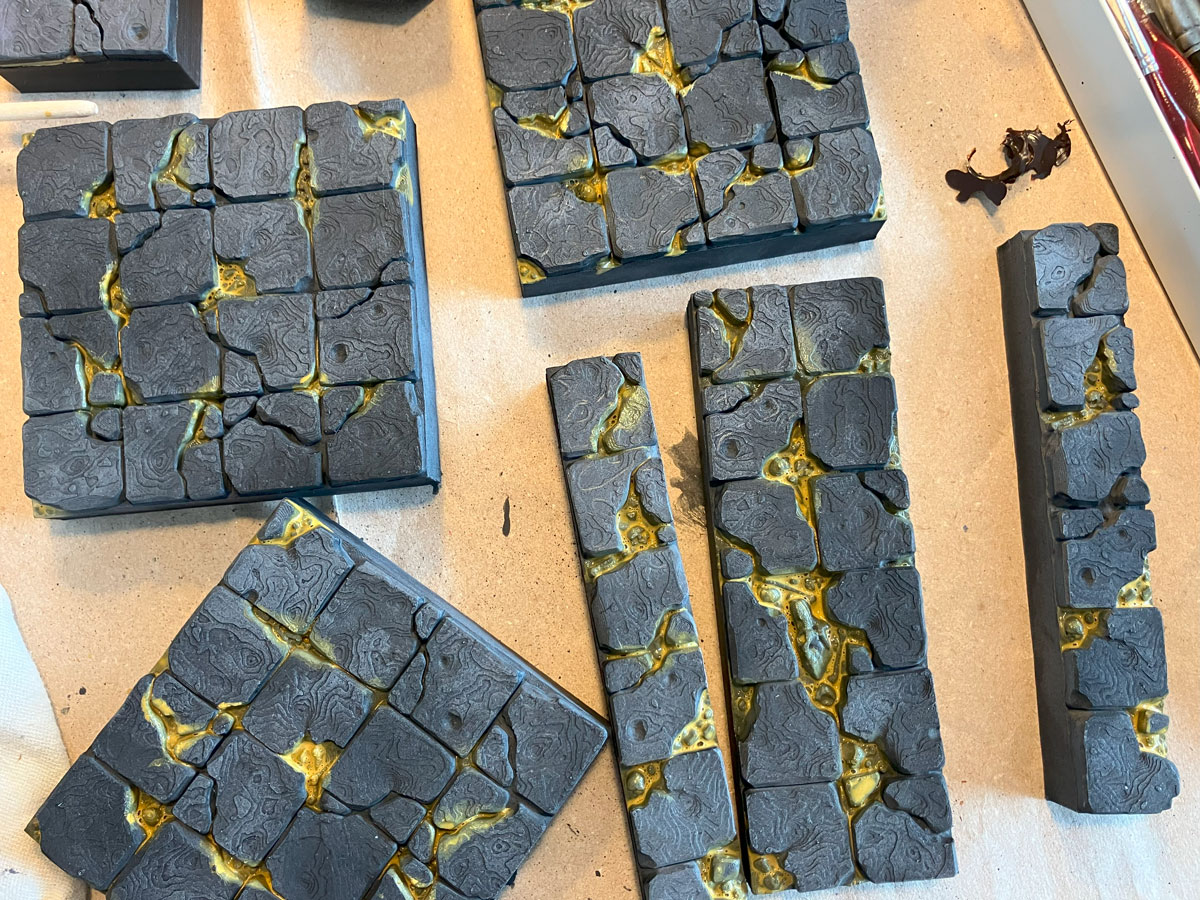
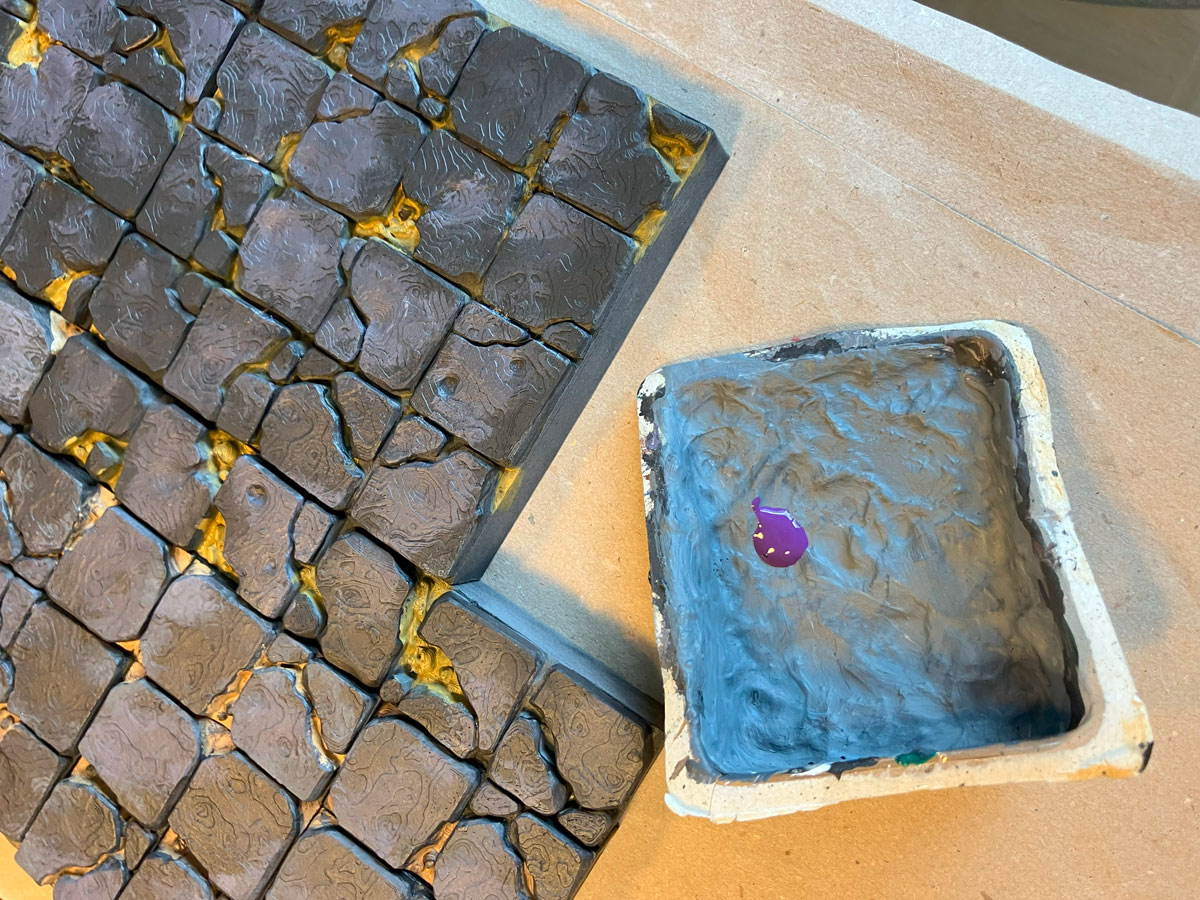
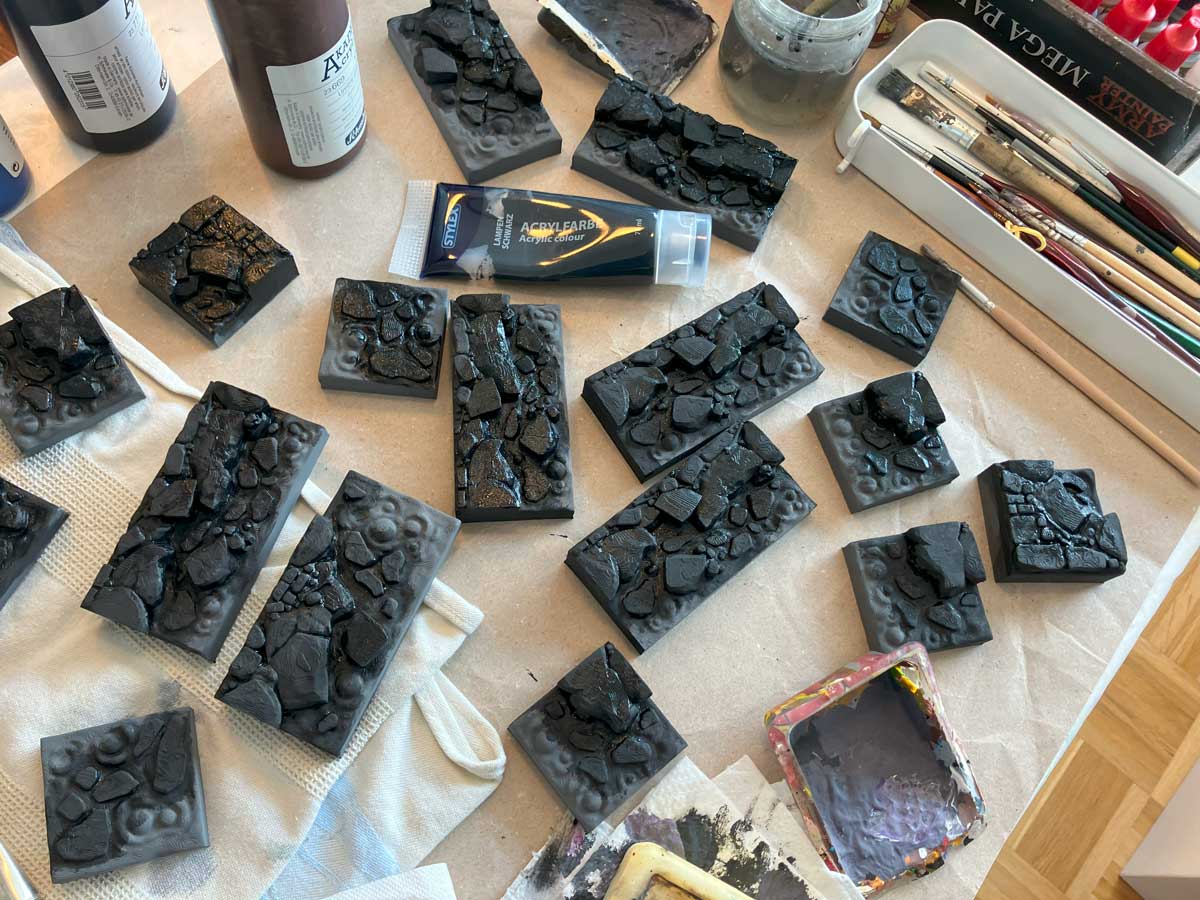
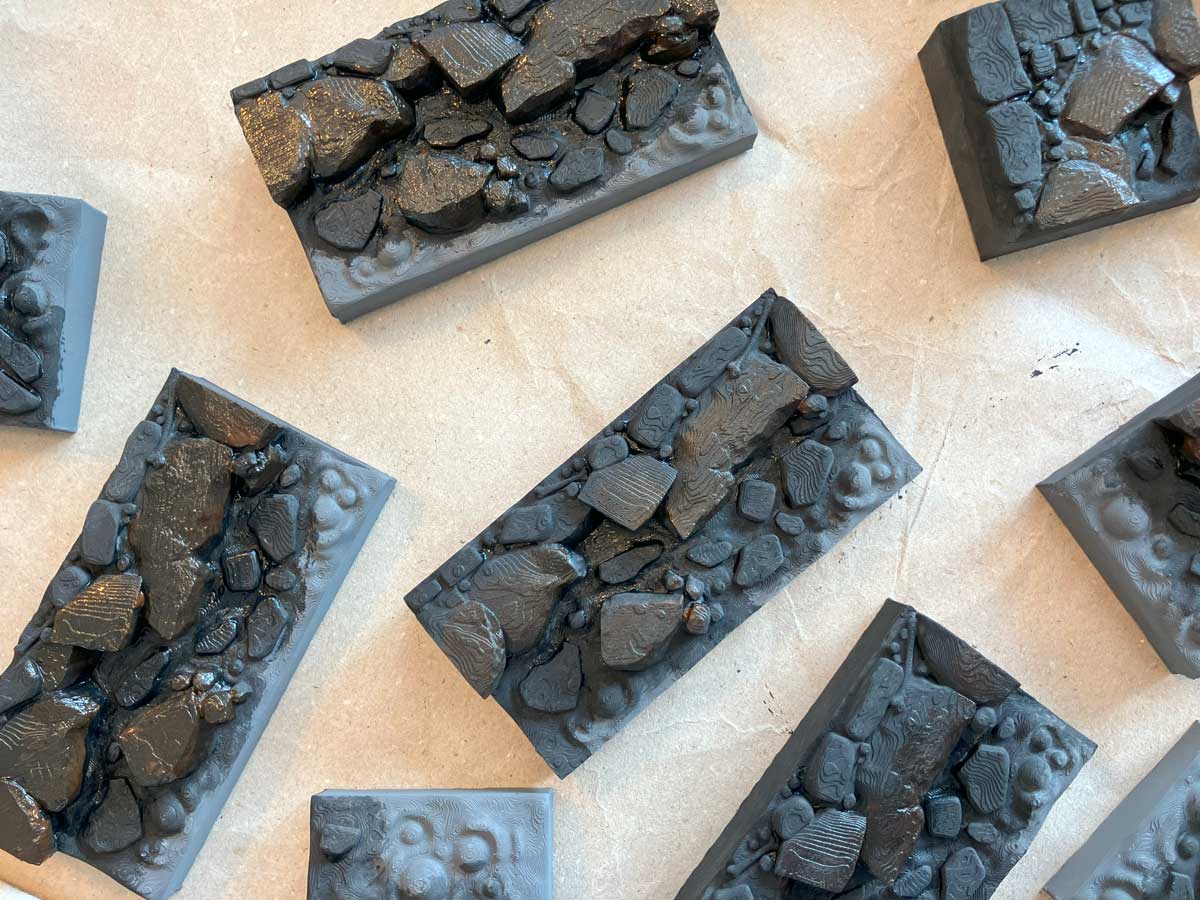
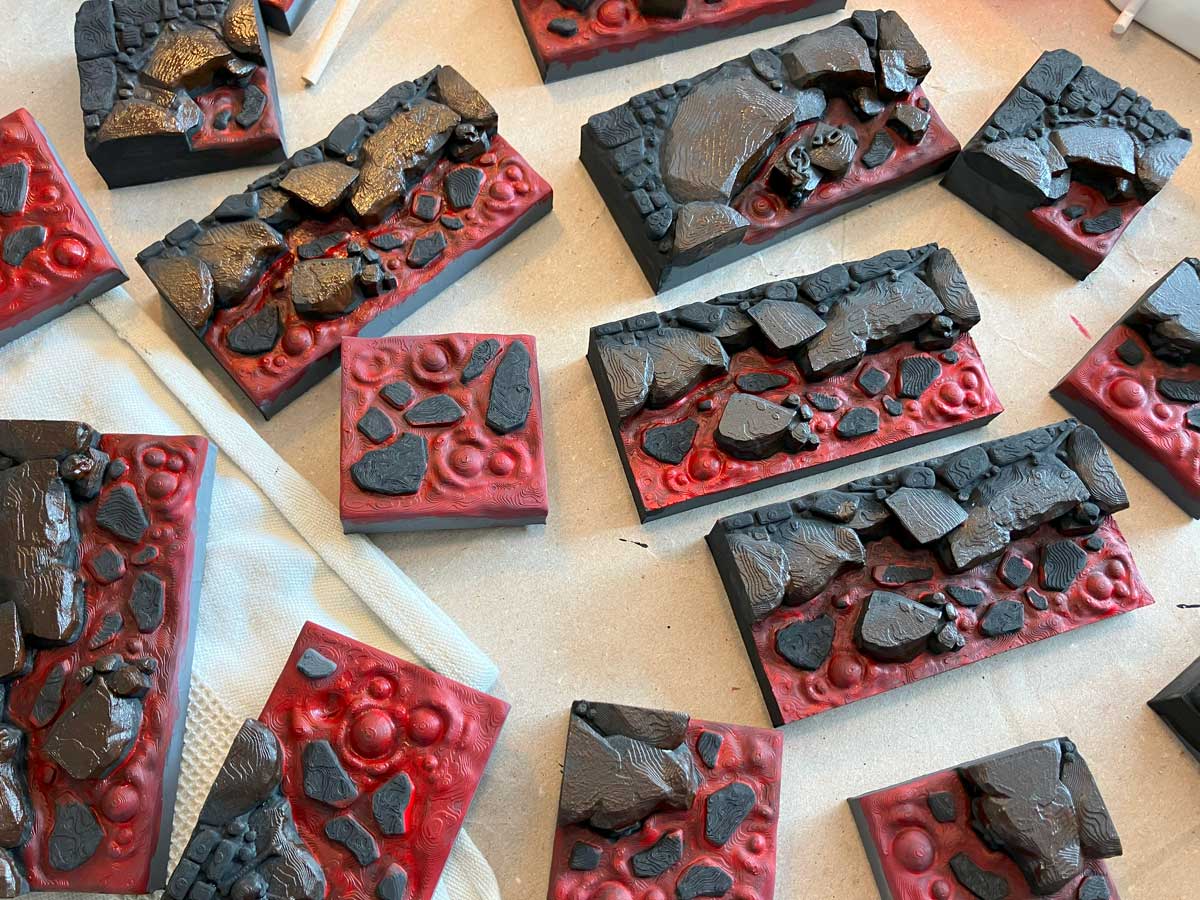
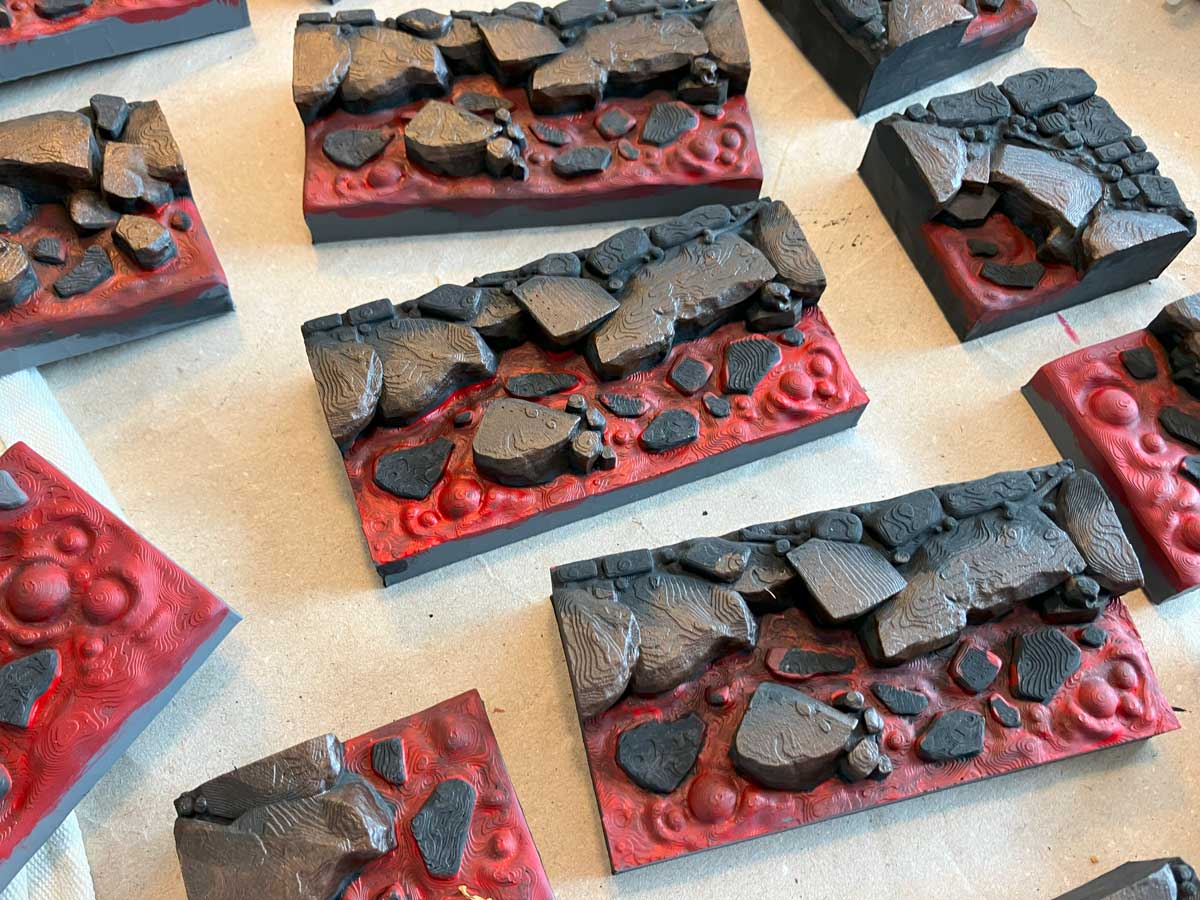
To paint my Lava Tiles, I started with a black primer. I used the Matt Black Spray from Army Painter for this.
2. Priming the rocks
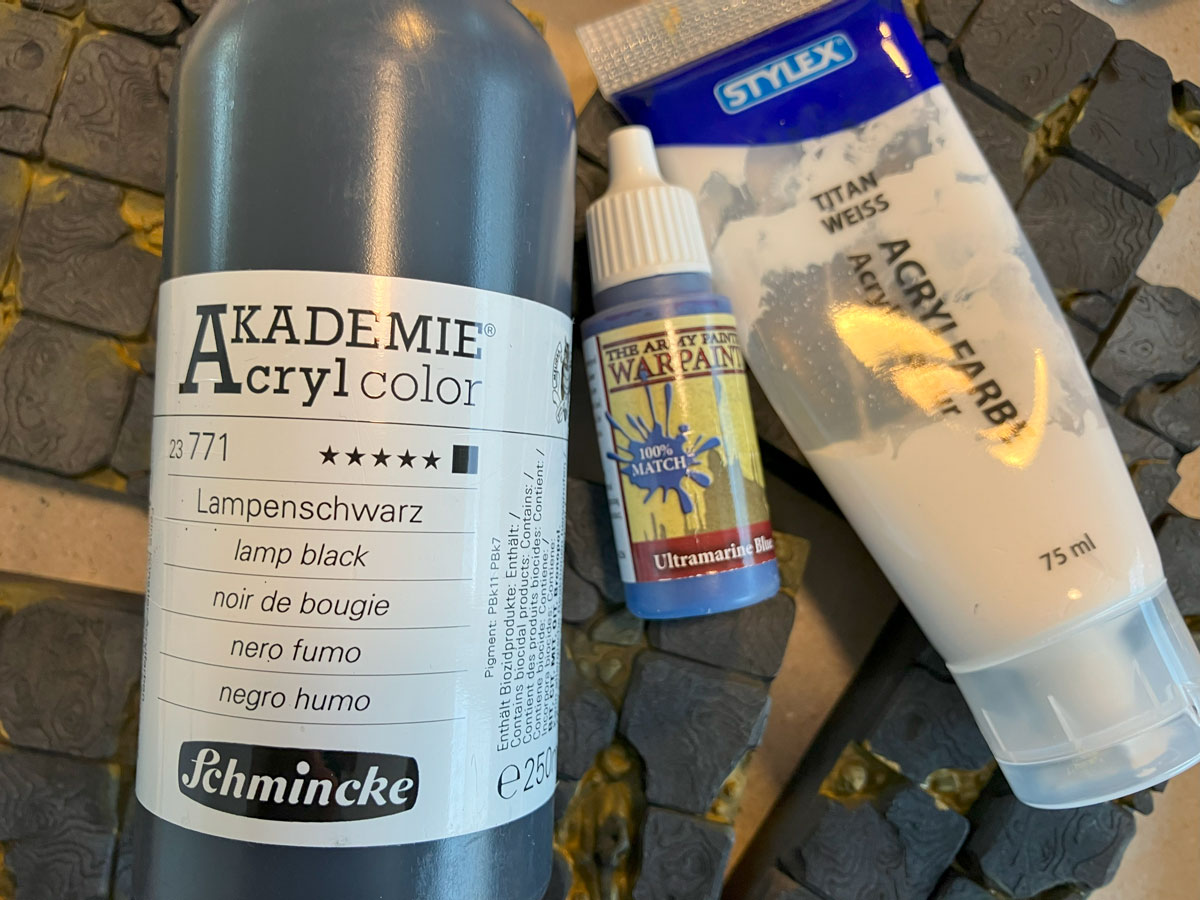
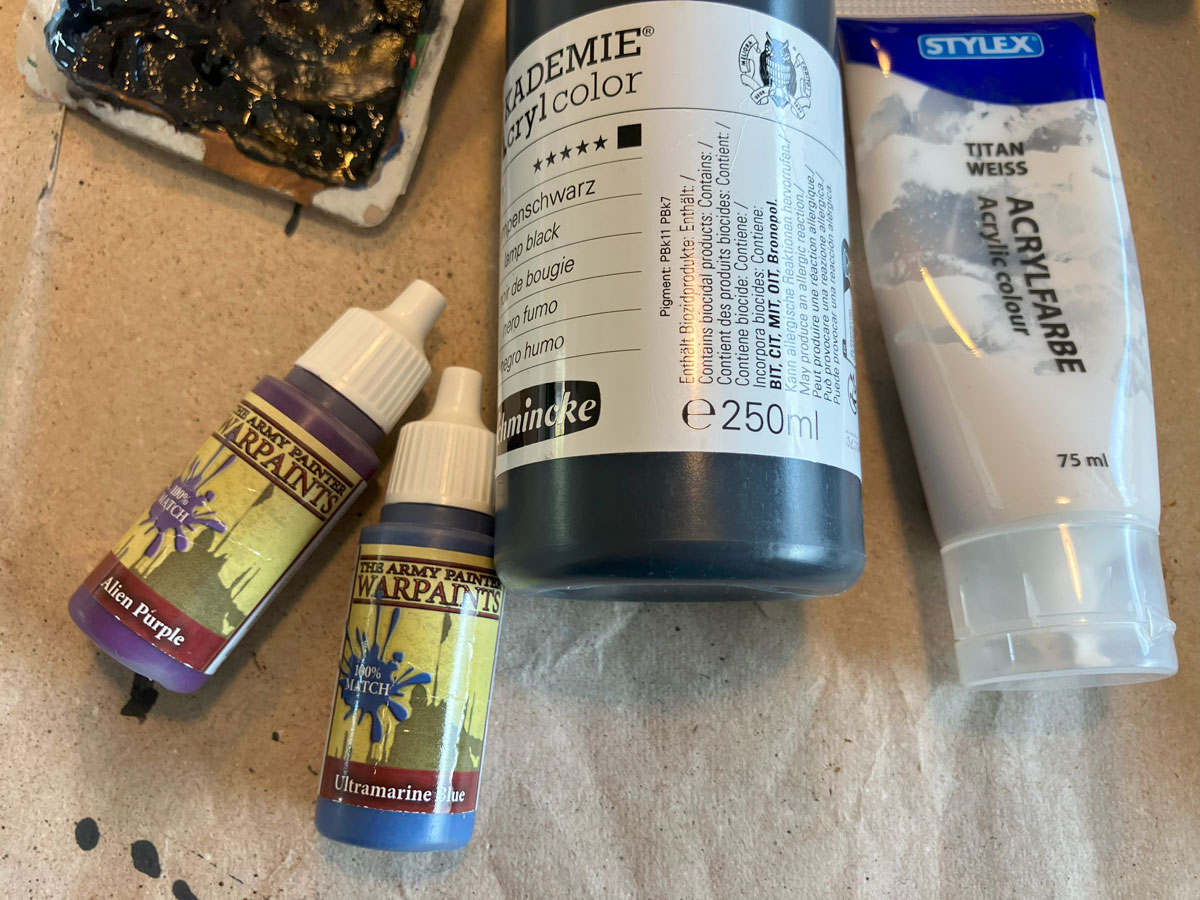
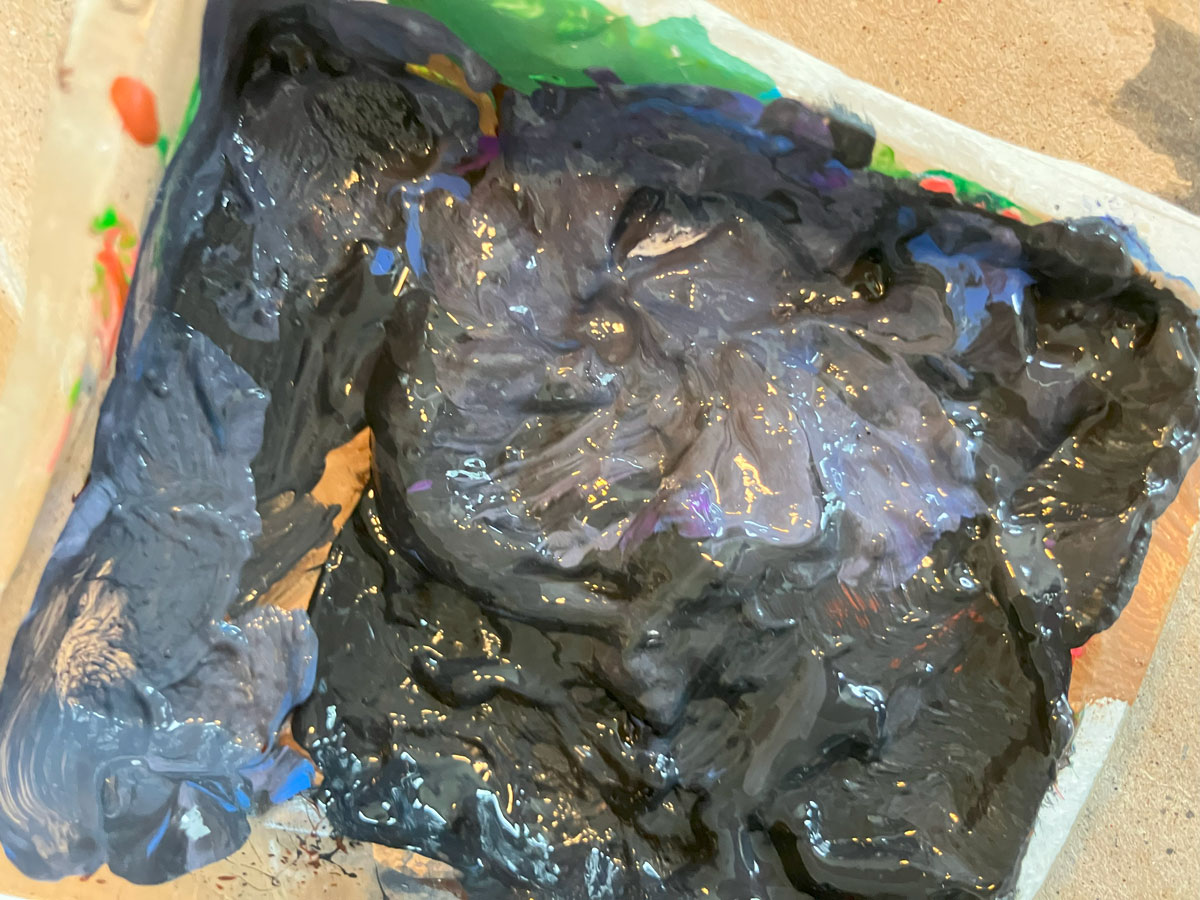
As the primer wasn’t opaque enough for me, I primed the rocks again with black. I simply applied the paint generously and didn’t pay attention to painting only the rocks. I painted the cooled lava pieces again straight away. I used “Lamp Black” from Stylex. This is an inexpensive black acrylic paint.
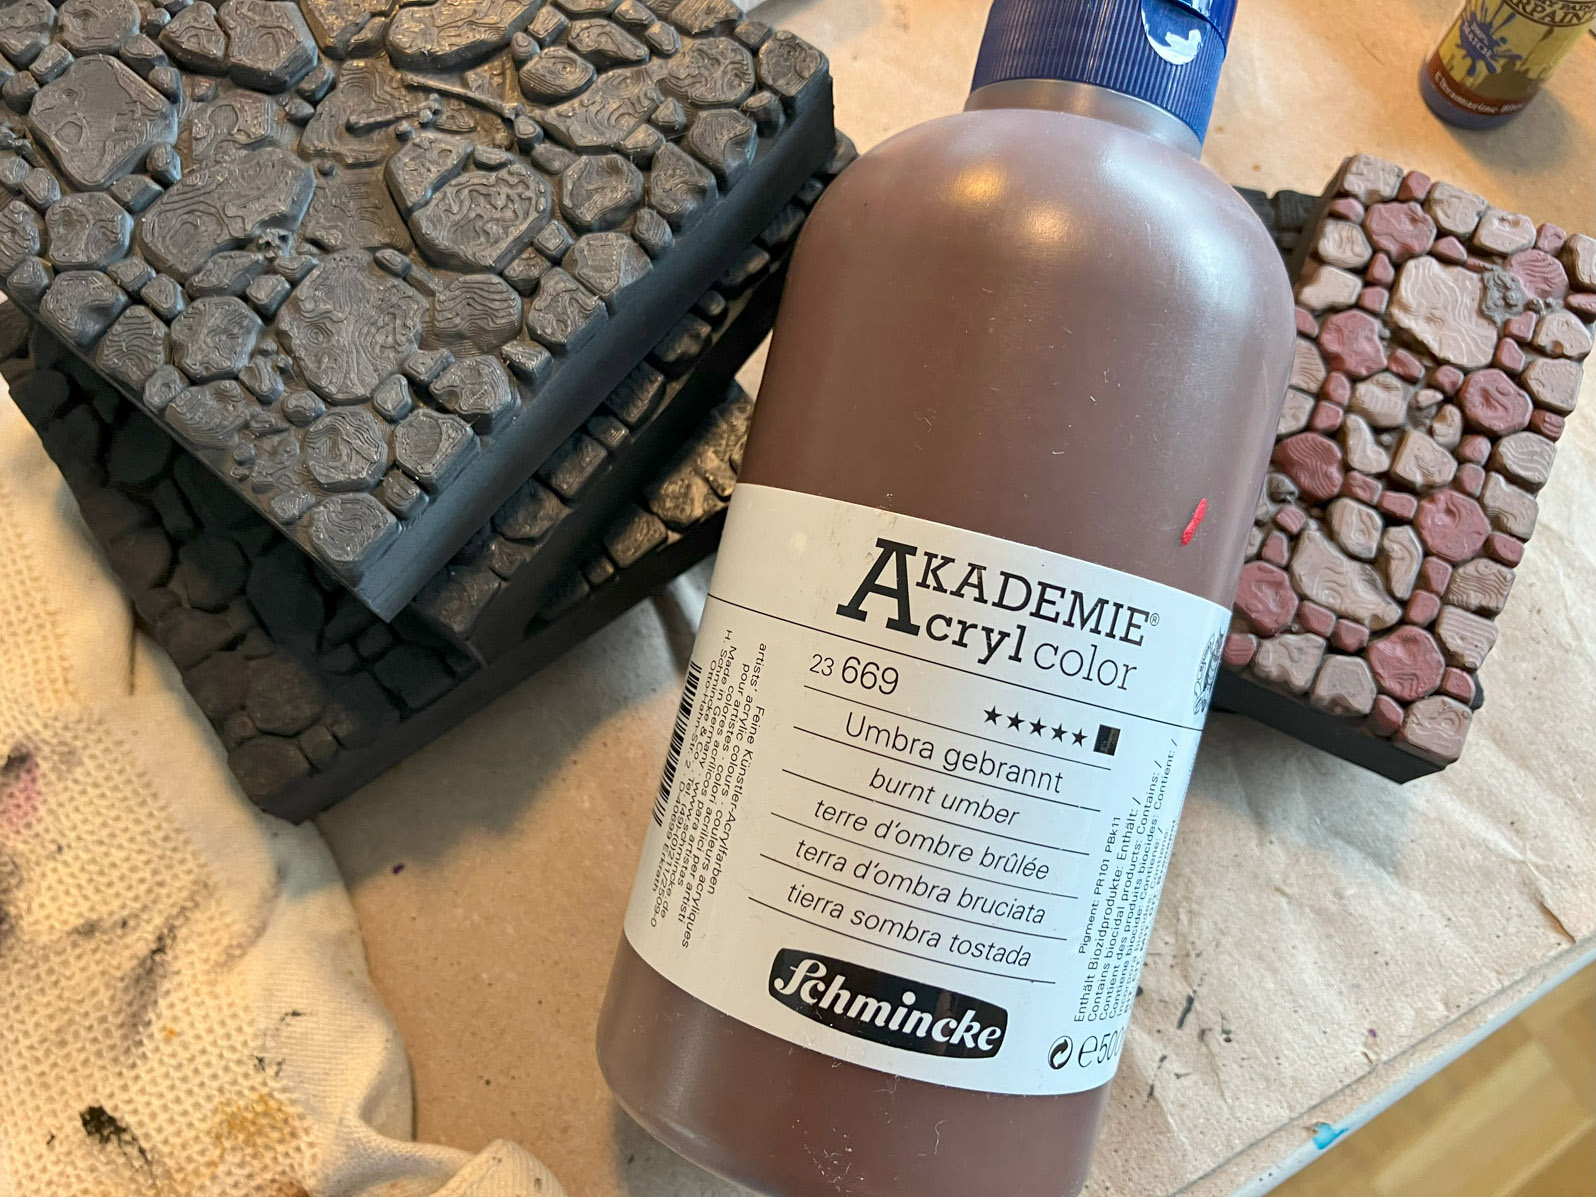
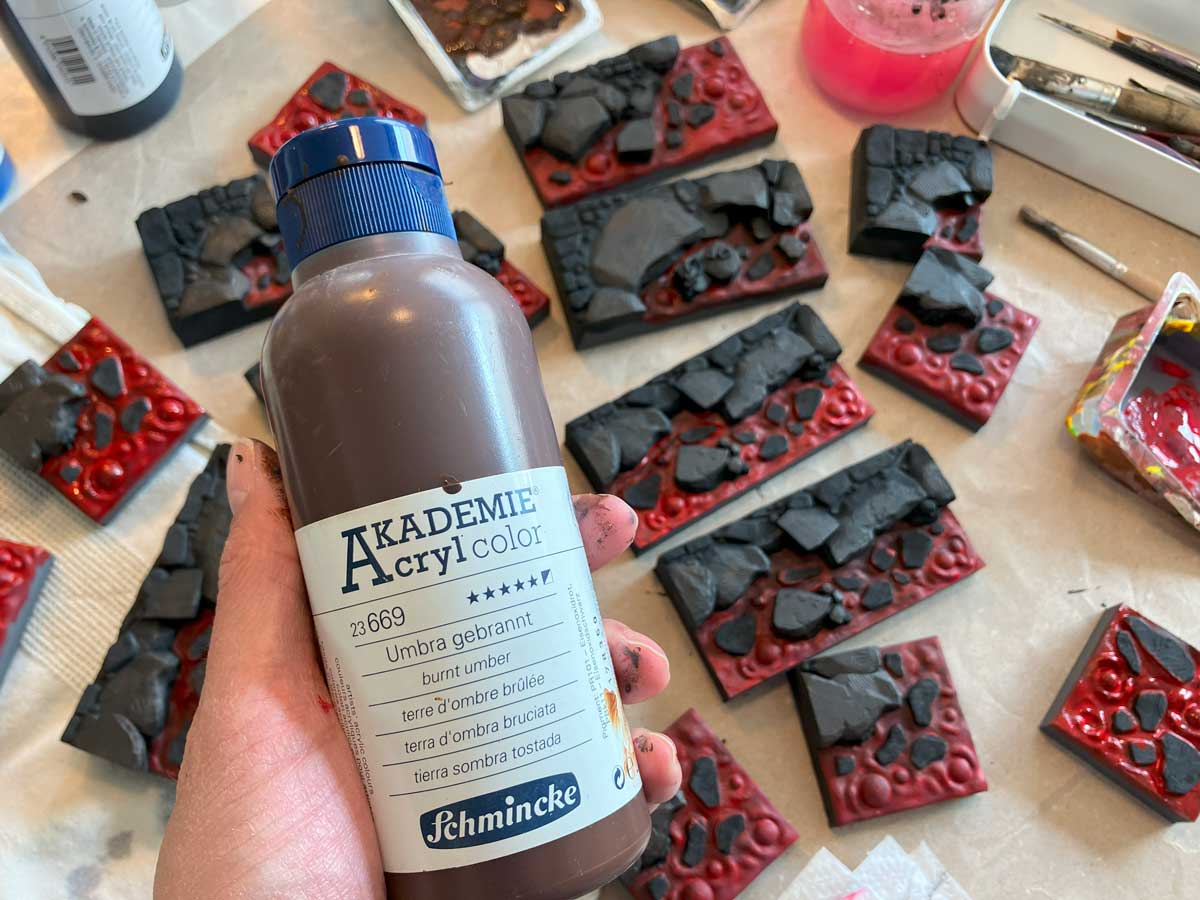
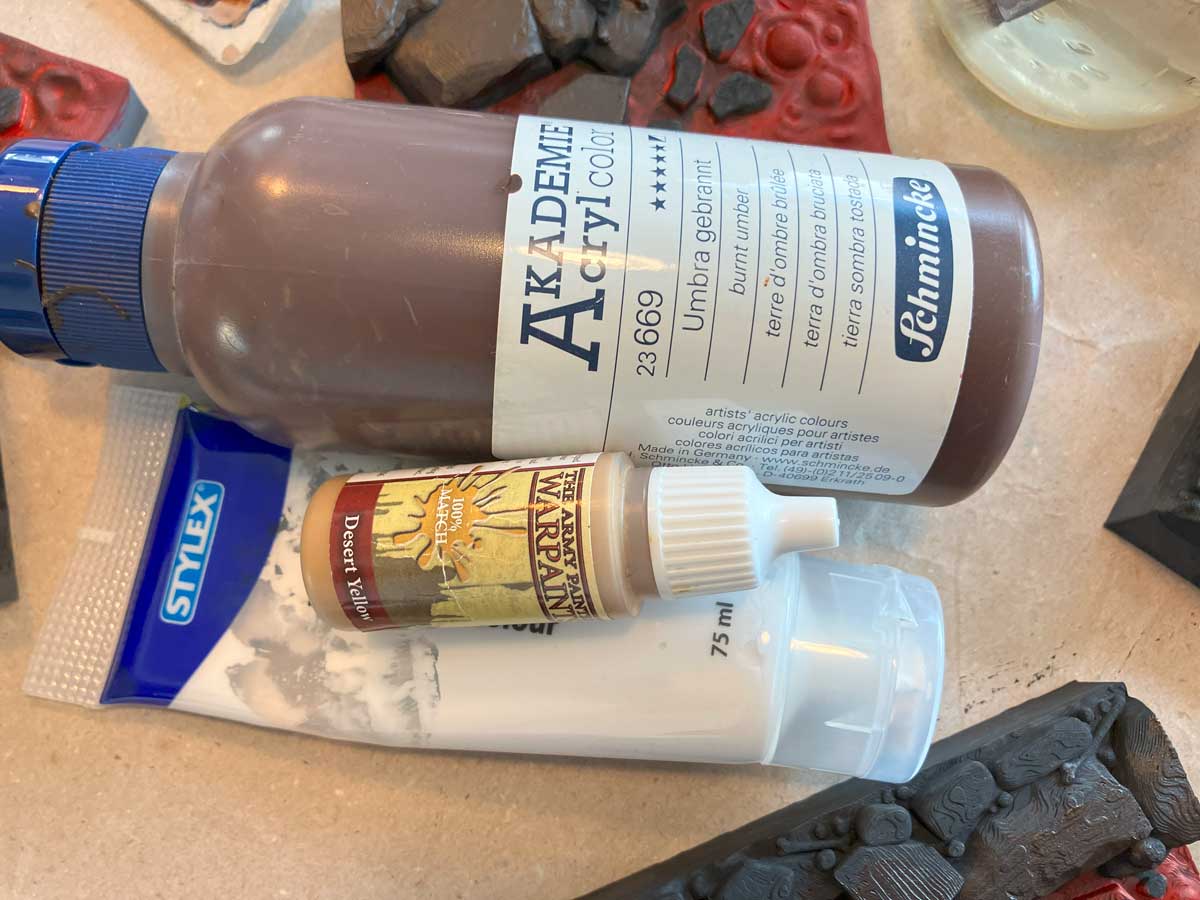
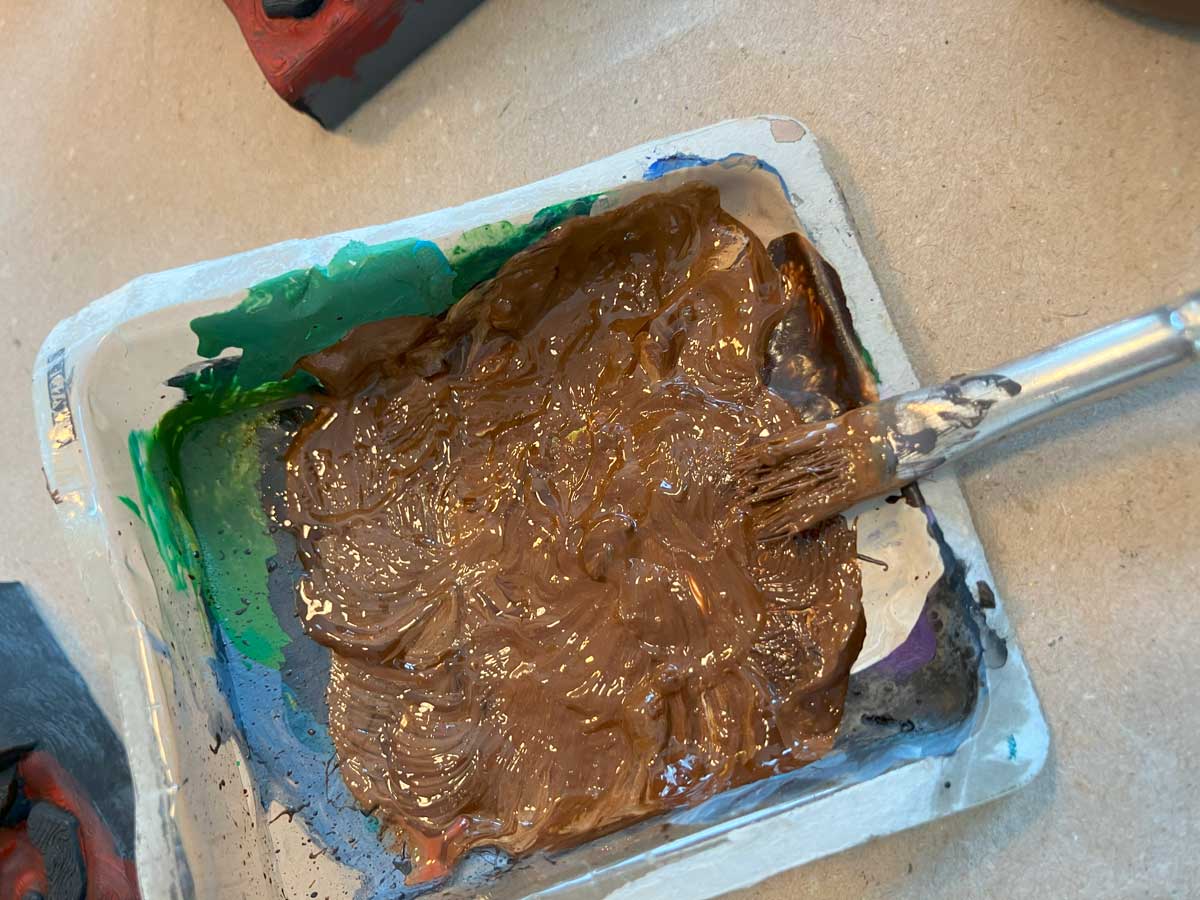
3. Rocks: 1st layer dark brown
Without further ado, I used an acrylic paint of which I still had a large tube in stock: “Umbra gebrannt” by Schmincke. I made sure to leave out the very deep areas, i.e. the shadows, as far as possible.
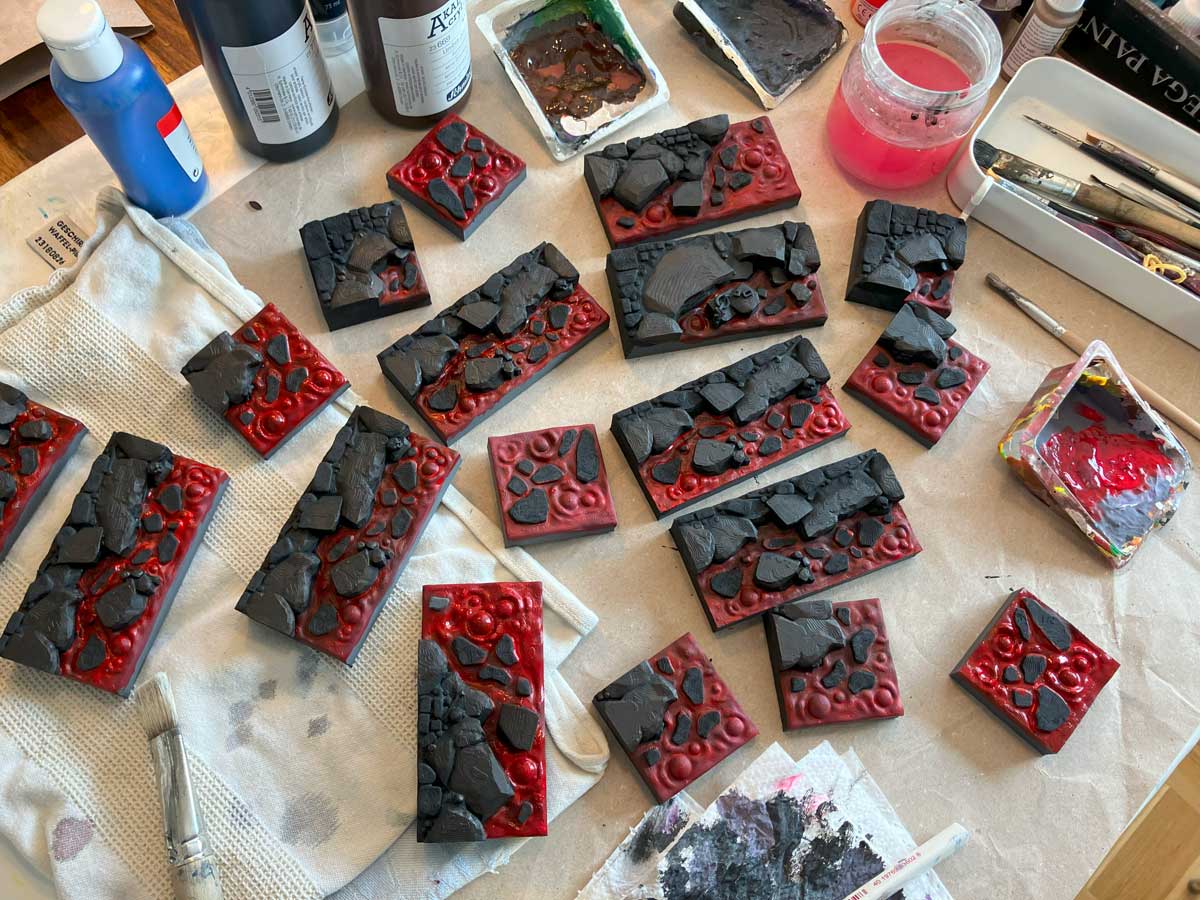
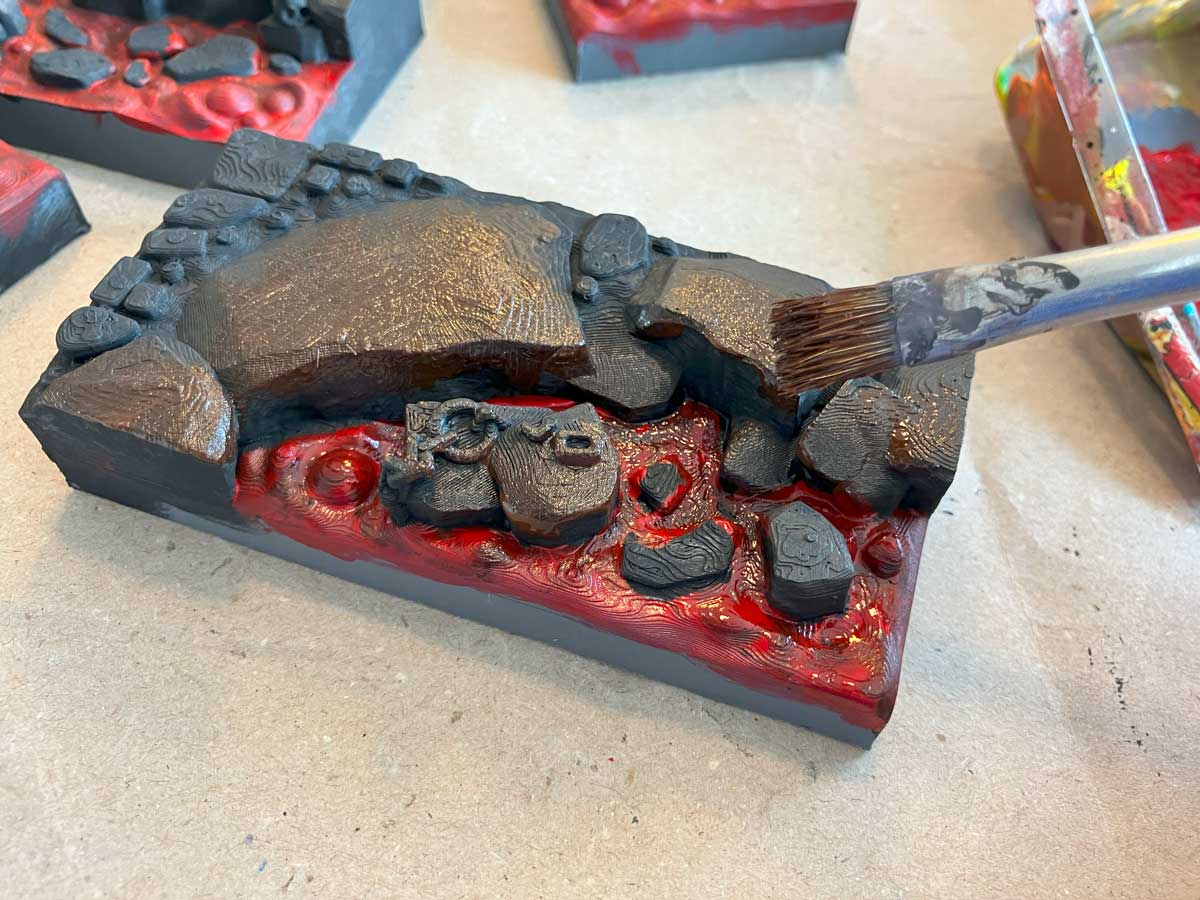
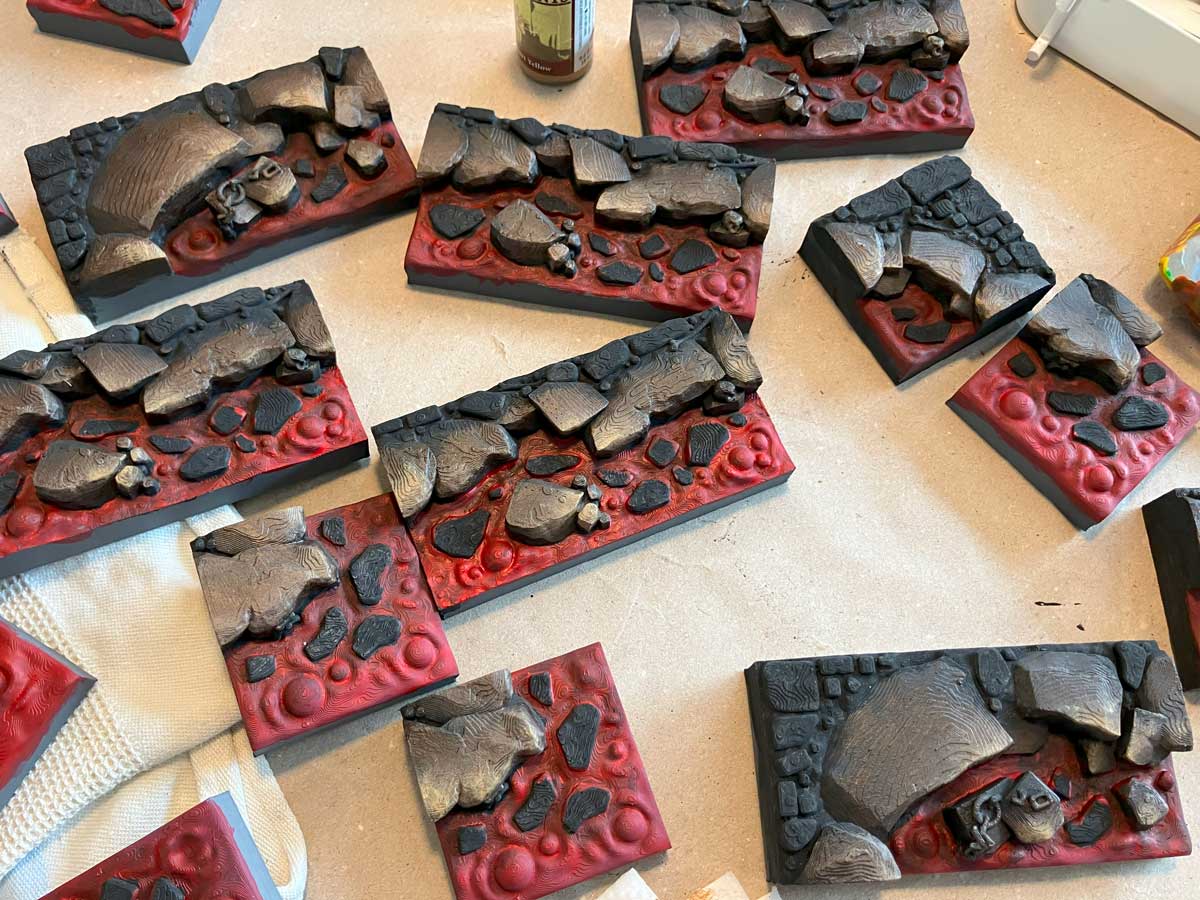
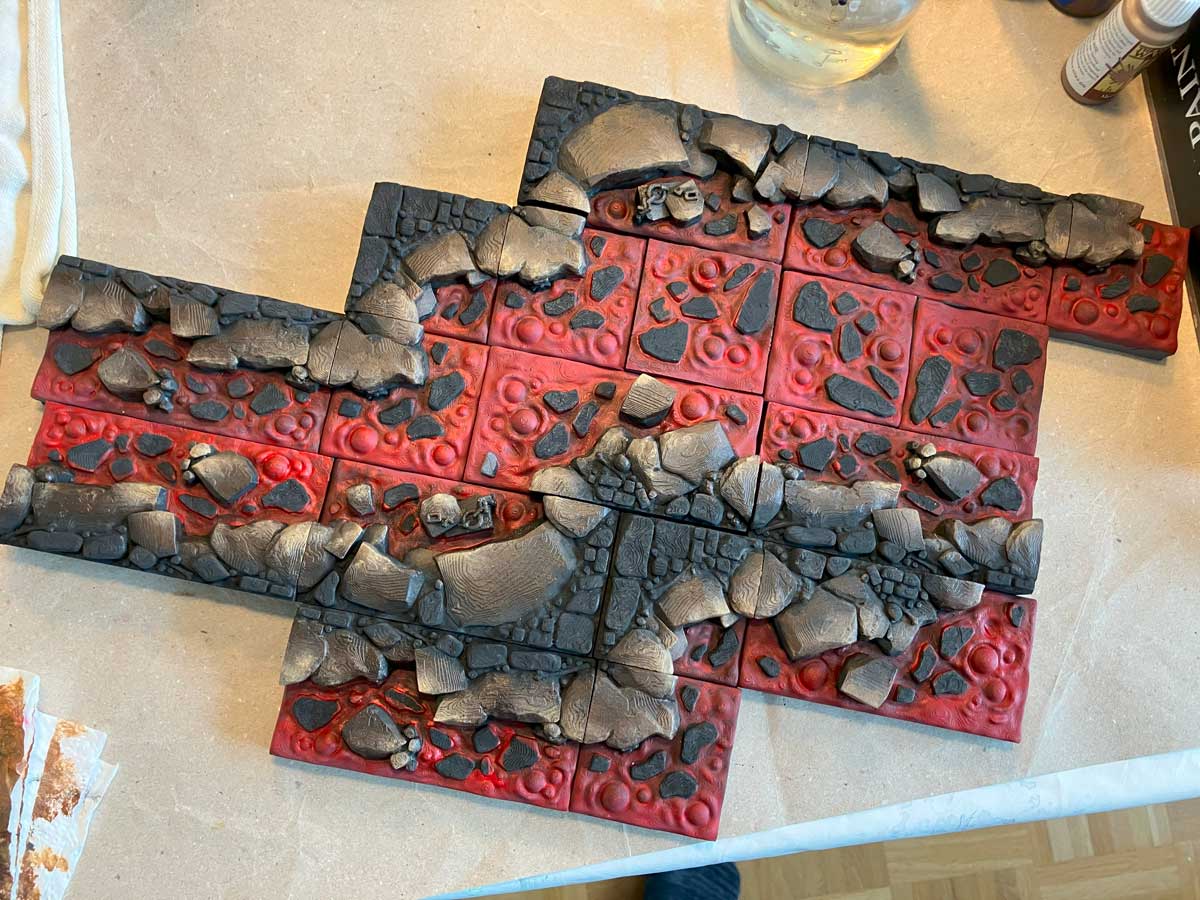
4. Lava: 1st layer red
Now I applied the first coat for the lava: “Dragon Red” from Army Painter. When I repurchased the color later, I noticed that the shade had unfortunately changed somewhat. I therefore recommend that you use a dark, luminous red that you either have enough of in stock or that you can buy later. Of course, this applies to all colors that you want to use again over a large area.
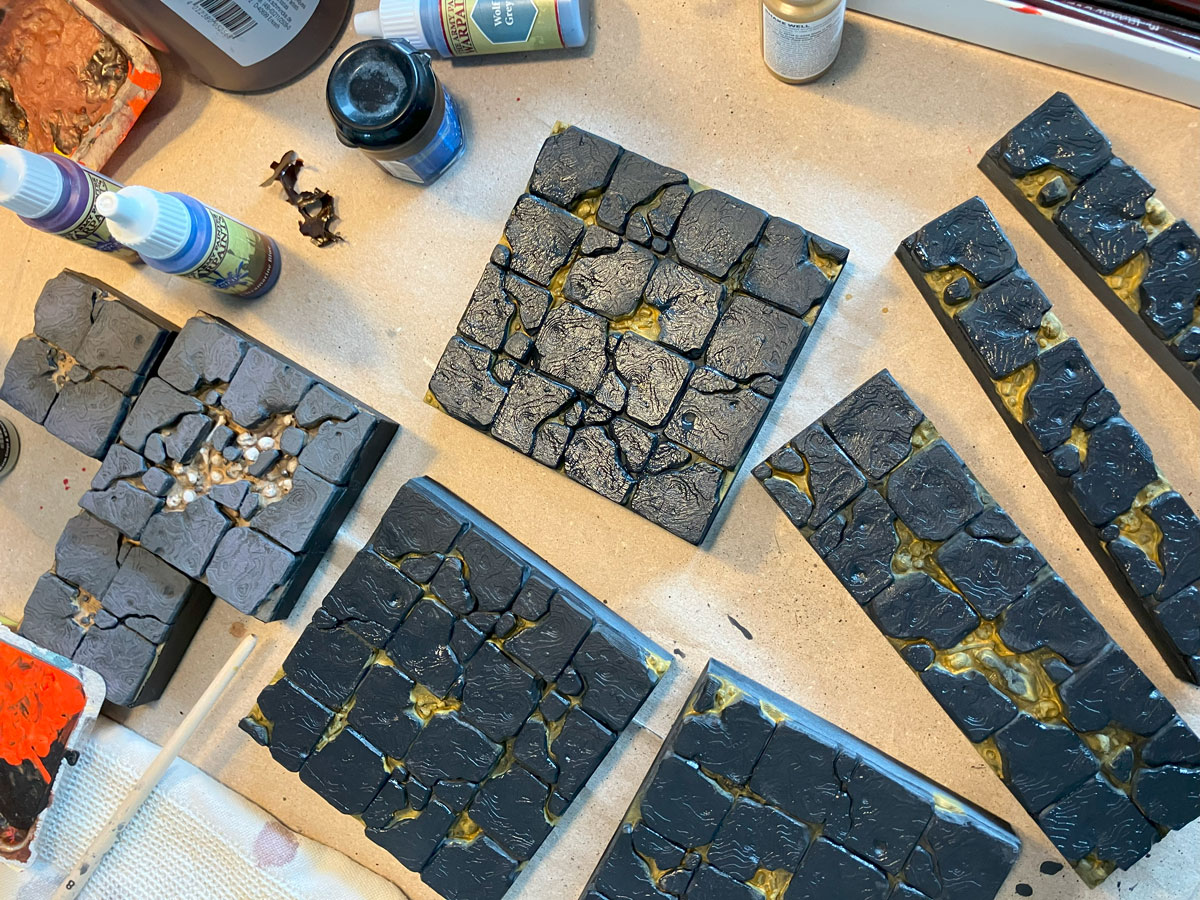
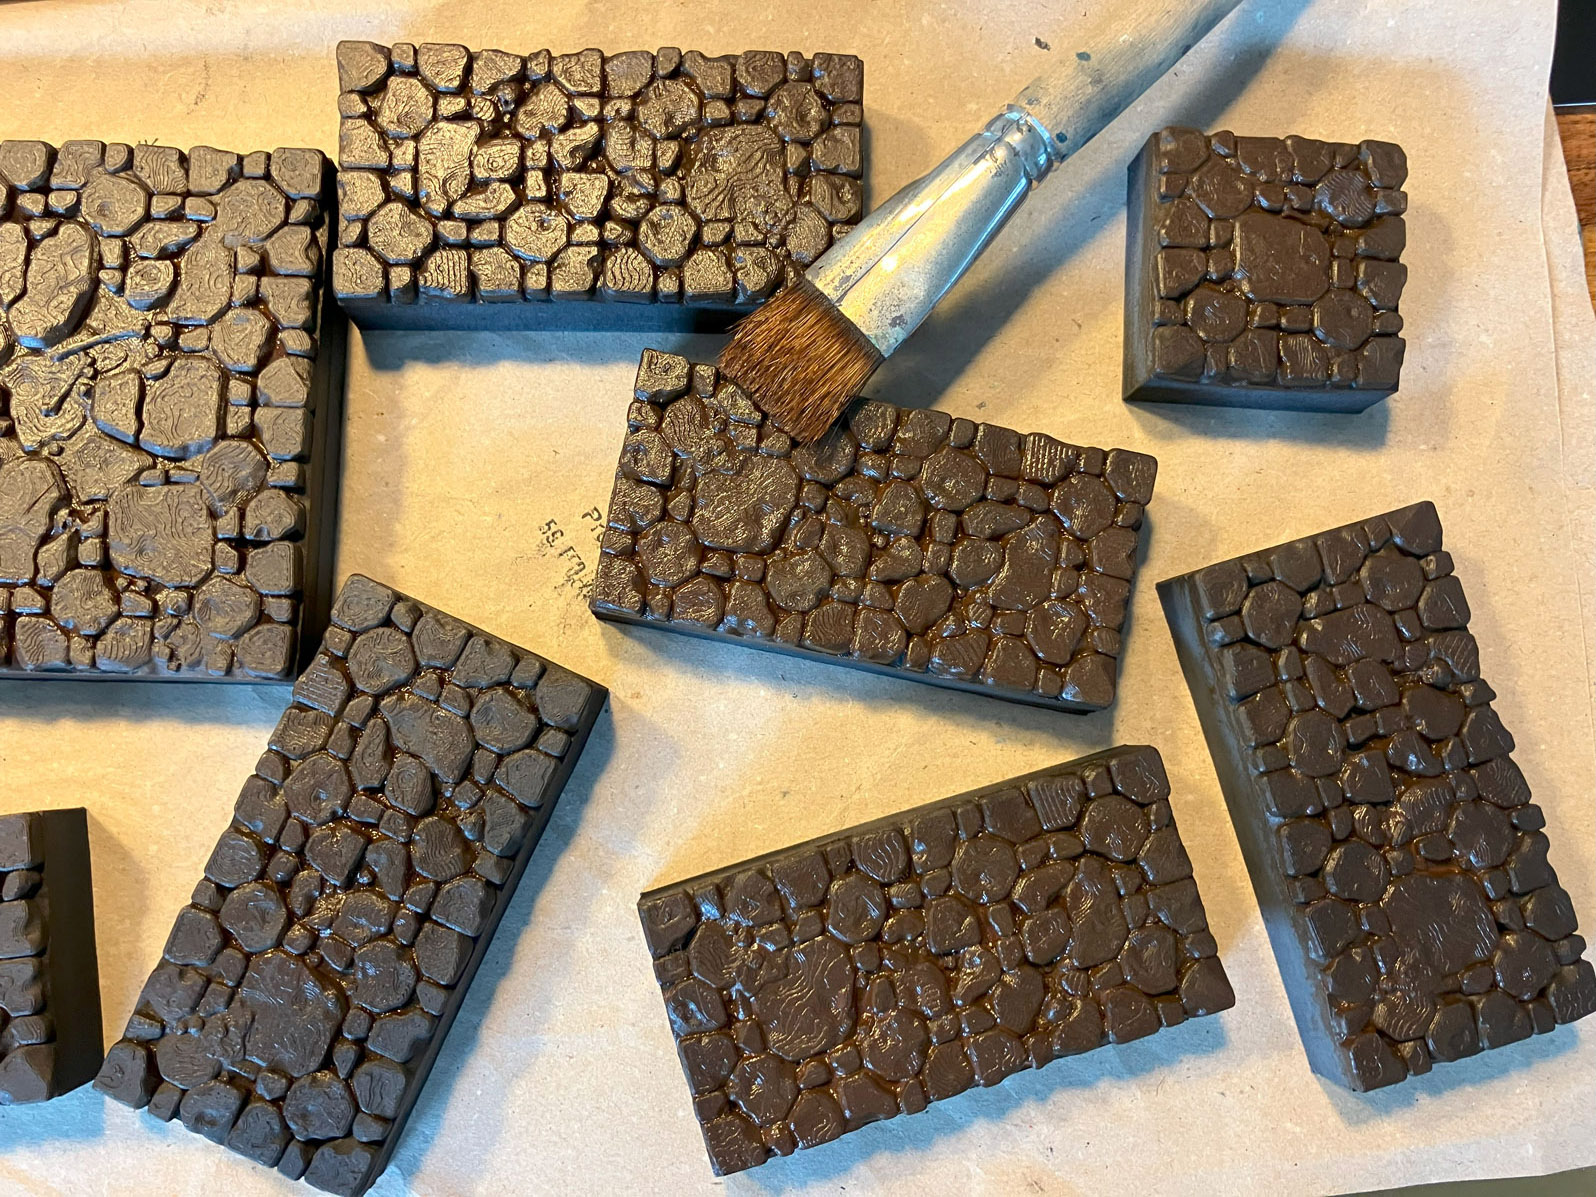
5. Rocks: 2nd layer dark brown
I have now applied a second coat of brown as the color did not cover sufficiently. As you can see, I simply left the black in the shadow areas and concentrated on the highlighted areas.
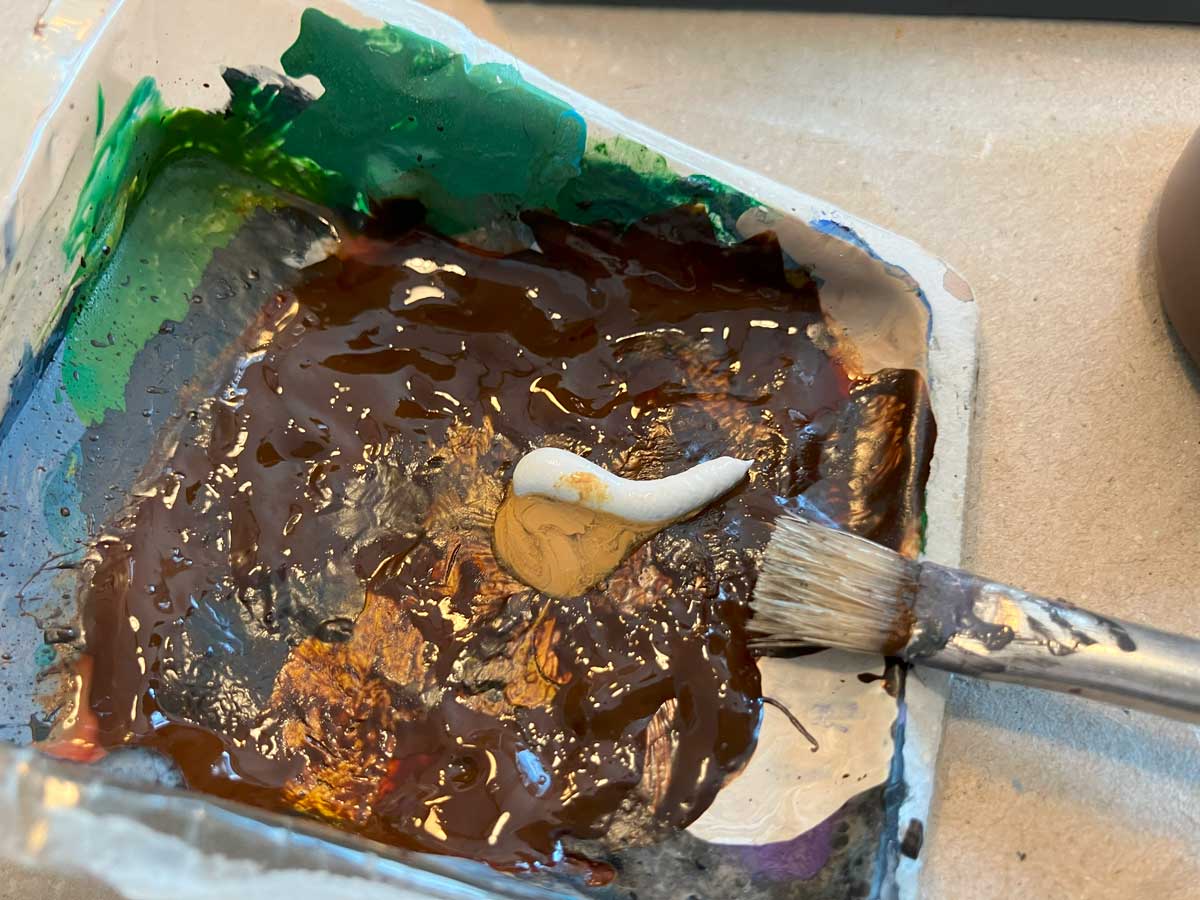
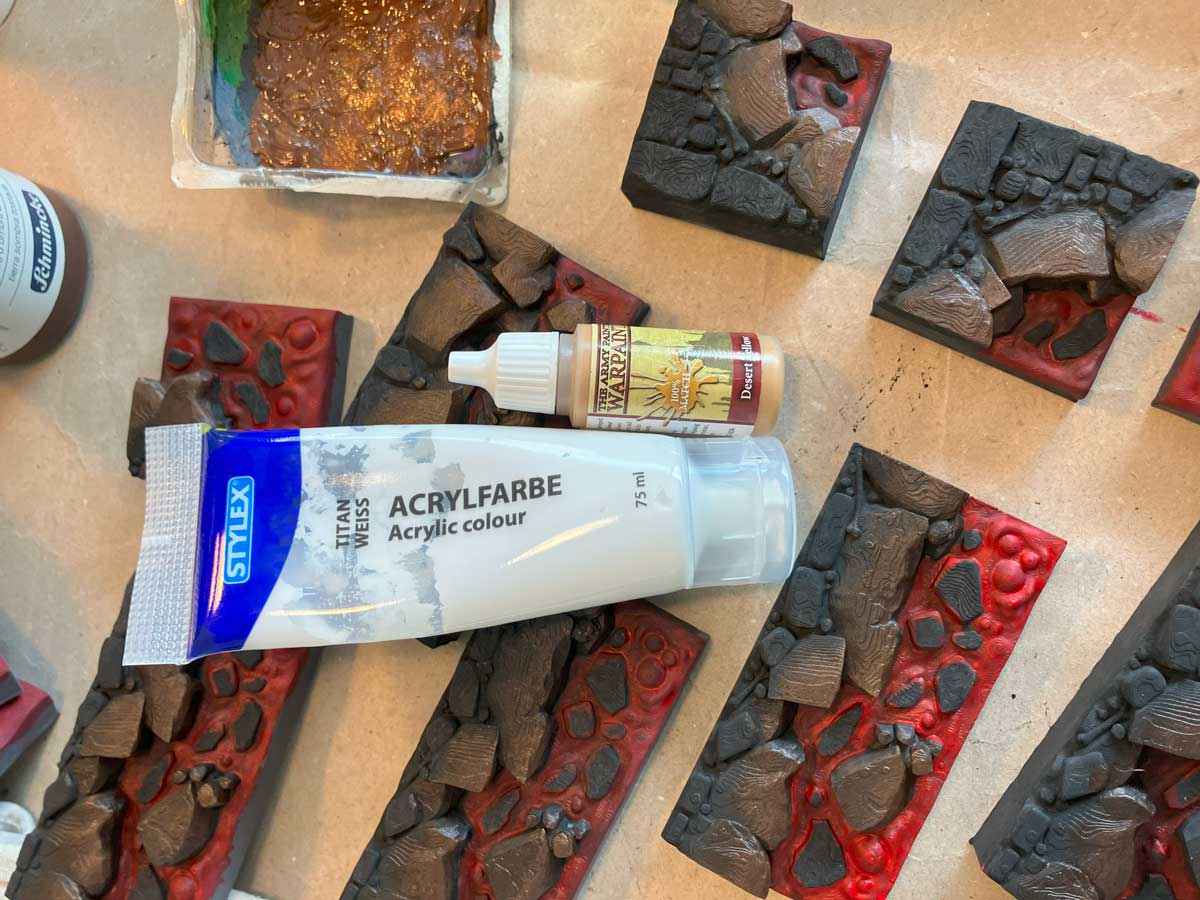
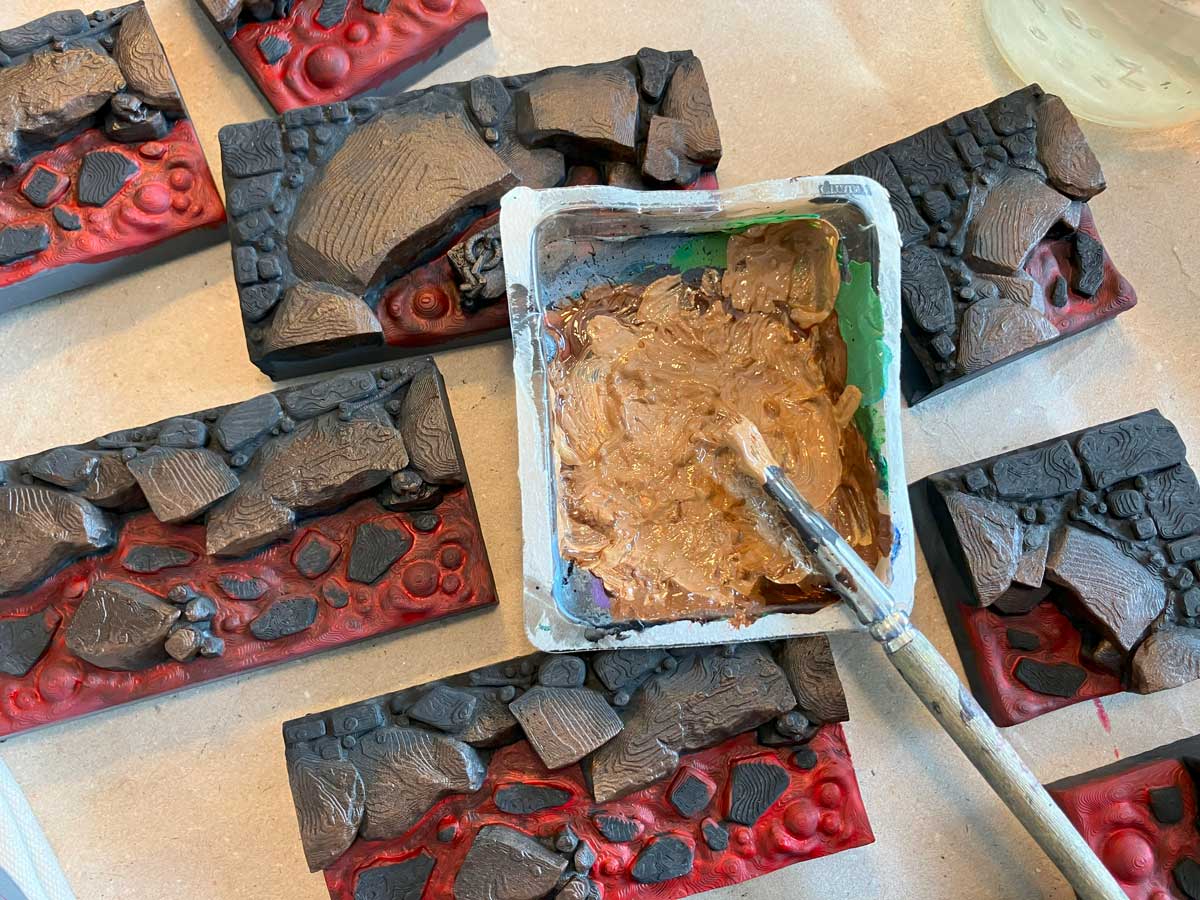
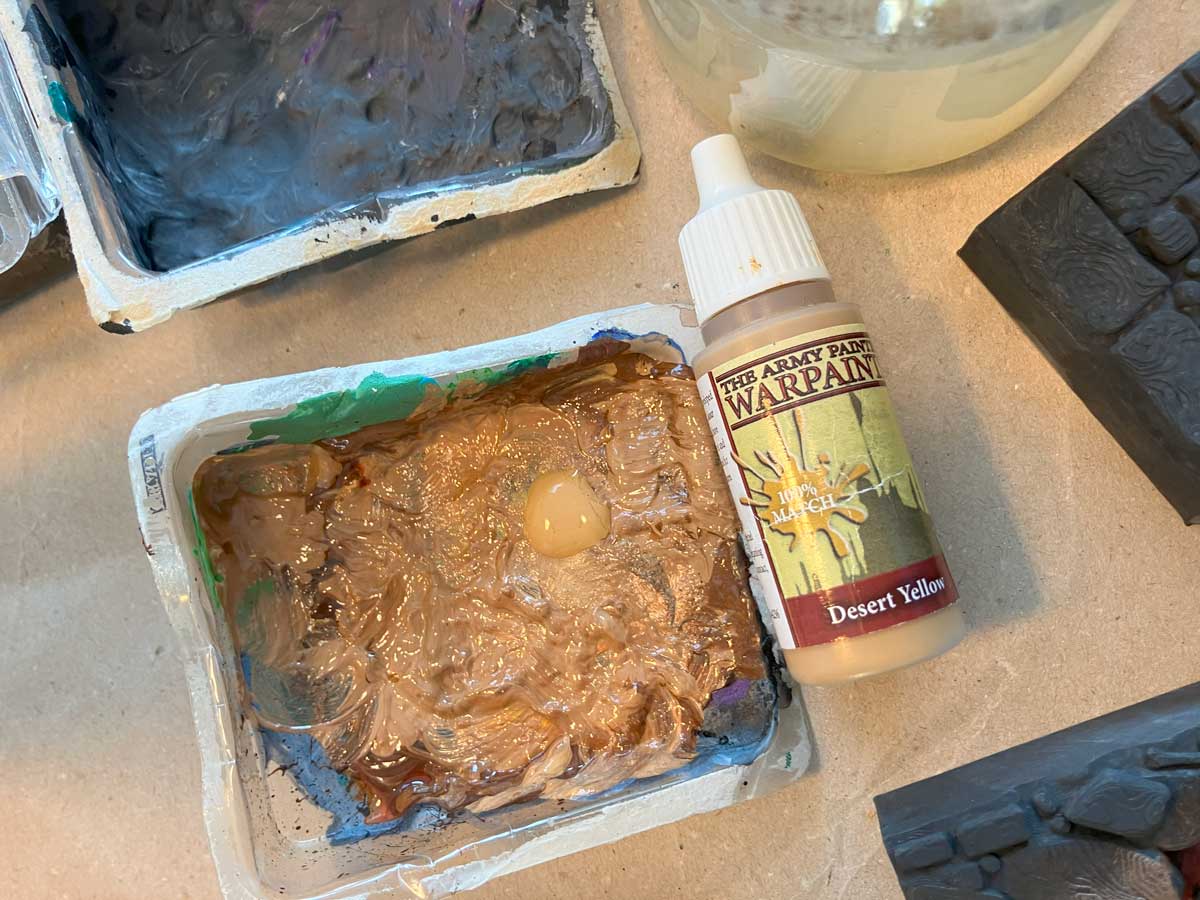
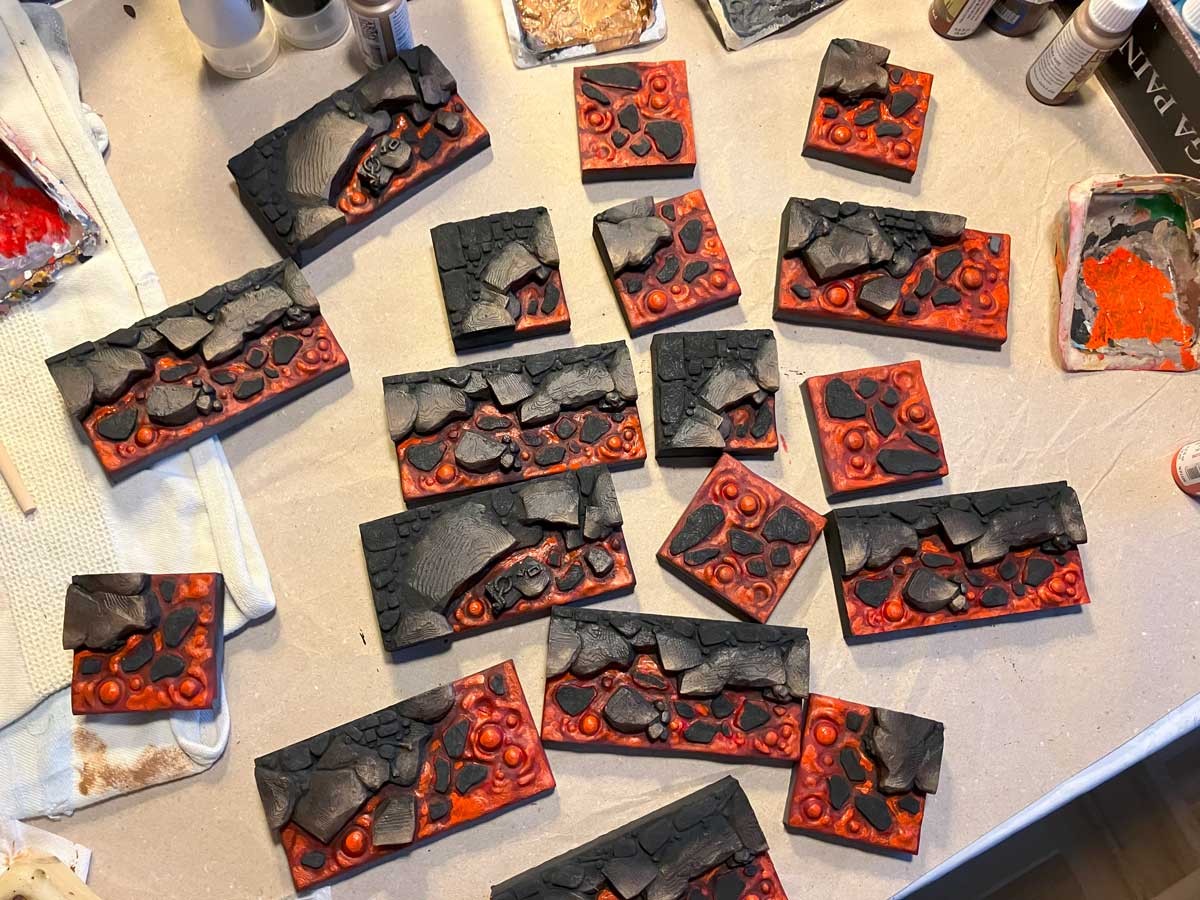
6. Rocks: first highlighting
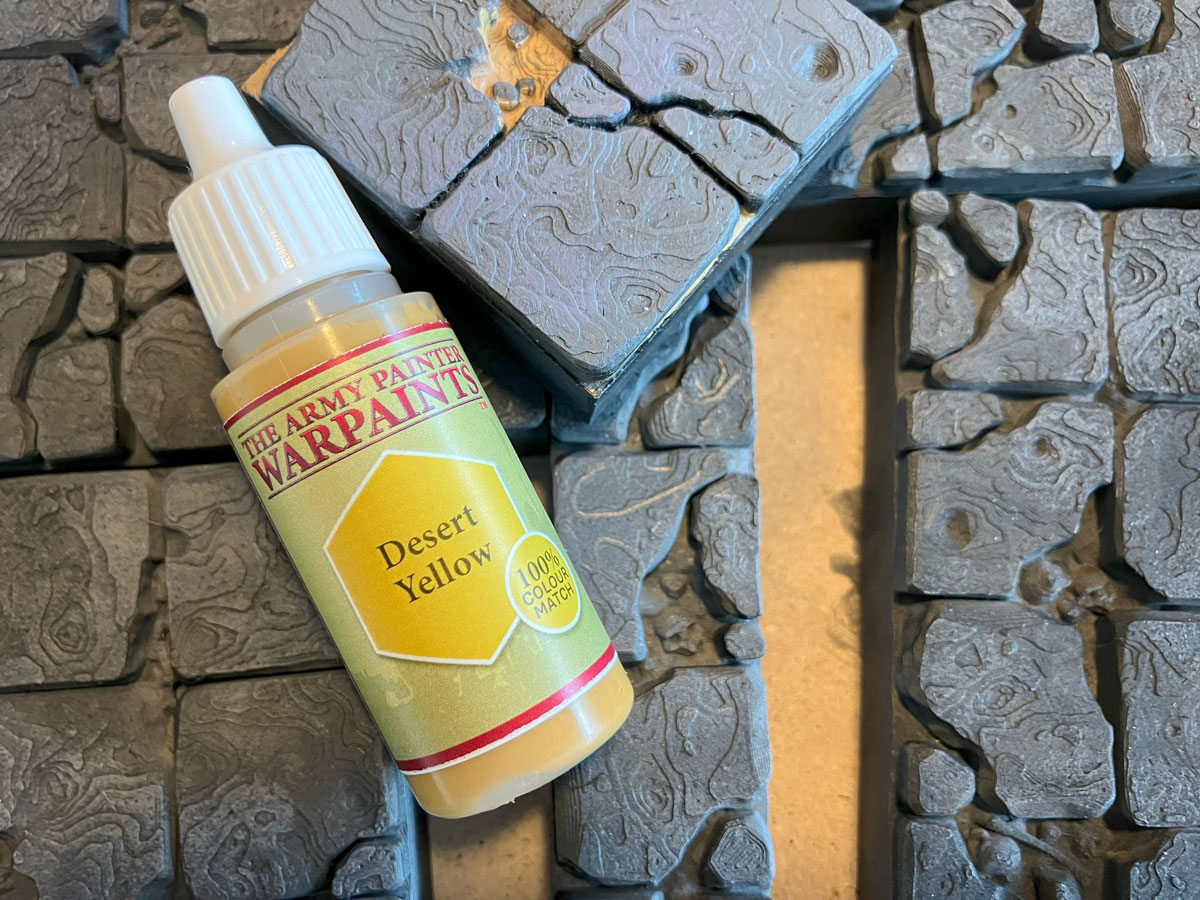
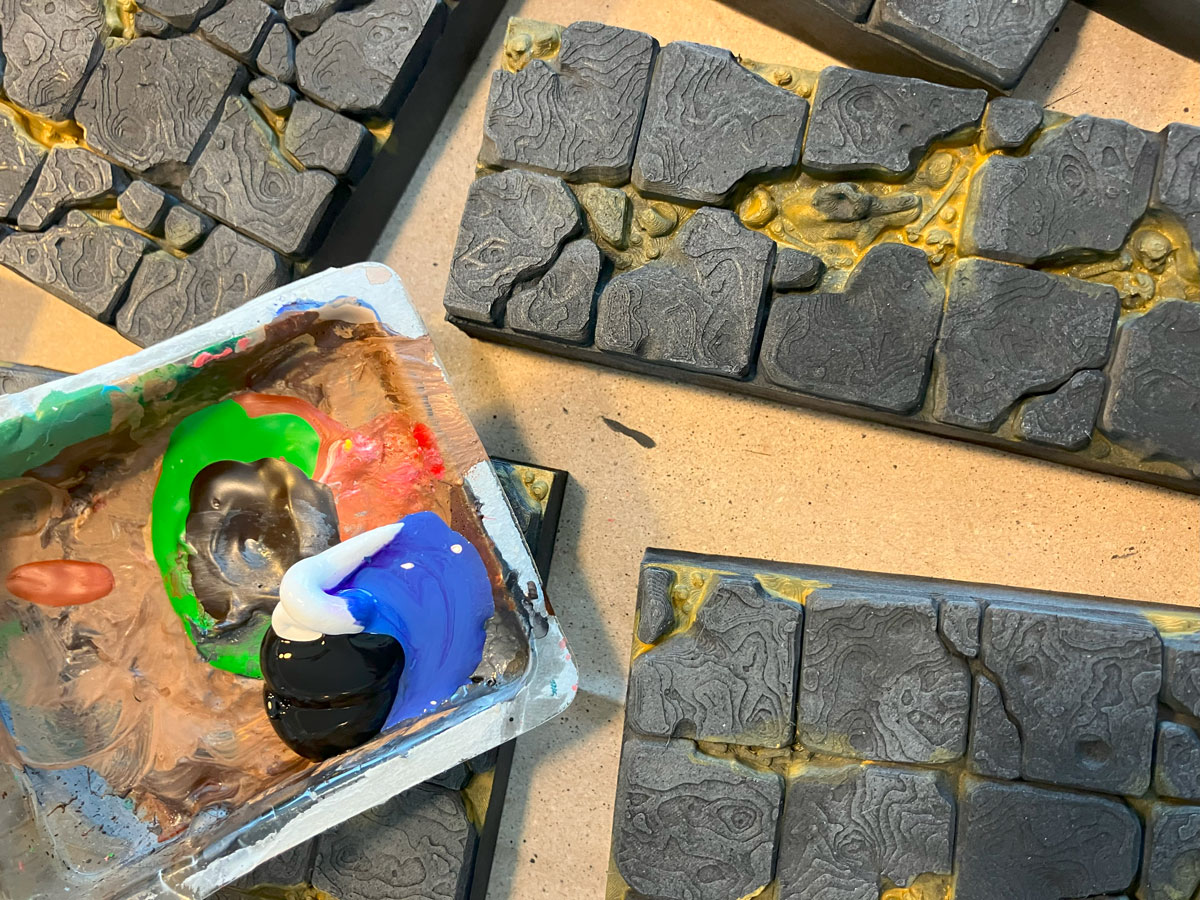
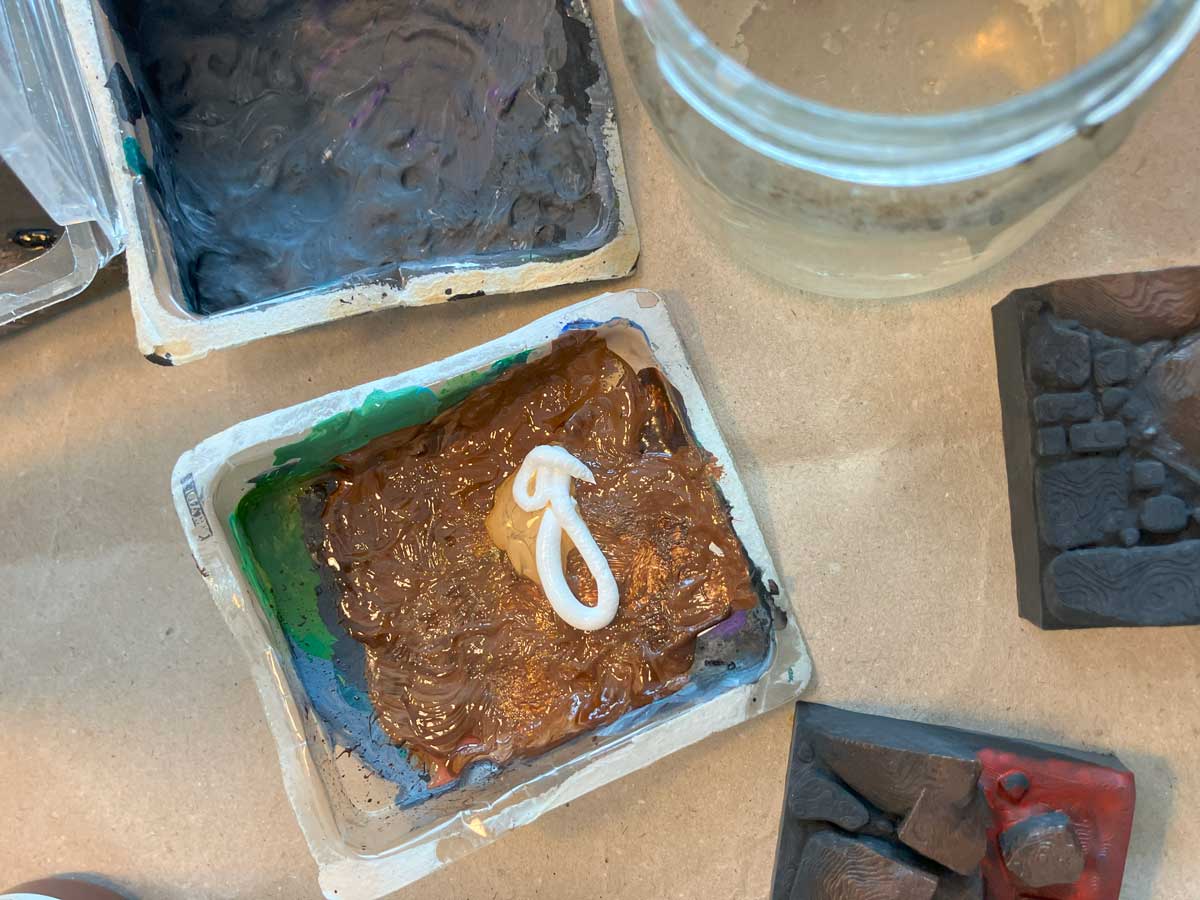
Again using a rough bristle brush, I applied the first highlighting somewhat more carefully. For this, I lightened the brown with white and Army Painter “Desert Yellow”.
7. Rocks: second highlighting
For the next highlighting, I added a little more white and “desert yellow”. As you can see, only the edges and the adjacent areas were accentuated.
8. Rocks: final highlighting
I only applied the last, very light accentuation very carefully to the outermost edges. For this, I added some Desert Yellow to my “mixture” and used it almost pure.
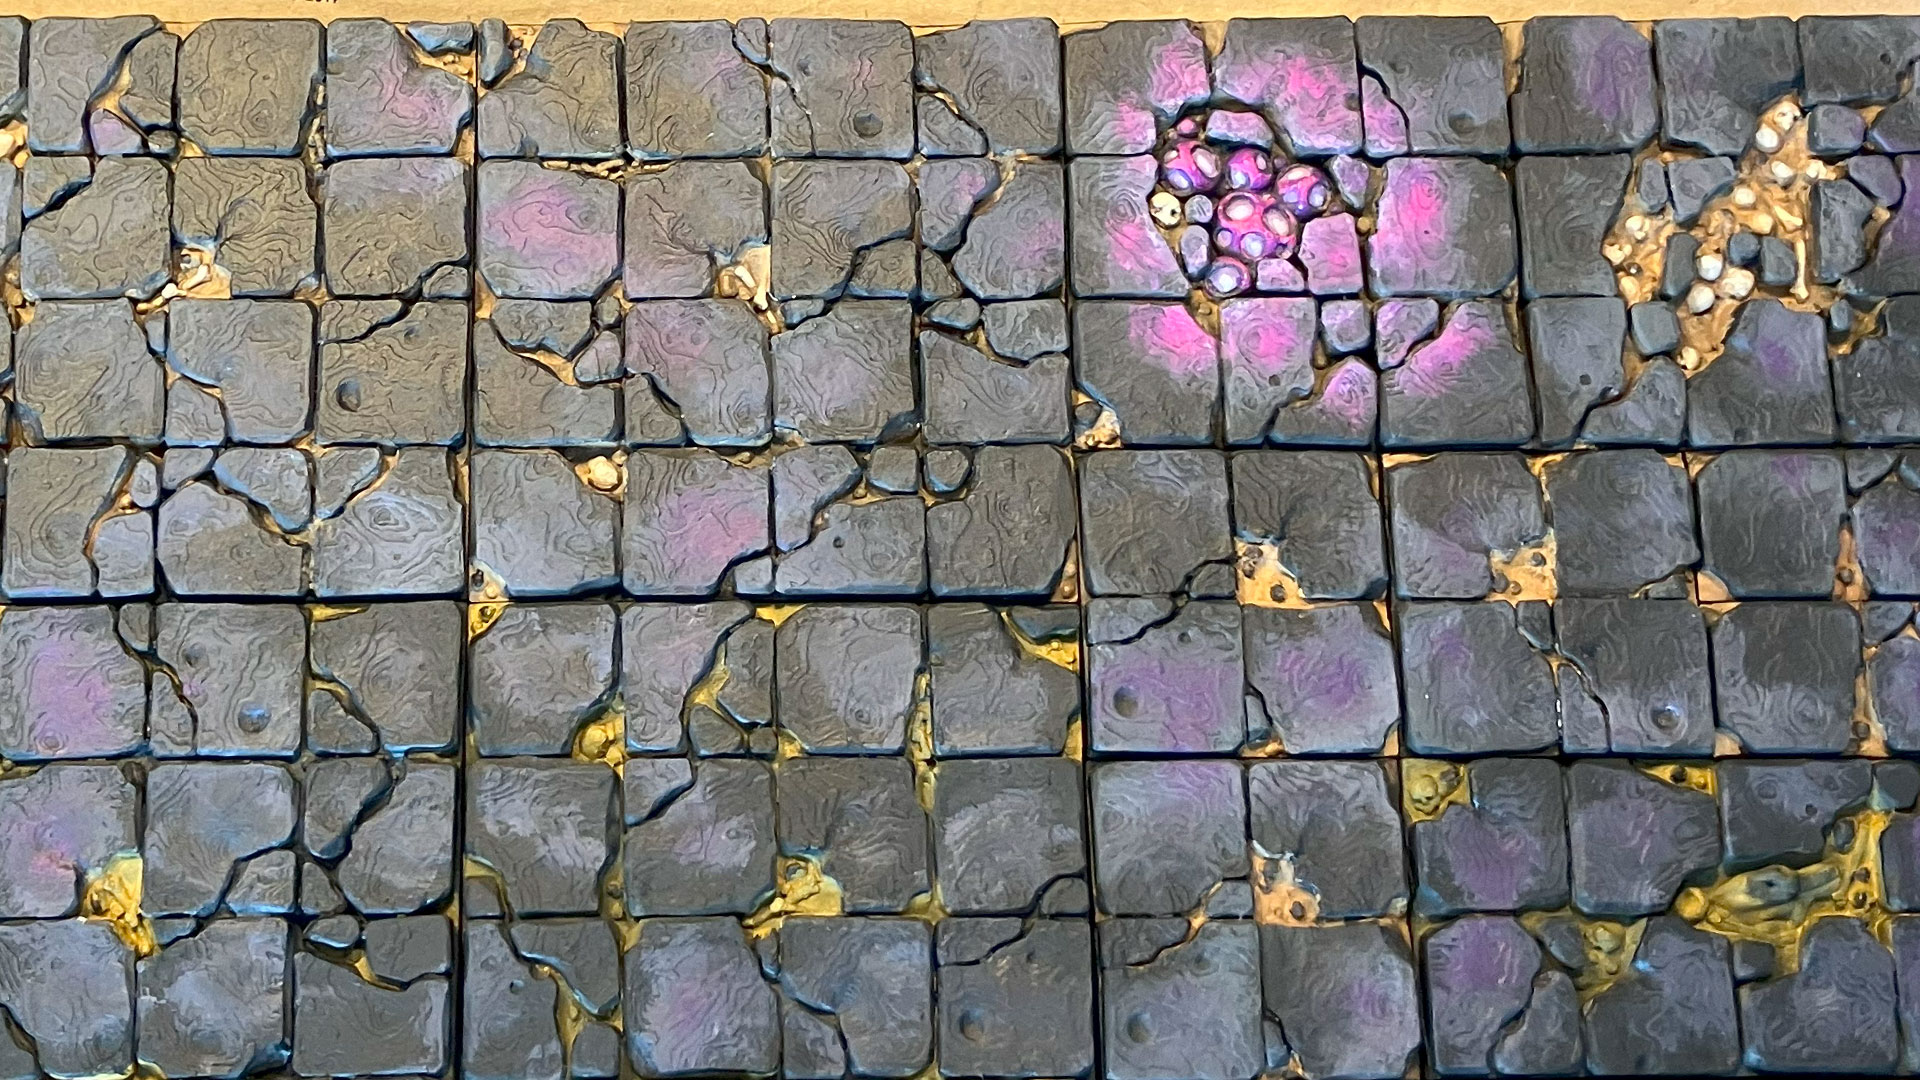
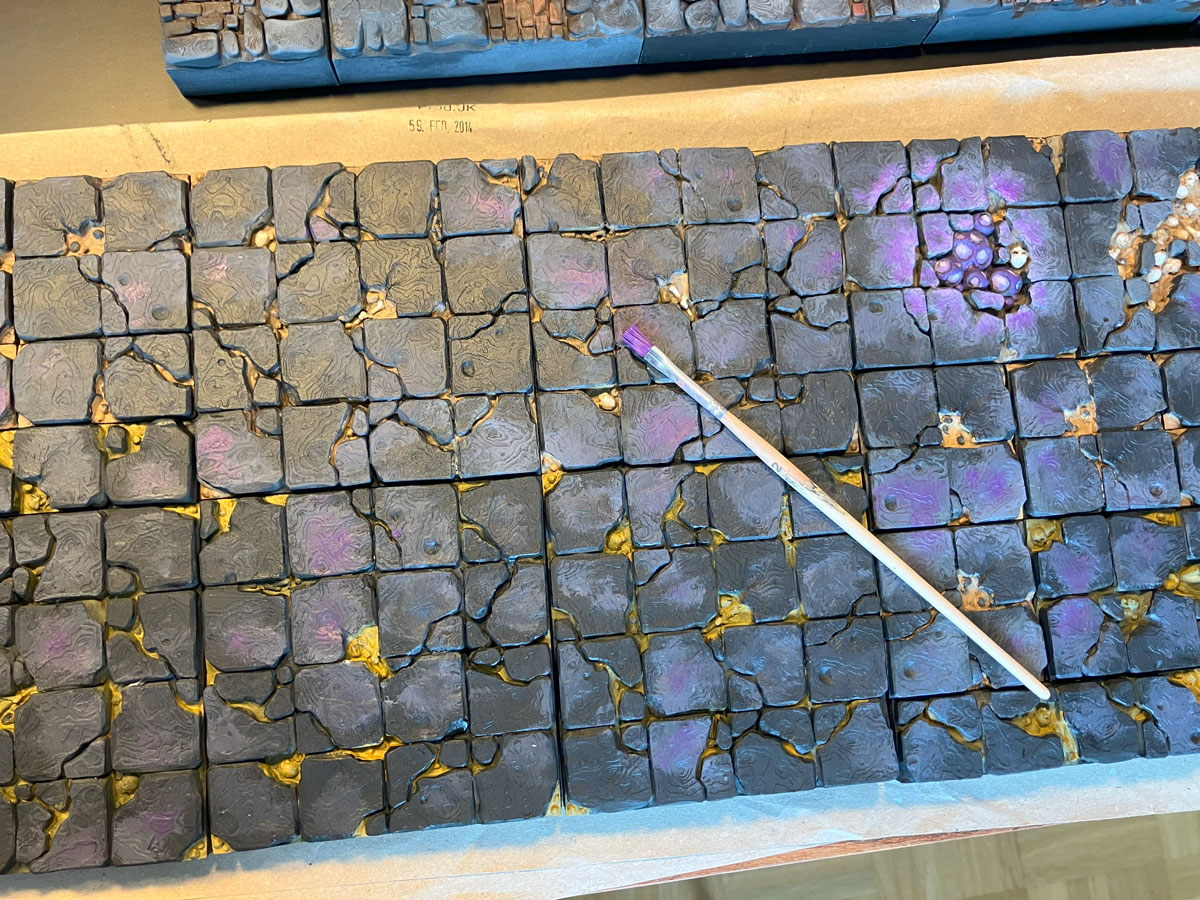
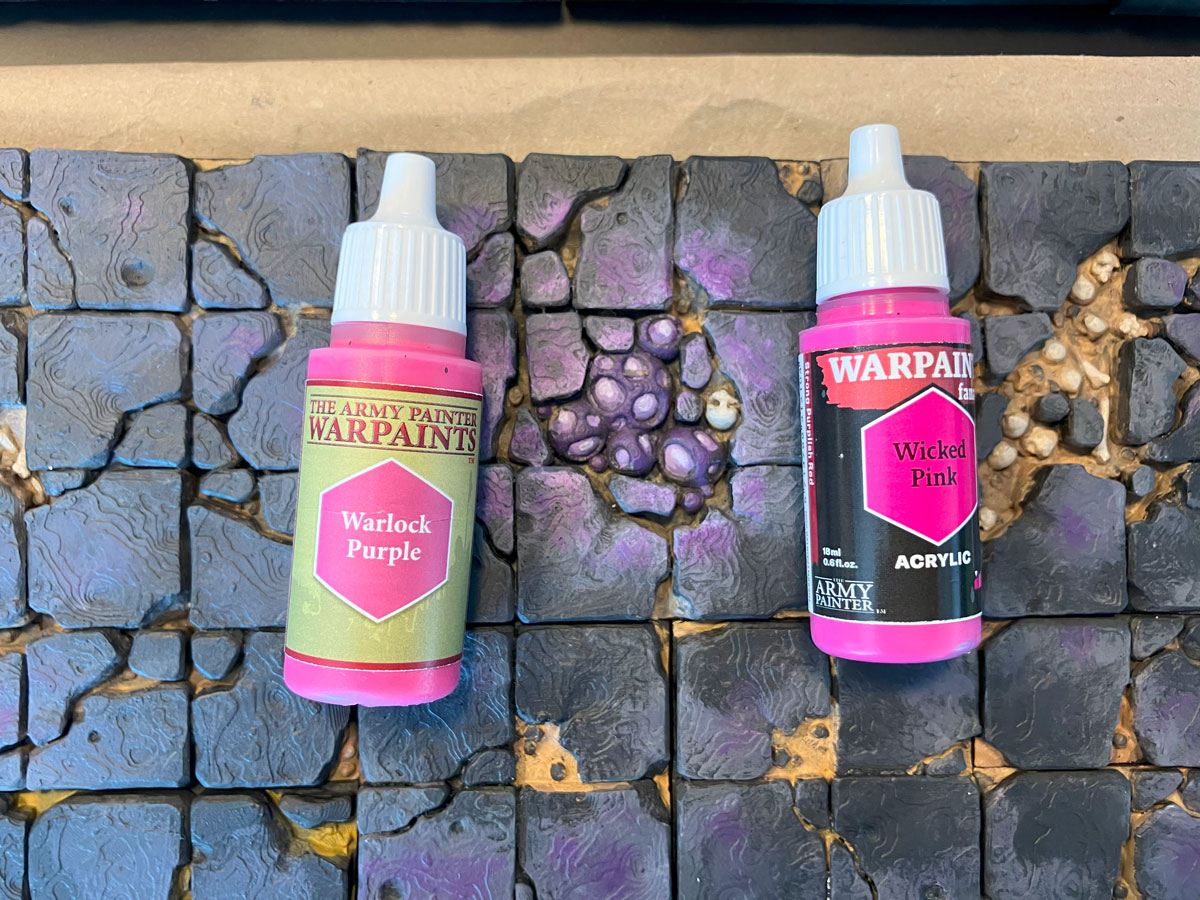
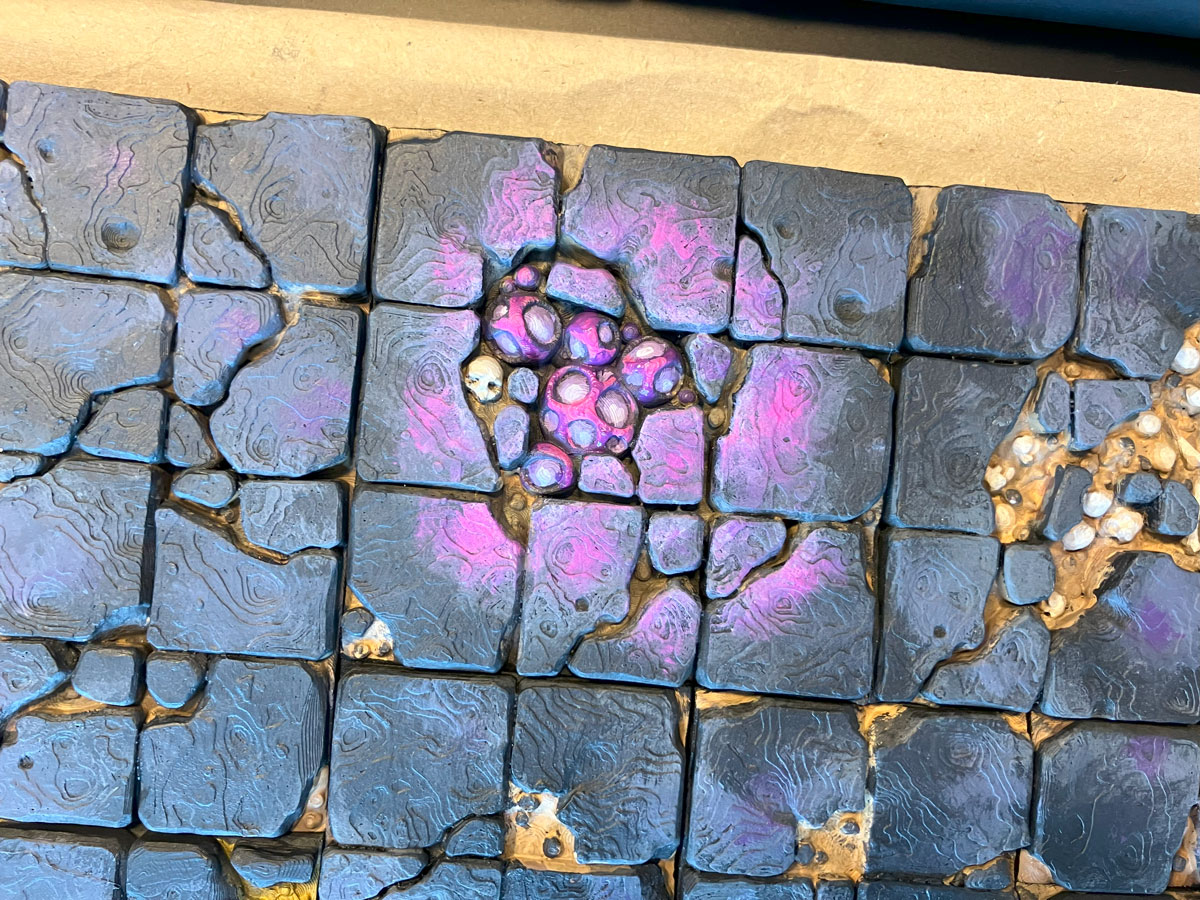
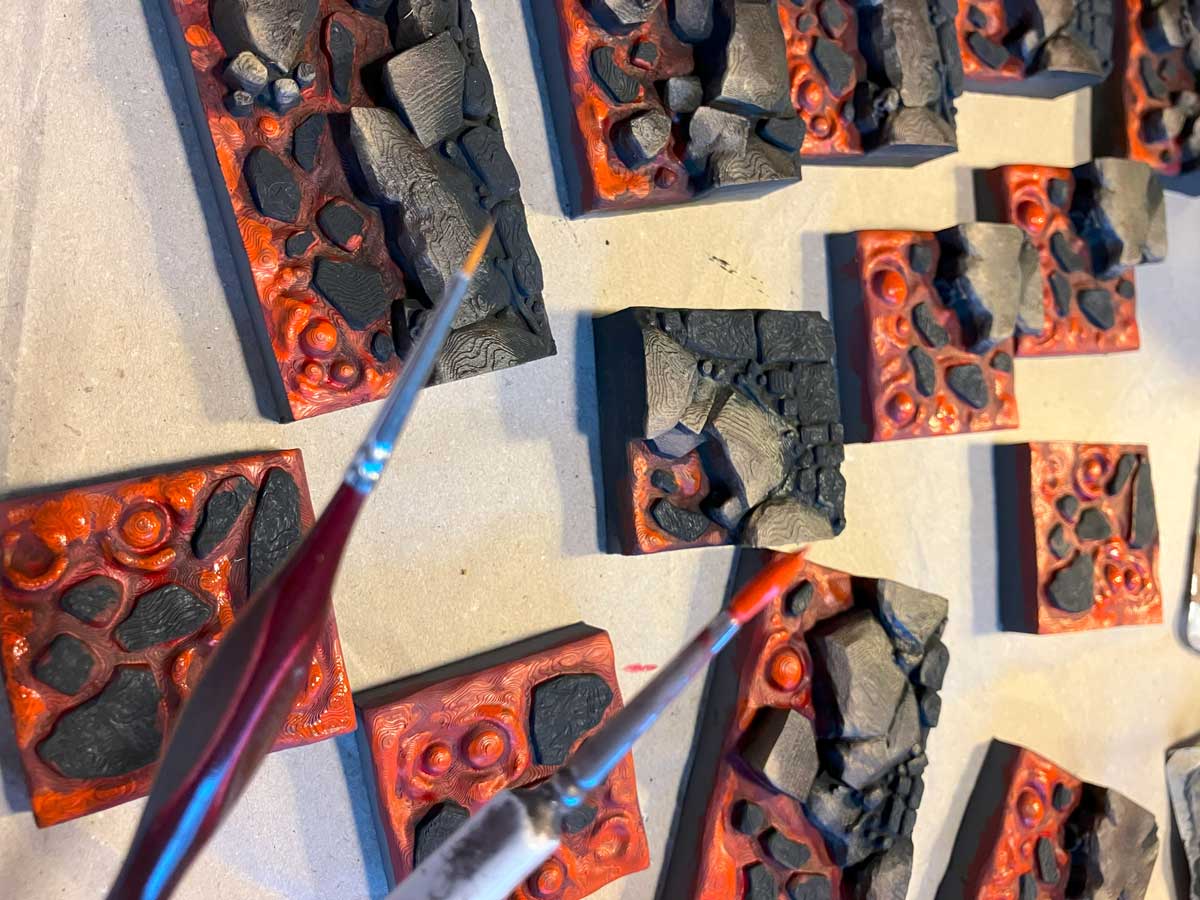
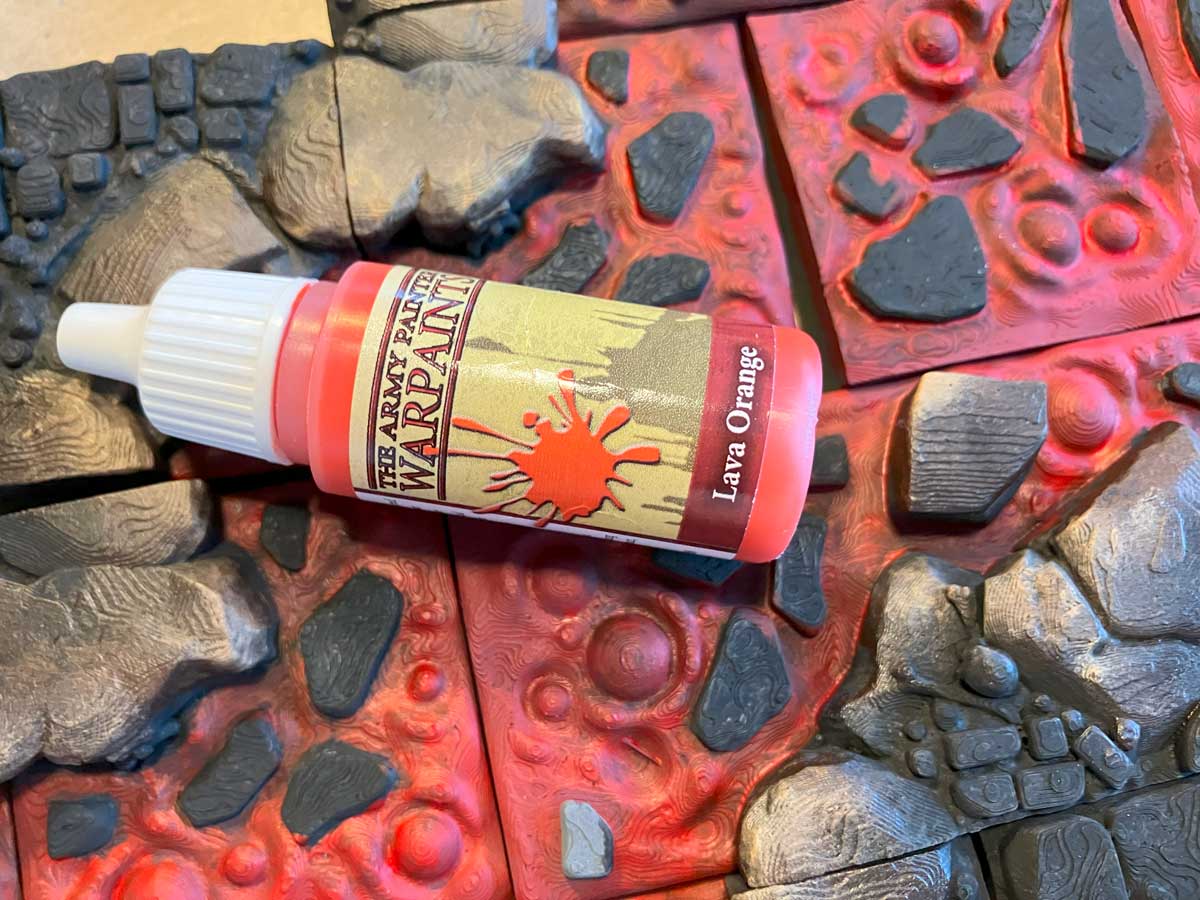
9. Lava: second highlighting: Orange
For the first accentuation of the lava, I decided on “Lava Orange” from Army Painter. Citadel certainly has even better colors to choose from, such as “Blazing Orange”. For these first Lava Tiles I even worked with 2 different brush sizes to be able to paint some gaps better. I didn’t do this later, as small mistakes in the overall picture no longer affect the painting.
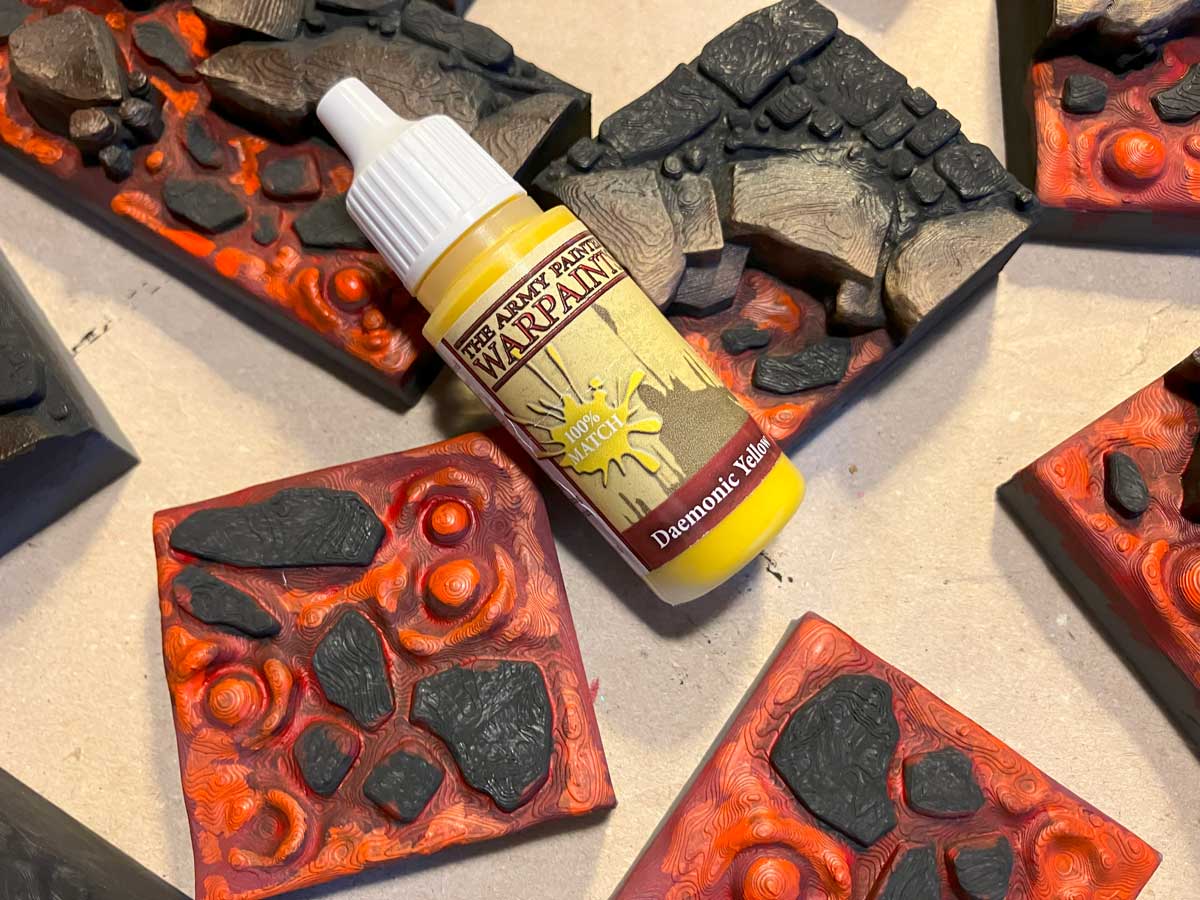
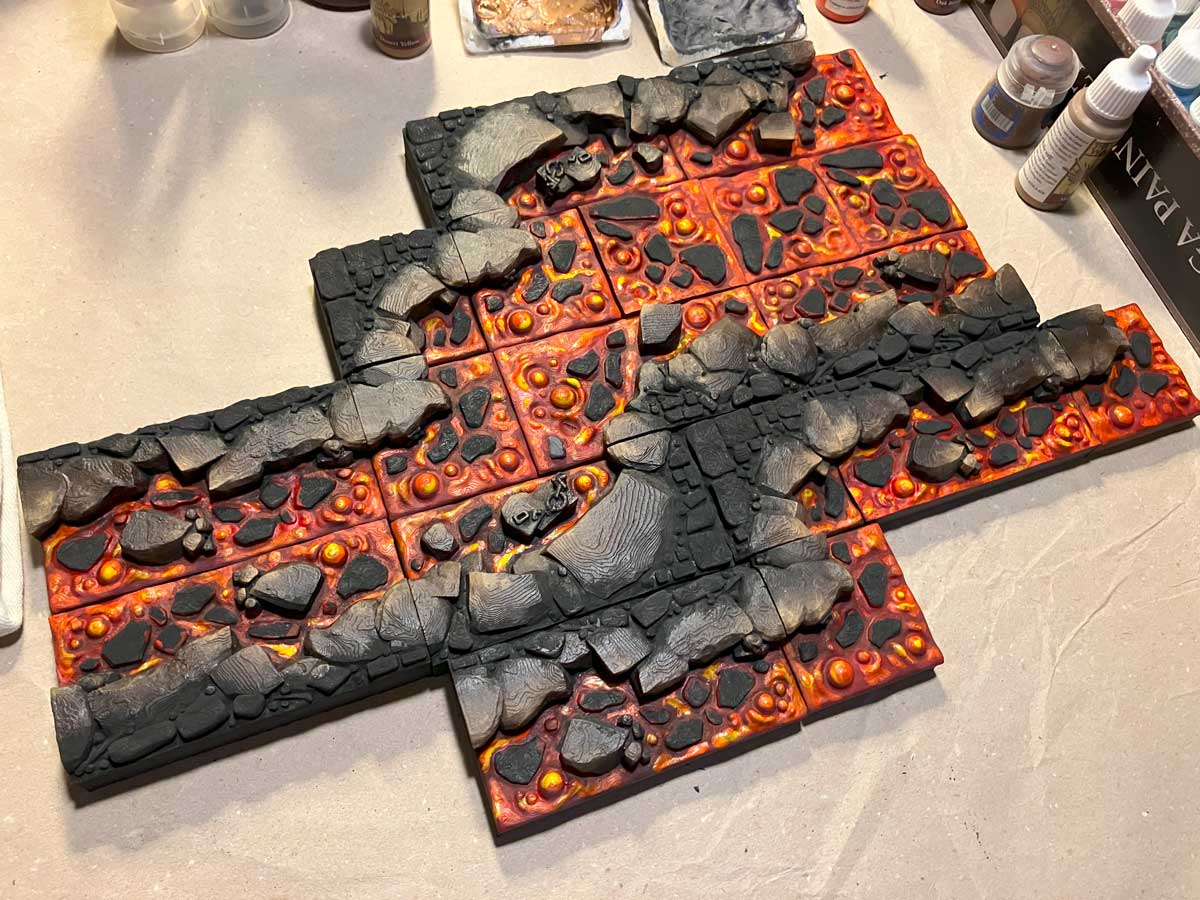
8. Lava: final highlighting
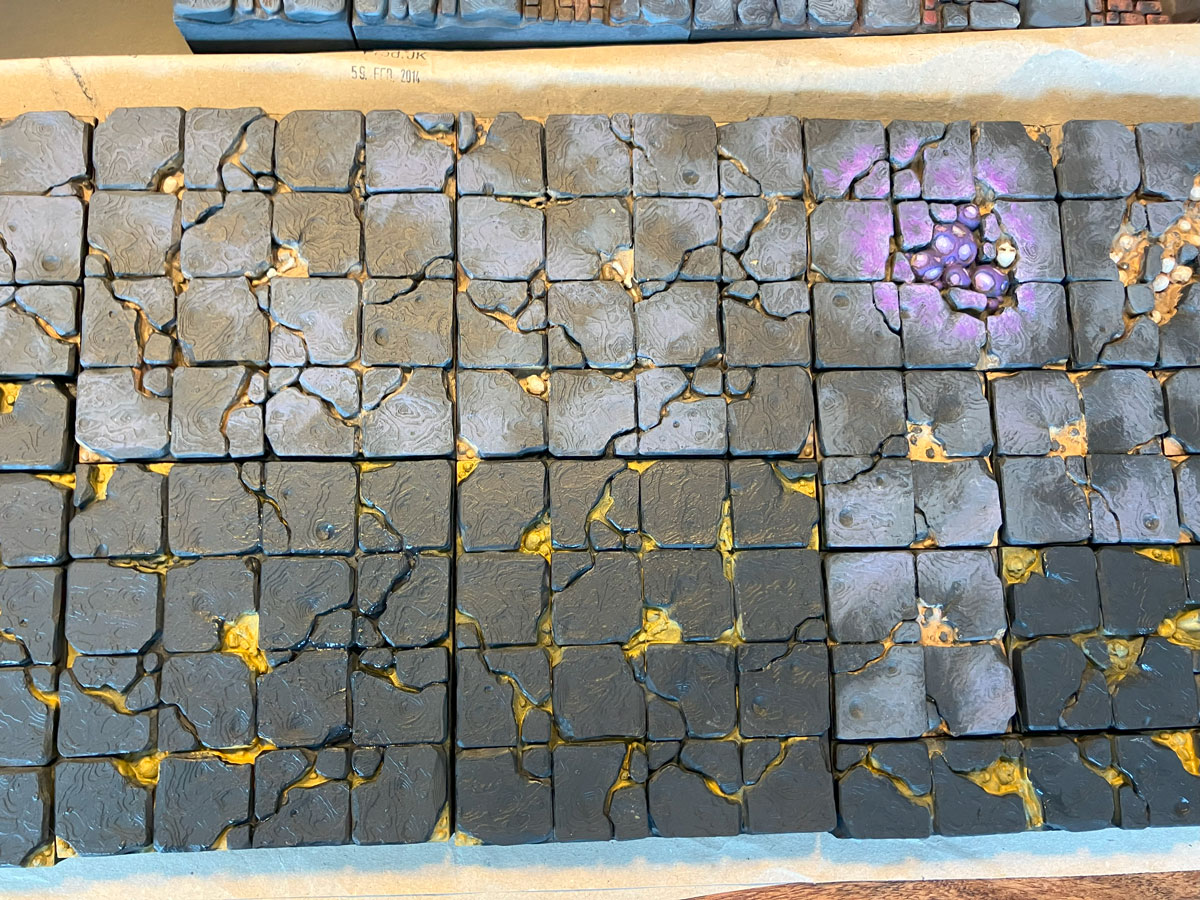
For the final yellow highlight of the lava, I chose “Daemonic Yellow” from Army Painter. Individually, the individual Lava Tiles don’t look particularly spectacular and the painting looks acceptable at best. In the overall picture of a gaming board, in which the terrain is somewhat in the background anyway and the viewing distance is taken into account, a little effort and such a painting can achieve an impressive overall result in my opinion. Of course, I am especially happy to receive photos from the community or even alternative paintings!
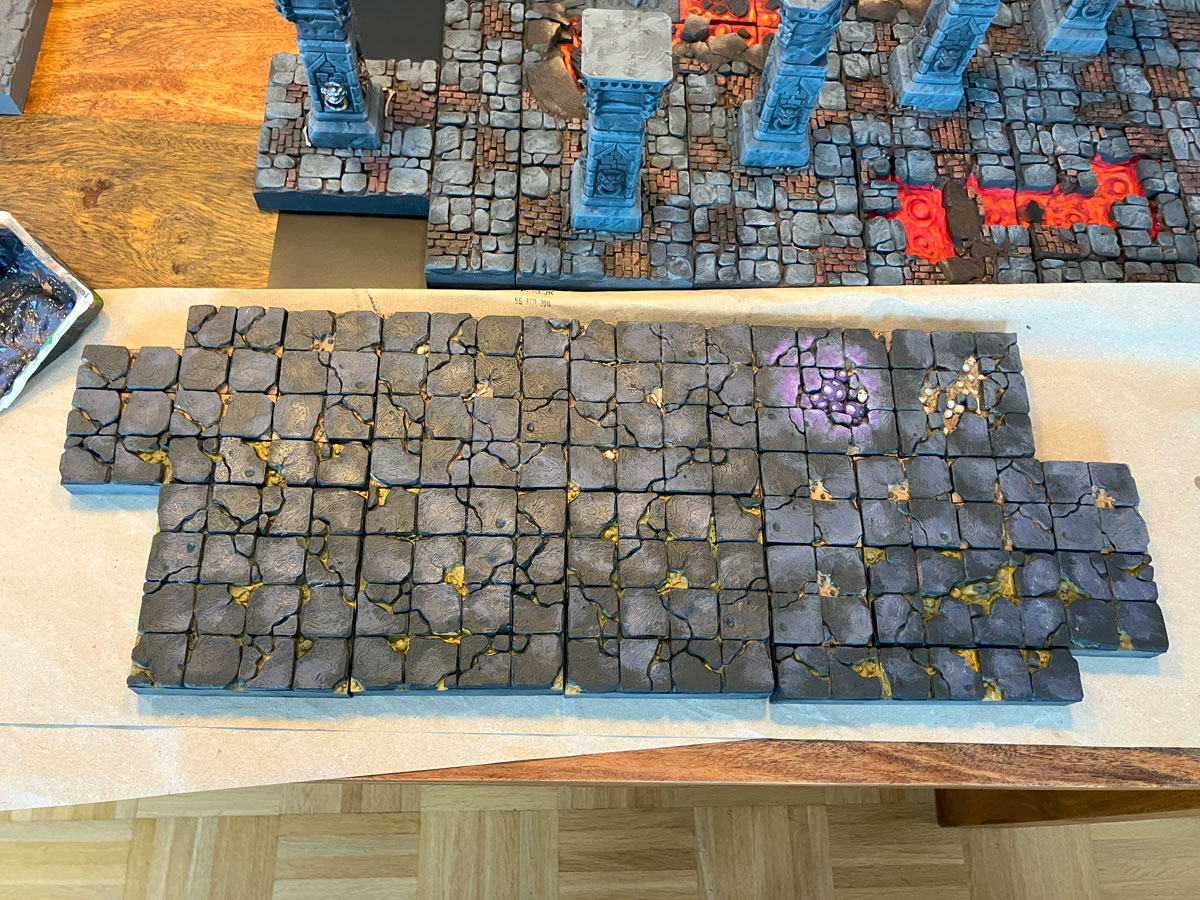
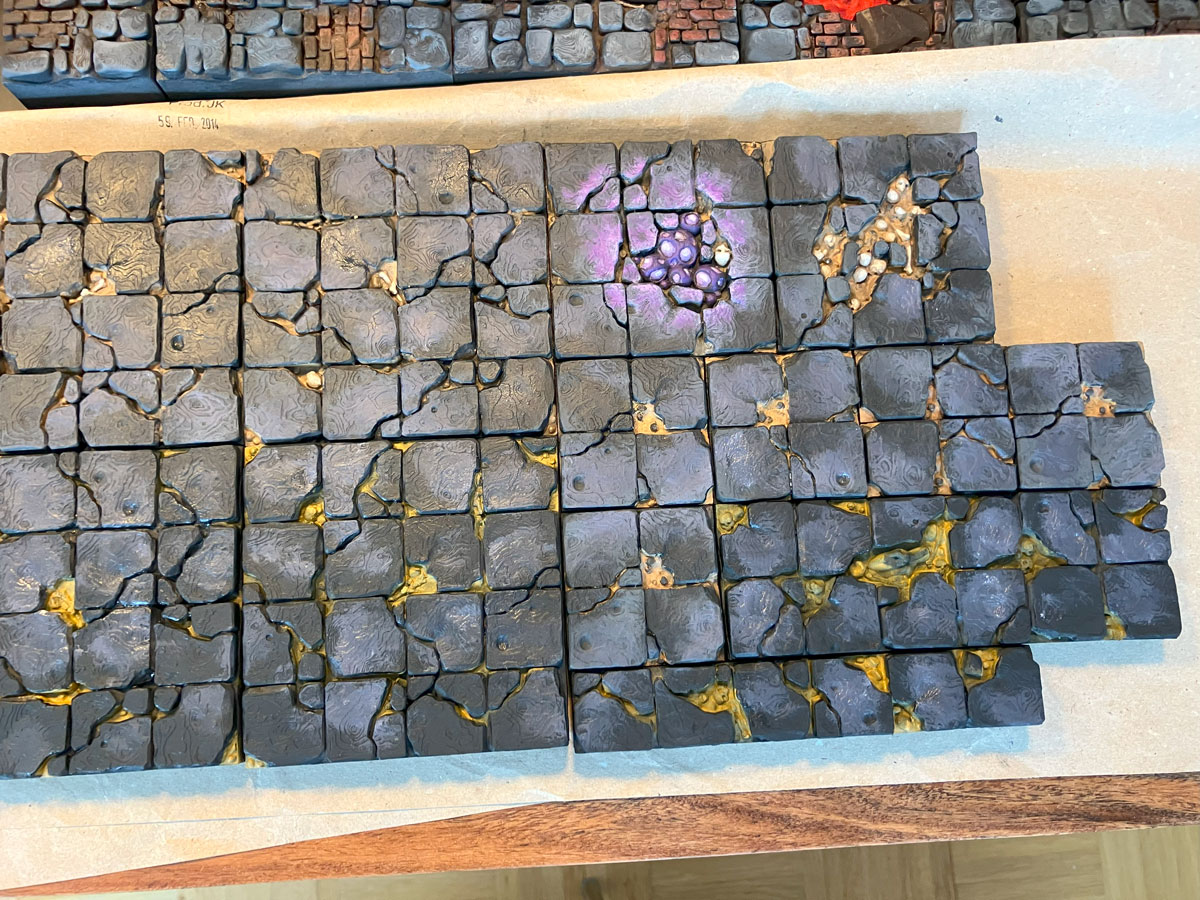
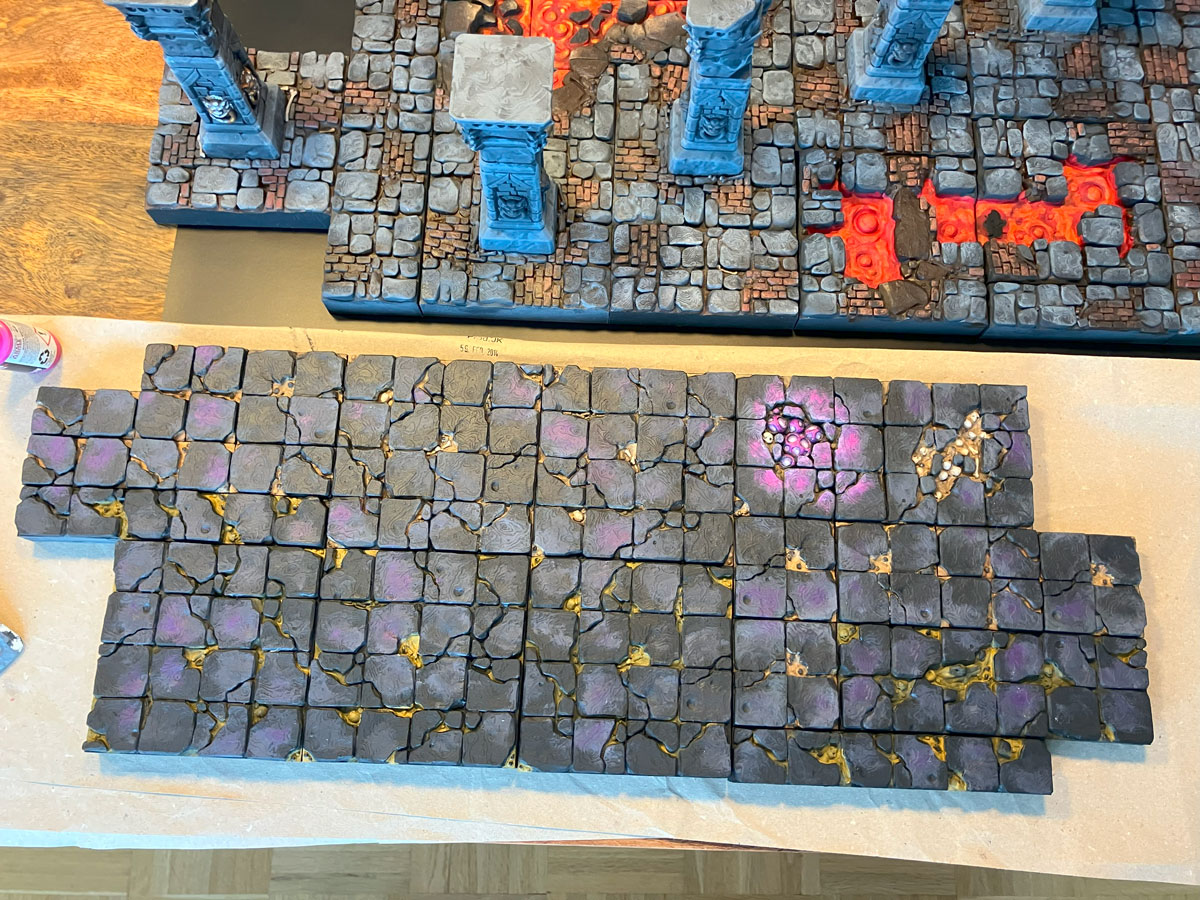
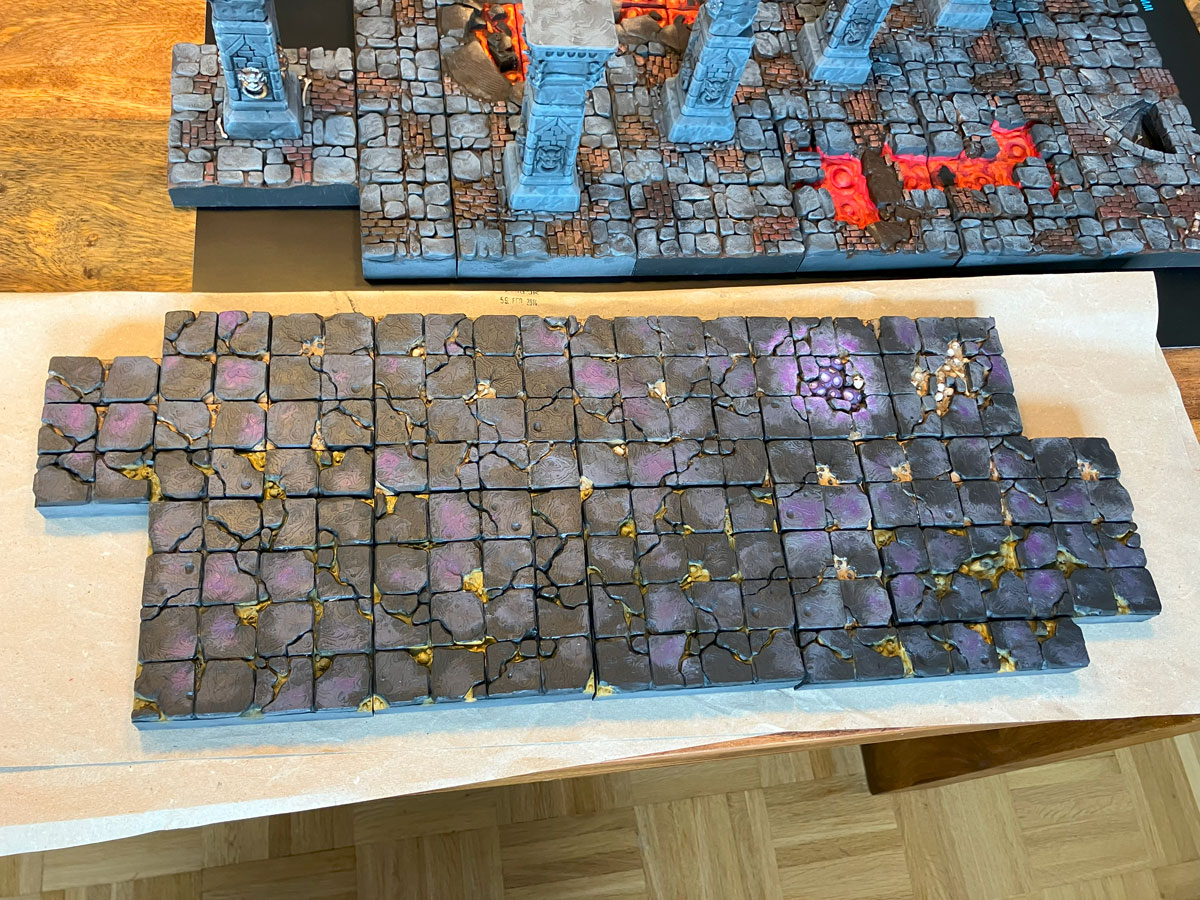
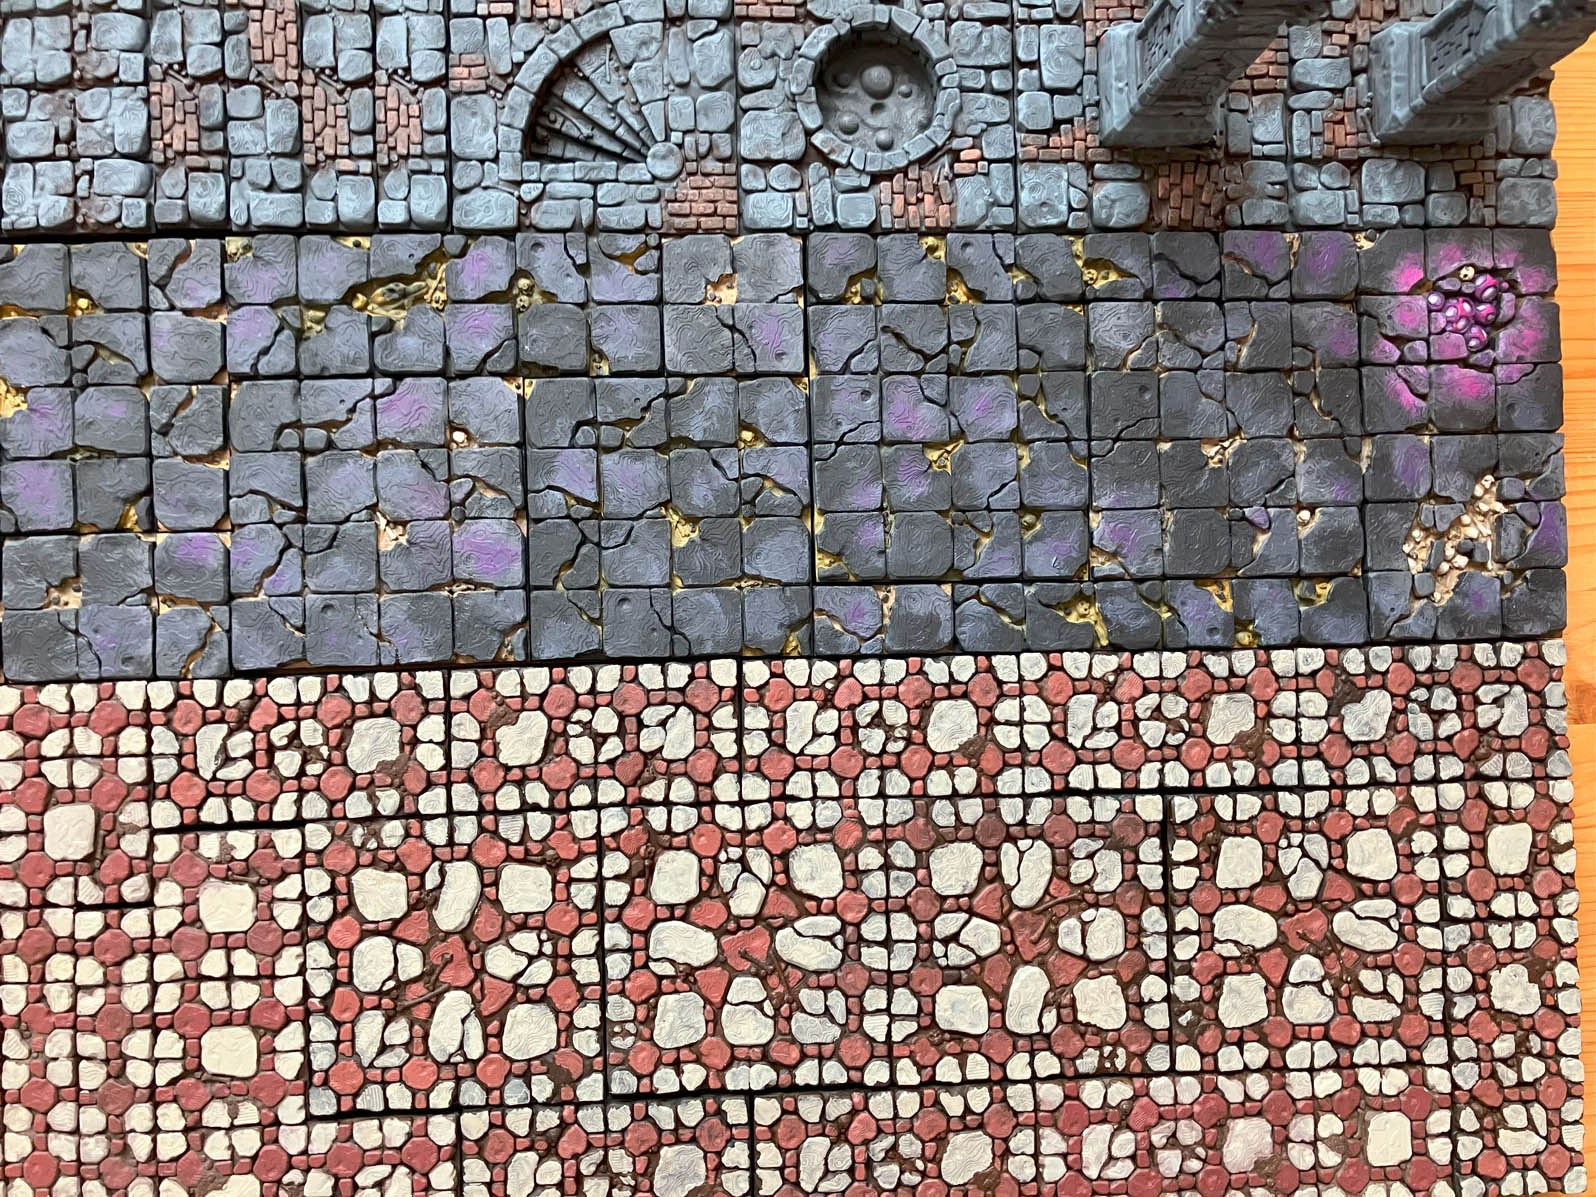
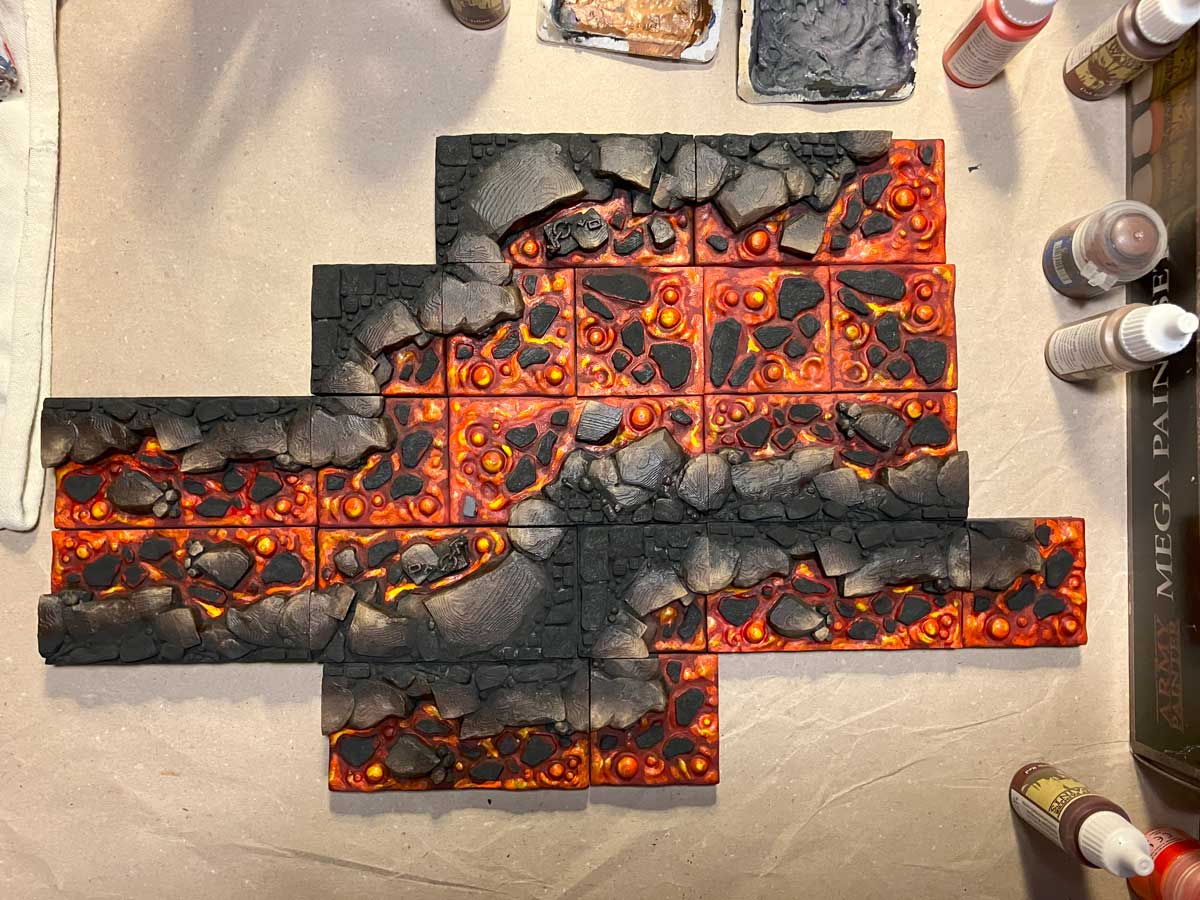
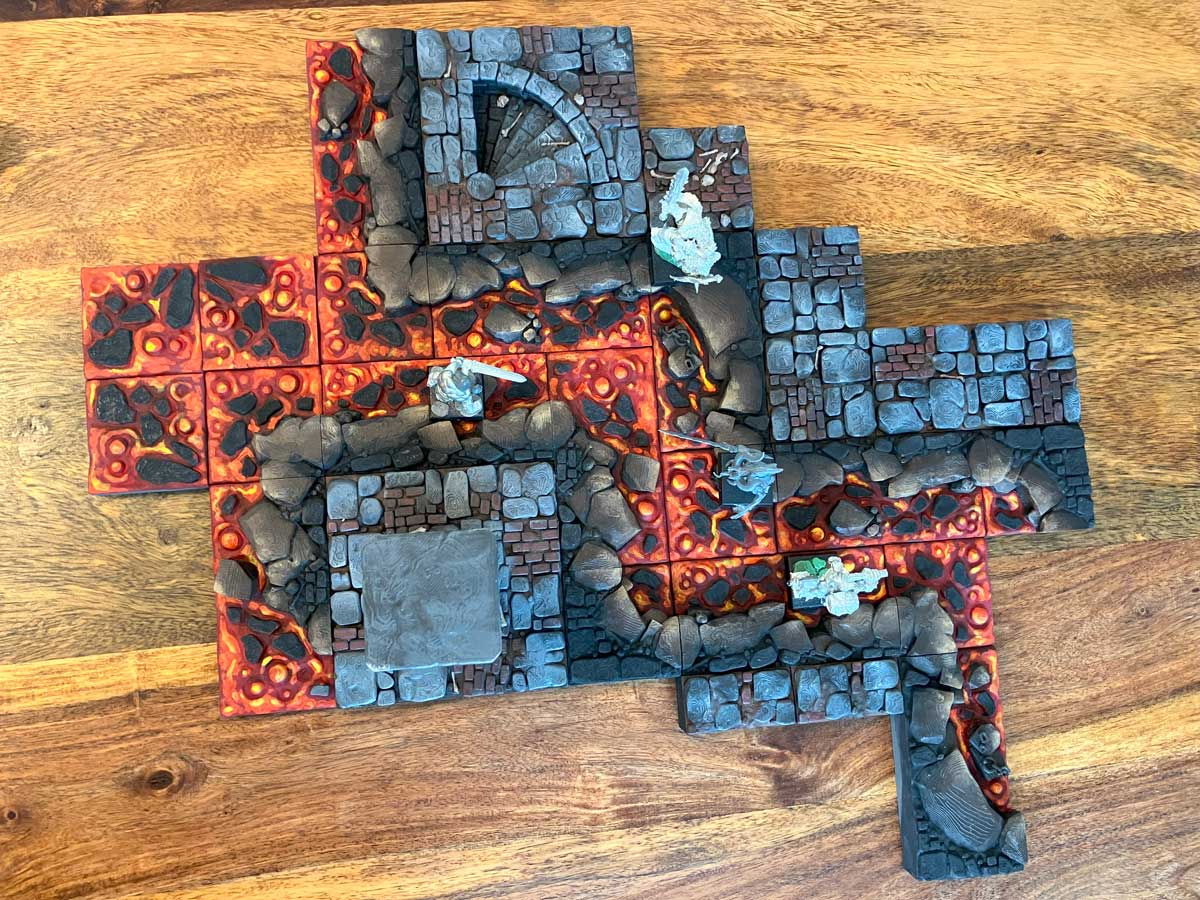
The as yet unpainted tiles, which create the transition to the surrounding Dungeon Tiles, should be painted in the same style as the other floor elements. I will publish a separate tutorial for this type soon.
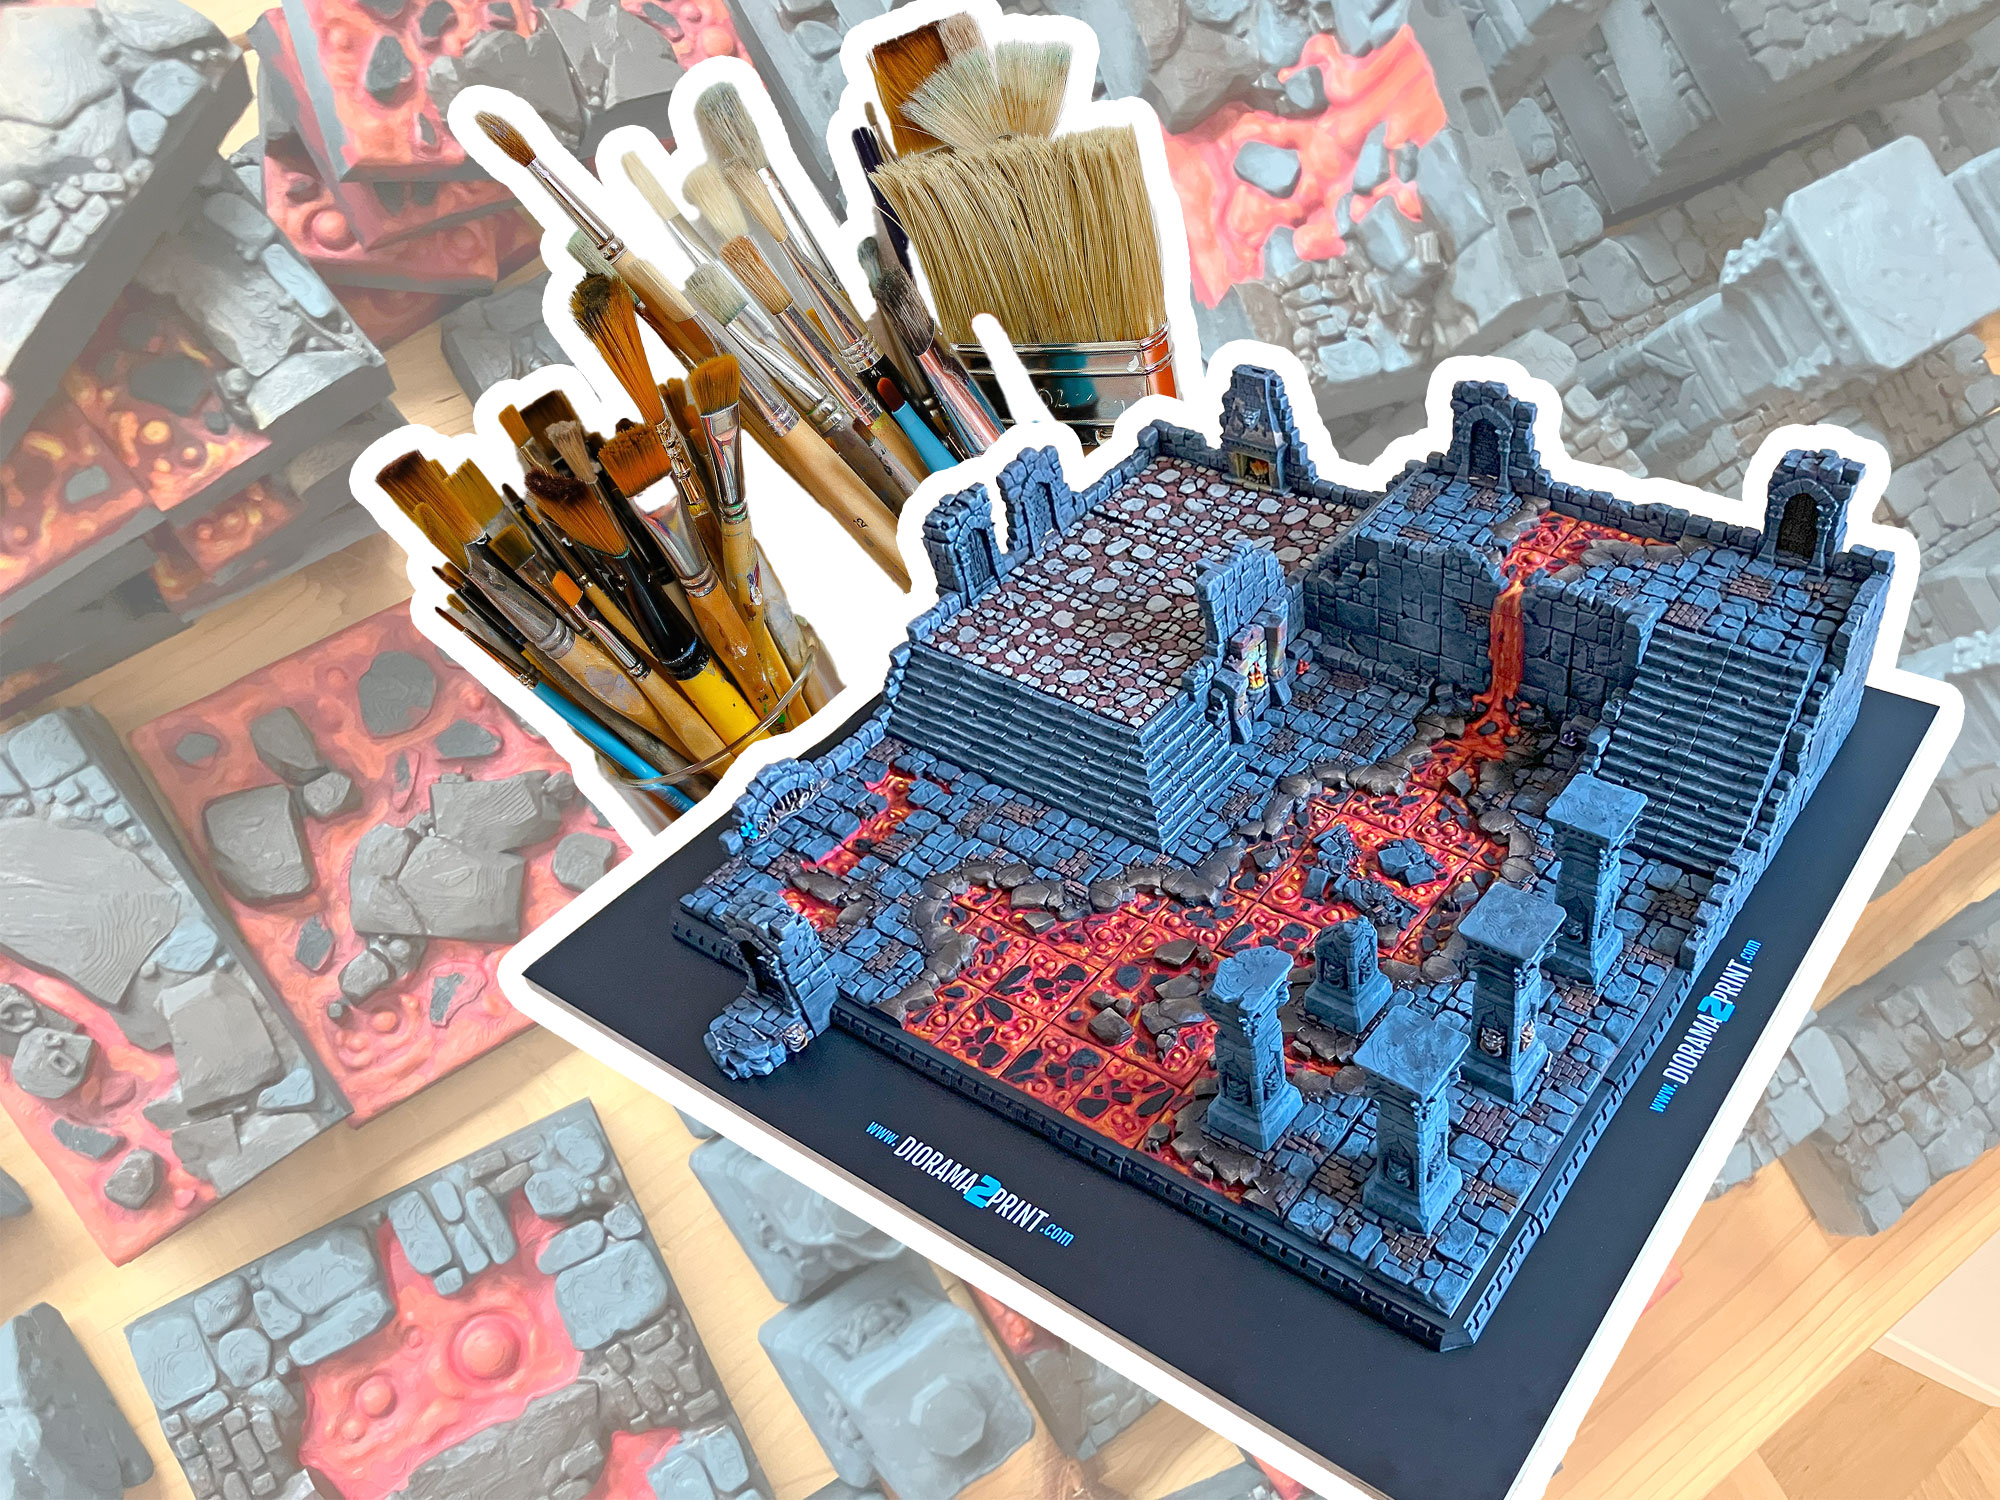
If you like these Lava Tiles you can find the corresponding STL files in my first expansion for my Curse of the Citadel Diorama Tiles set: