Cyclops Hobby´s massive Resin Dungeon Project

Key Notes Technology Resin Printing(Clips and Constructions in FDM) Locking SOCKETS (5mm Ball Magnets) Scale 100% (Grid Size: 25mm) Seeing the whole set printed in resin in these epic proportions is just fantastic and totally blew me away.Cyclops Hobby hollowed out the files themselves and added drainage holes and printed directly from the plate. The […]
Read More
Easy Dark Dungeon Tiles Paint Scheme
Starting a New Project with a New Color Theme For my Great Hall campaign, which started in spring 2025, I not only began a new project by reprinting my set at 80% scale, but I also wanted to try a new, darker look. Desired Atmosphere The goal of this paint scheme is to create a […]
Read More
Painting Castle Tiles: Terracotta & White with Citadel Colors

Last year, I started printing my dungeon again at 80 % scale, and I quickly realized: 40 kg of PLA doesn’t paint itself 😅. I took this new project as an opportunity to try out a completely new, rather dark color scheme – this time with a focus on reproducibility, since I’ve received many requests from the […]
Read More
Painting Fire Like a Pyromancer: A Mini-Tutorial for Flames & Light Effects

You don’t need Golden Demon painting skills to bring your dungeon terrain to life – just some paint, the right method, and your dungeon will literally glow. I’m not a pro painter either, but even with basic tools and a bit of experimentation, you can achieve impressive fire and lighting effects that elevate your scenery. […]
Read More
Dungeon Stonework – Mixing Greys on a Budget

The Painting Process in 4 Steps When painting dungeon terrain in larger batches, one question quickly comes up:How do I get a convincing stone grey – without burning through my entire hobby budget?This post isn’t a step-by-step tutorial, but rather a quick documentation of how I painted the walls, stairs and door frames of my […]
Read More
My first Dungeon Diorama Board setups
Looking Back: First Setups from the “Curse of the Citadel” Campaign In this post, I’m looking back at the first of currently three campaigns I launched on MyMiniFactory – “Curse of the Citadel”. The diorama set introduced during this initial campaign has continued to evolve ever since. The setups I showcased back then weren’t just […]
Read More
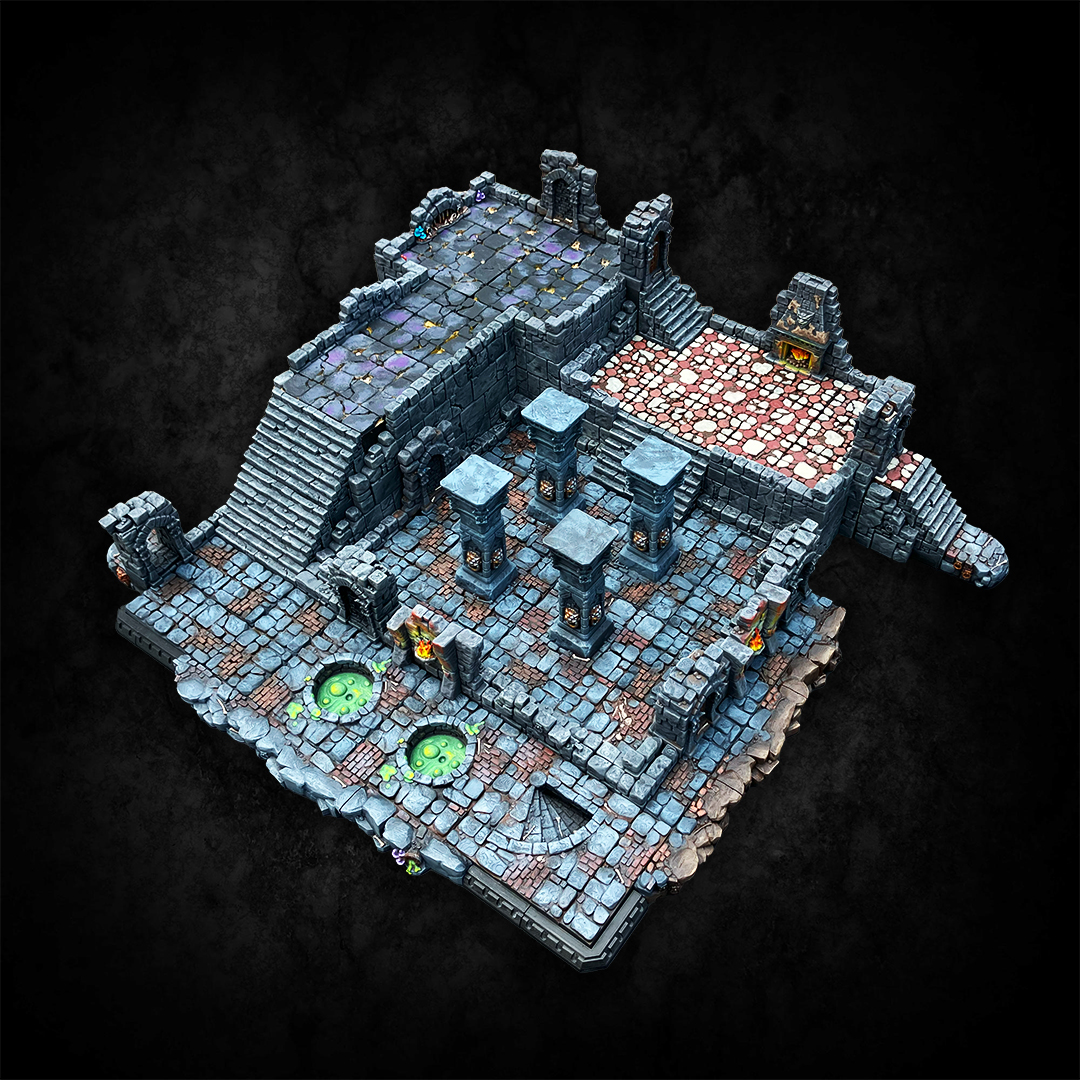
My Temple Diorama Built with 3D-Printed Dungeon Tiles

From Test Build to Full Layout – My Modular Temple Board Journey This project began as a simple experiment: placing two freestanding temple structures made from my modular “Curse of the Citadel” 3D-printable dungeon tile set on a classic grass-matted gaming board measuring 210 x 140 cm. I wanted to see how well these tiles […]
Read More
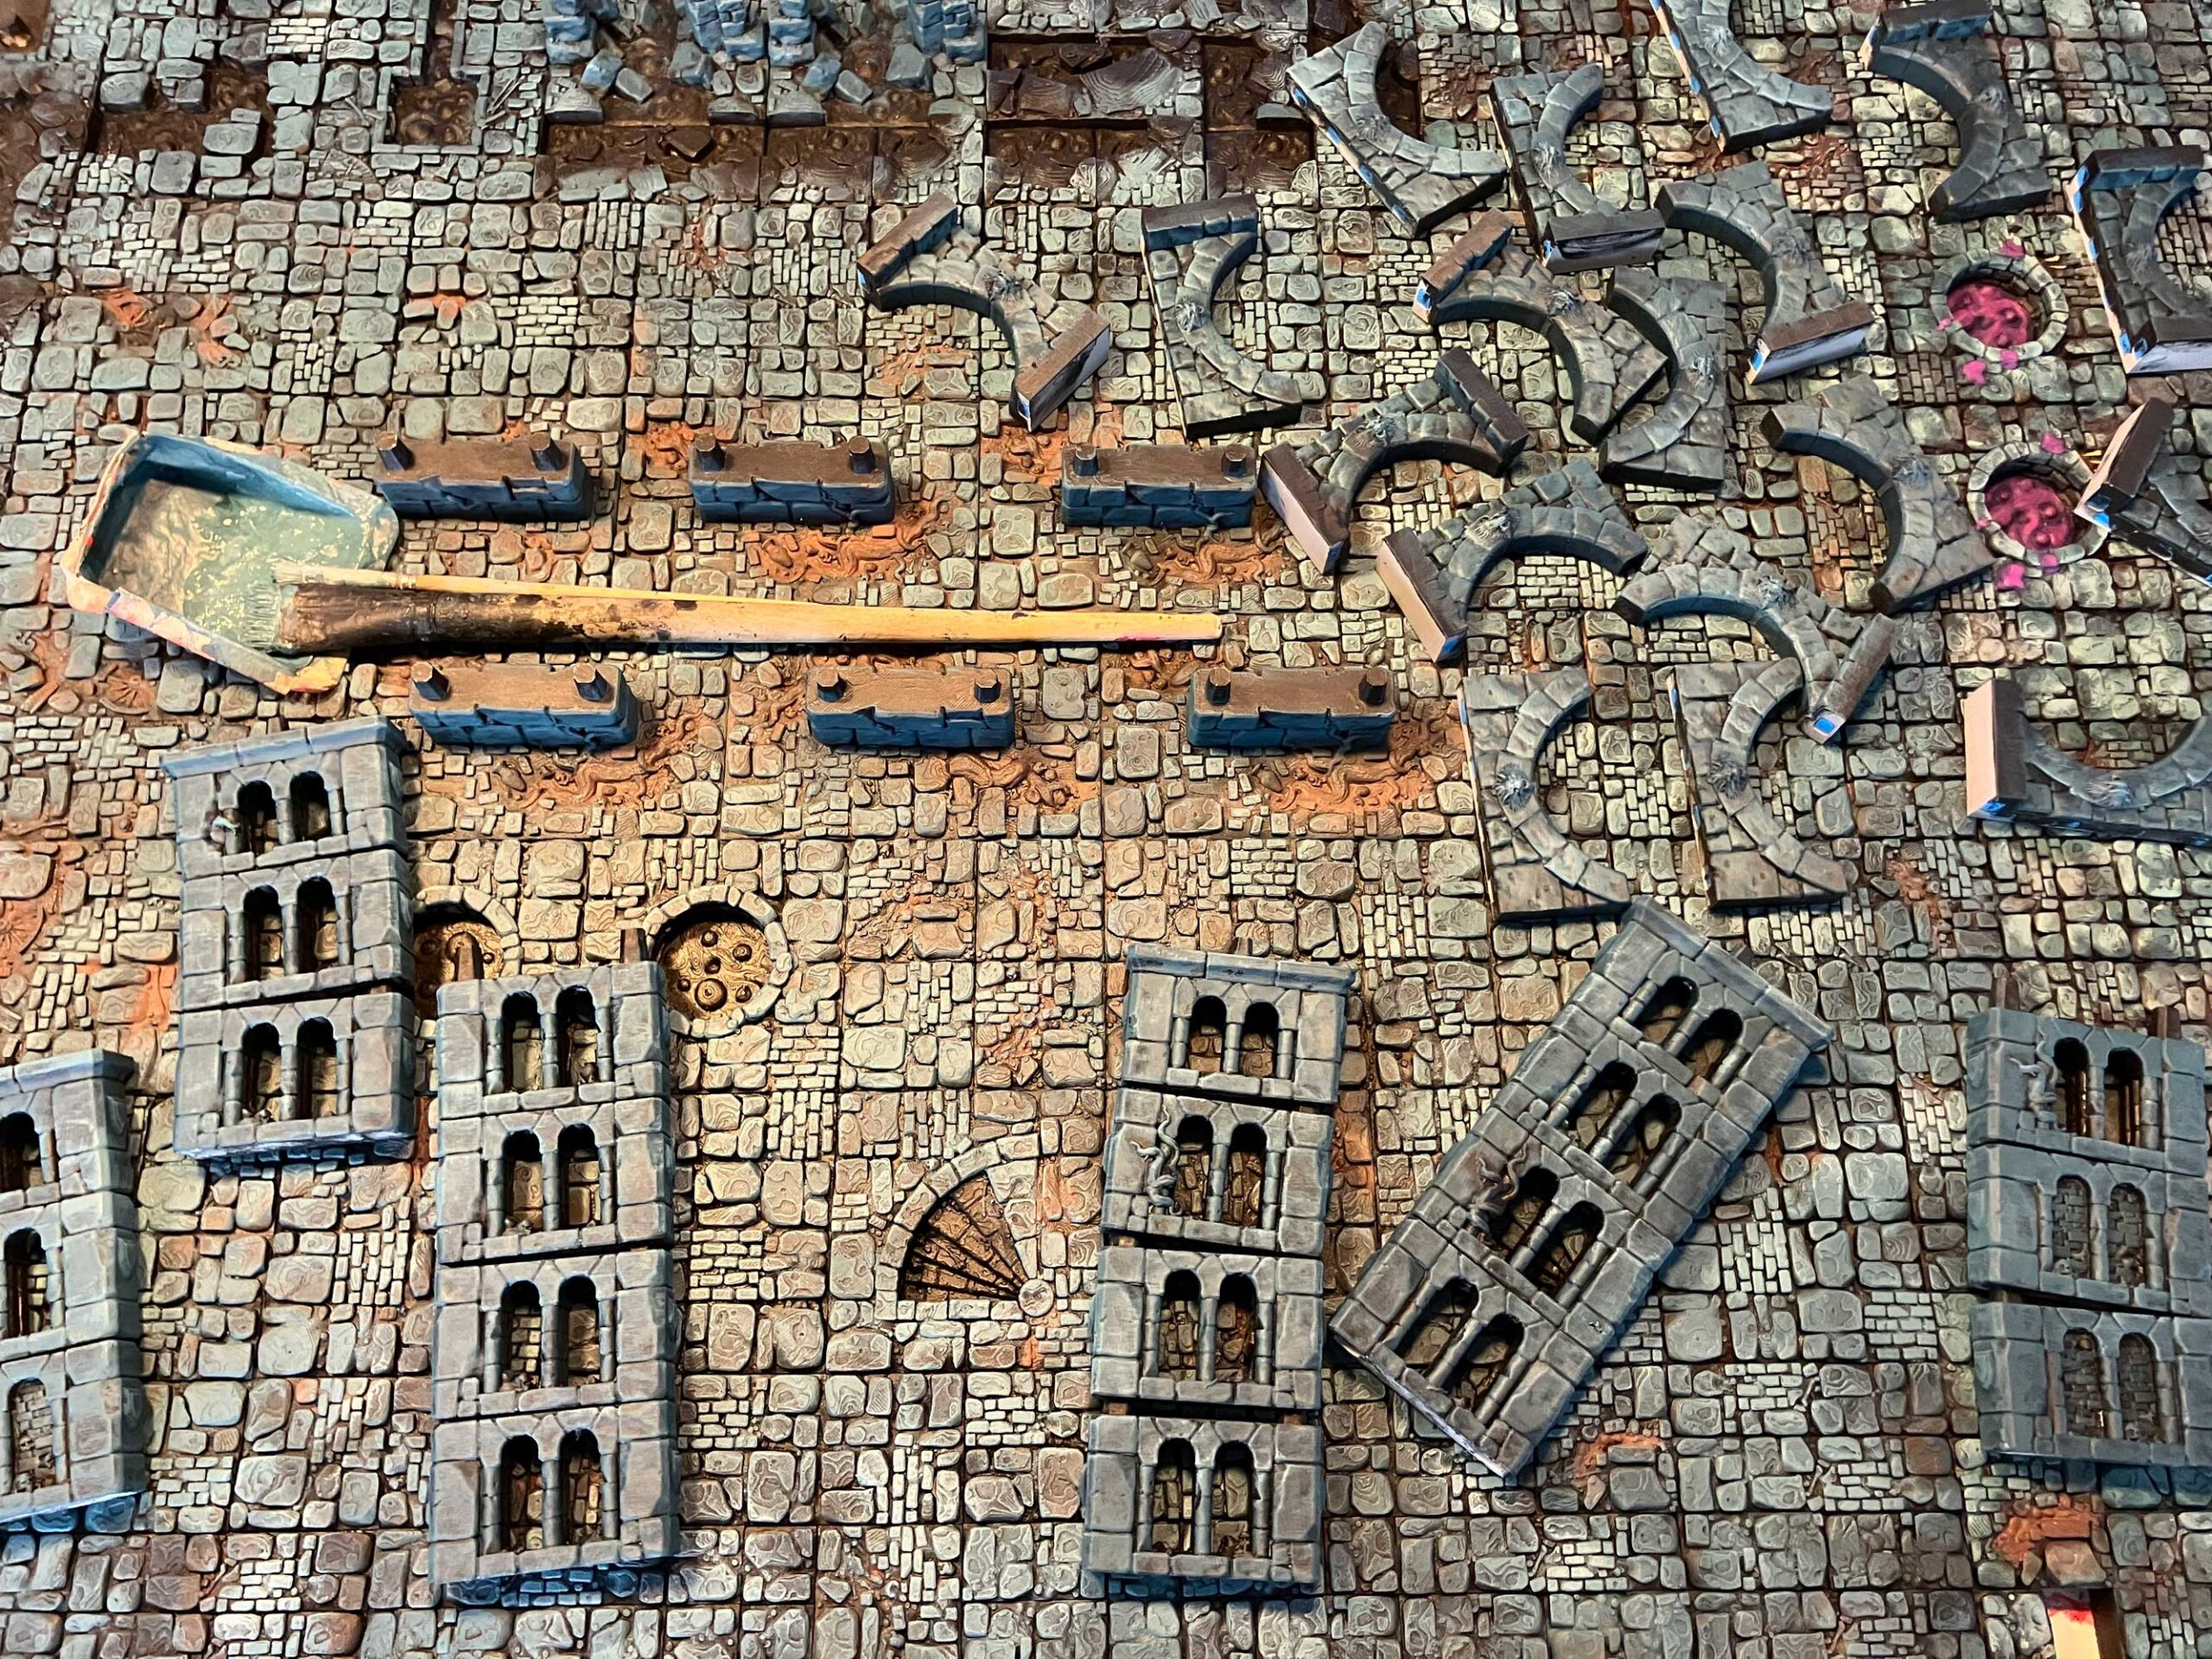
Painting Basic Tiles: Grey + Terracotta

Color-Theme Version 1:Basic Tiles two tone scheme After some consideration, I decided to paint my first Dungeon Tiles (Basic Tiles) using a two-tone scheme:The large stone tiles are done in a cool, bluish grey, while the smaller in-between tiles get a warm terracotta red-brown.This helps highlight the distinct structure of this floor set, which features […]
Read More
Storage – the foundation for setup creations!

Keeping all the parts of the set well sorted means that you can quickly find the parts you need. This not only allows for a quick build-up, but also a lot of fun when creating a new layout!I always try to sort the parts back when disassembling a setup and have now developed a fixed […]
Read More
Great Hall Dungeon Setup Guide

Welcome to the first setup guide for a “Cursed Citadel” Dungeon Map. The modular dungeon board consists of 7 areas (A-G). As these are only connected by doors and stairs, the individual areas can be easily pulled apart and moved separately. Below you will find a small assembly documentation for each area, so that you […]
Read More