
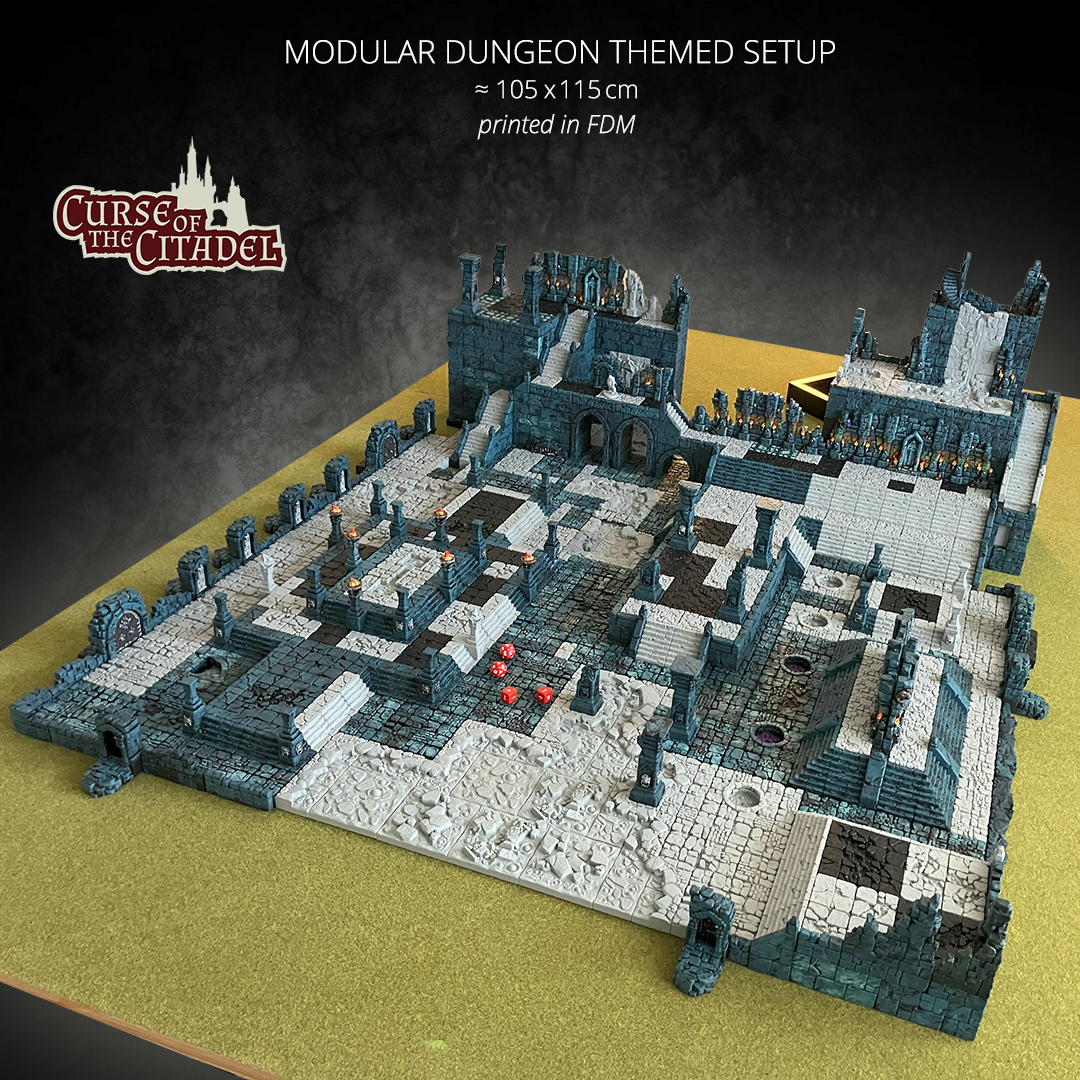
From Test Build to Full Layout – My Modular Temple Board Journey
This project began as a simple experiment: placing two freestanding temple structures made from my modular “Curse of the Citadel” 3D-printable dungeon tile set on a classic grass-matted gaming board measuring 210 x 140 cm. I wanted to see how well these tiles would fit into a traditional wargaming environment and how natural they could feel as terrain elements.
Encouraged by these initial impressions, I decided to expand the scope and build a complete diorama using the parts I had printed so far. Printing everything at 80% scale, I quickly realized I needed more material, eventually using an estimated 30 kg of PLA. After some fiddling and experimenting with different arrangements, the design gradually took shape until I felt it really worked.
At one point, I switched the entire setup onto a sleek black vinyl surface to test a more neutral, dramatic base. The contrast—especially with the unpainted lava sections—already hinted at how much more vivid the board would look once fully painted. Thanks to magnetized terrain sections, moving and adjusting the pieces was surprisingly straightforward.
Eventually, I disassembled the setup to clear space and prepare for future experiments. The project was a valuable learning experience that helped me identify which additions could make upcoming builds more dynamic and immersive.
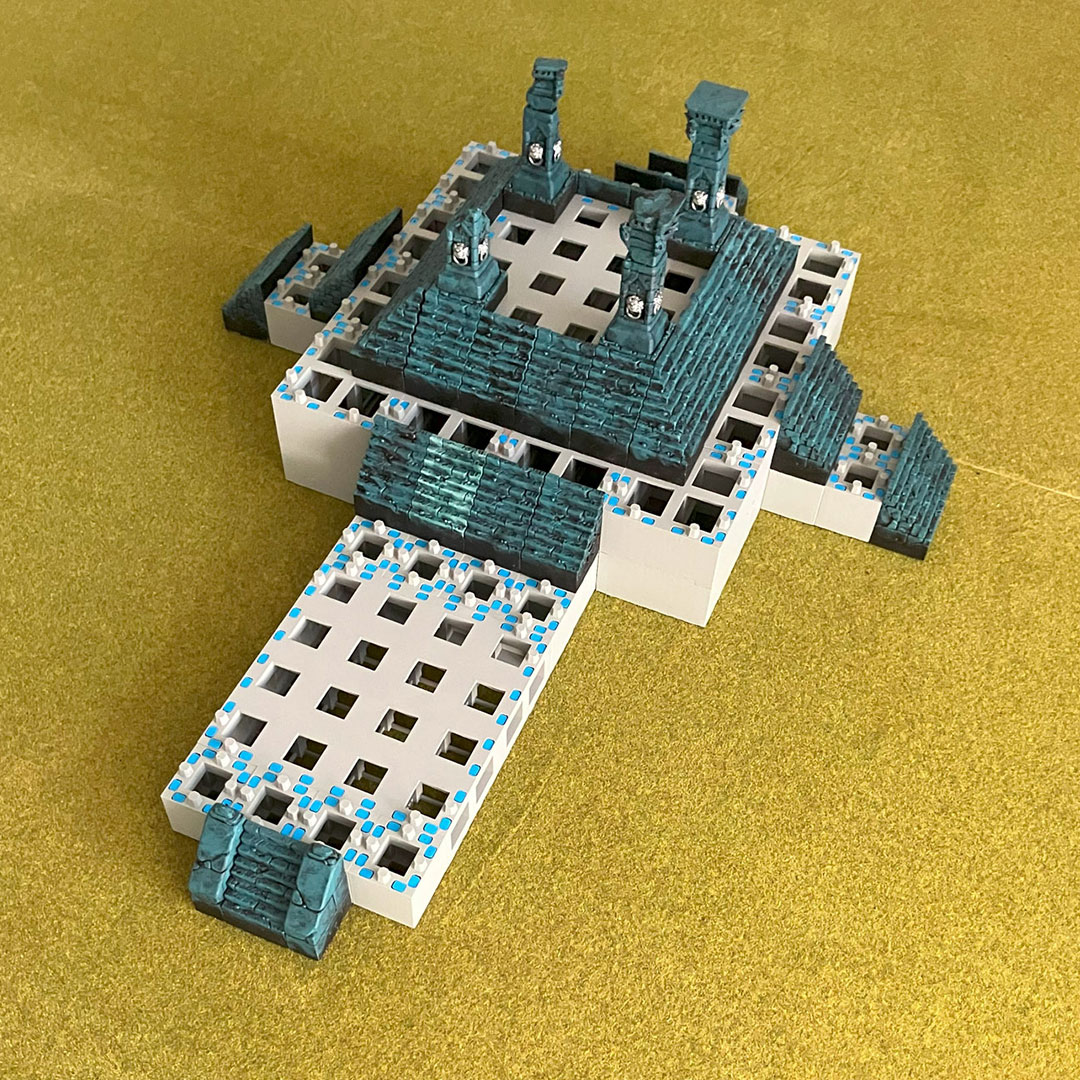
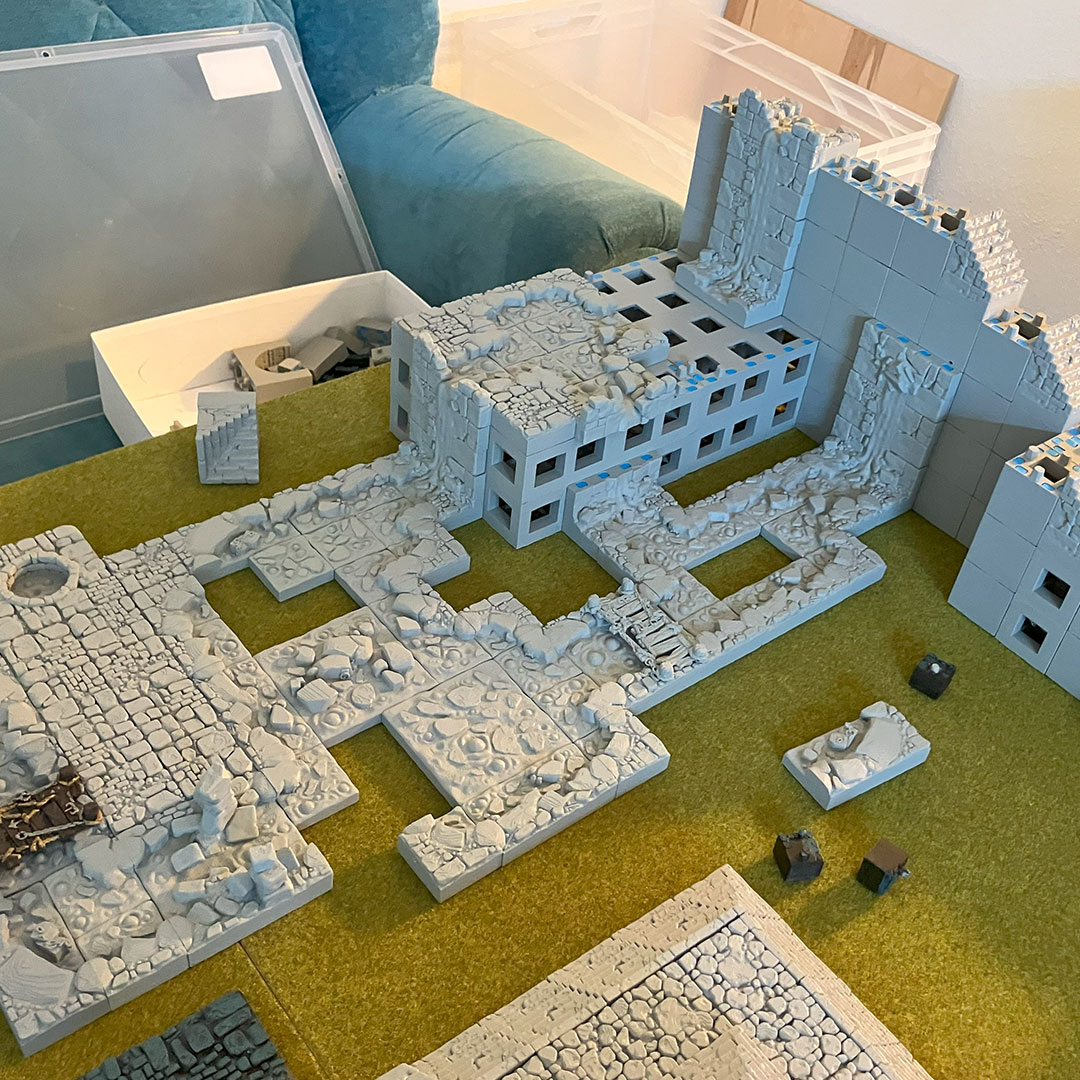
Step 1: Two Freestanding Temple Structures
At the very beginning, I just wanted to test whether two freestanding temple structures made from dungeon tiles would look cool on a classic battlefield setup. To do this, I used my Wargaming Transition Stairs to connect the dungeon tiles with the gaming board, so they wouldn’t feel like misplaced dungeon pieces but instead fit naturally as wargaming terrain.
Placing the temple tiles on the grass-matted board with the transition stairs created an immersive effect right from the start. It gave me a solid impression of how well these elements could integrate into a traditional wargaming environment.

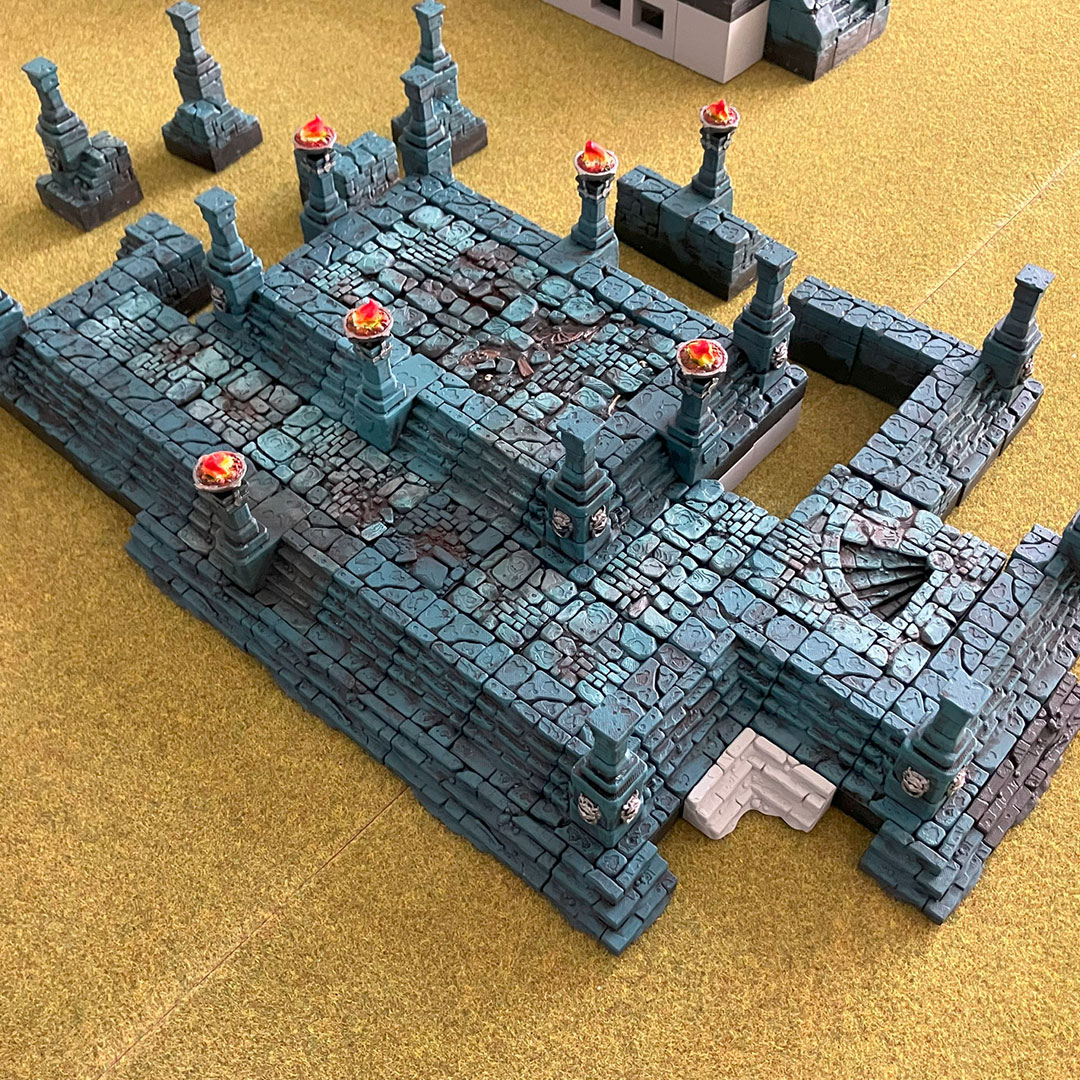


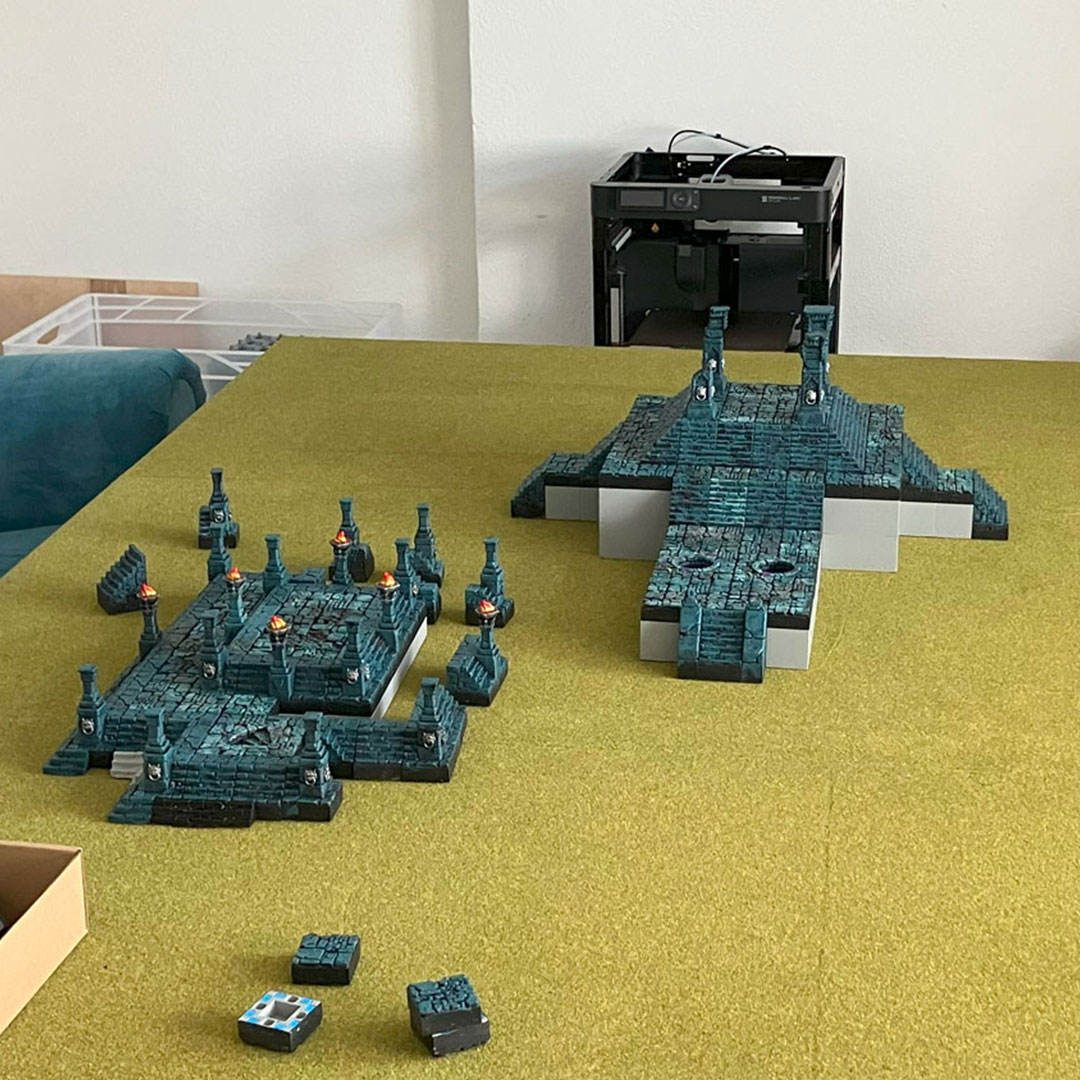
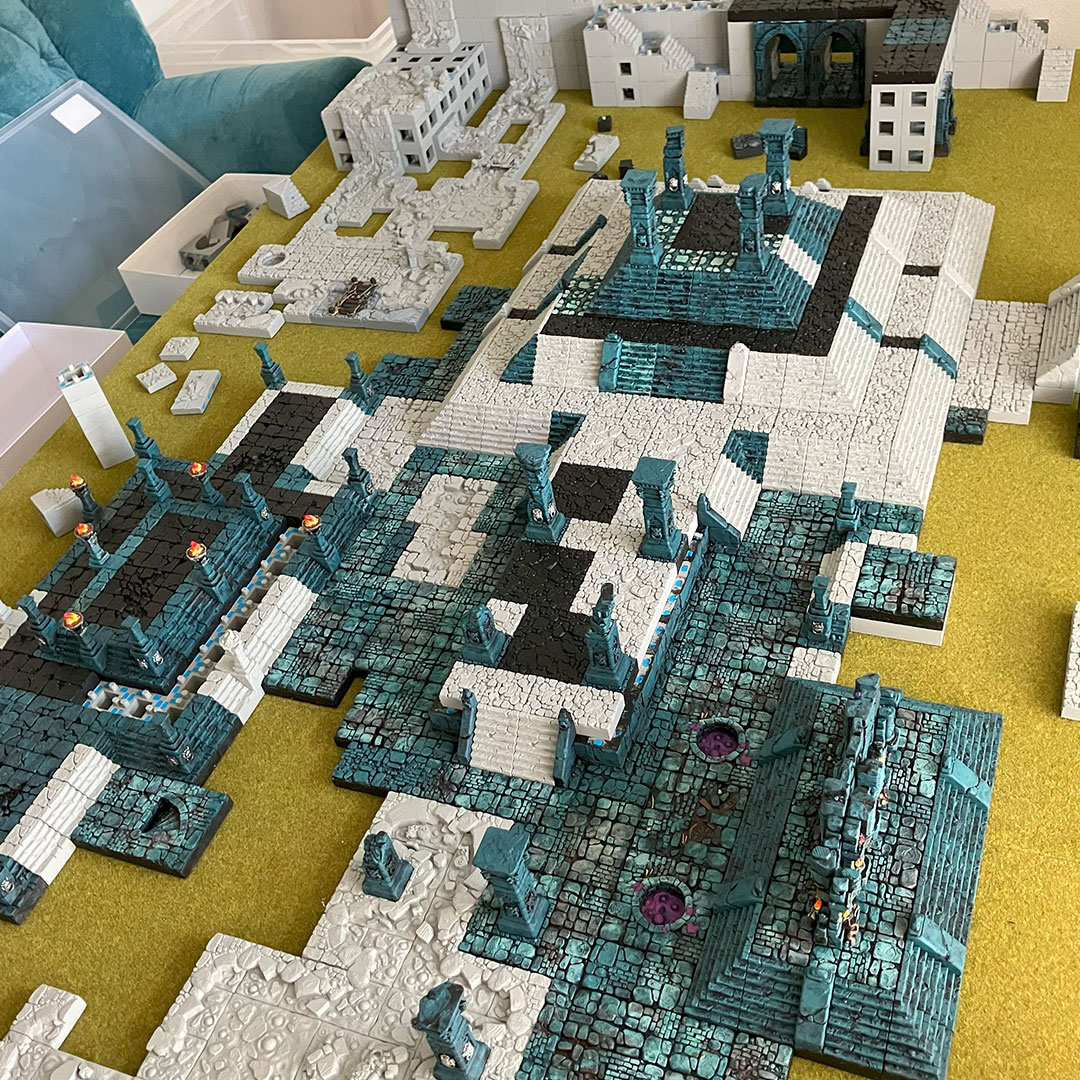
Step 2: Change of Plans and Full Gaming Board Planning
After confirming that the basic concept with the two temple structures worked, I decided to change plans. I removed the Wargaming Transition Stairs and started exploring how large a complete gaming board I could build using the parts I had printed so far.
I quickly reached a point where I needed more PLA and had to reprint many pieces. Everything was printed at 80% scale, and I estimate the total PLA usage at around 30 kg—though I can’t reconstruct the exact amount anymore.
The following images show the final steps leading up to the completed layout.


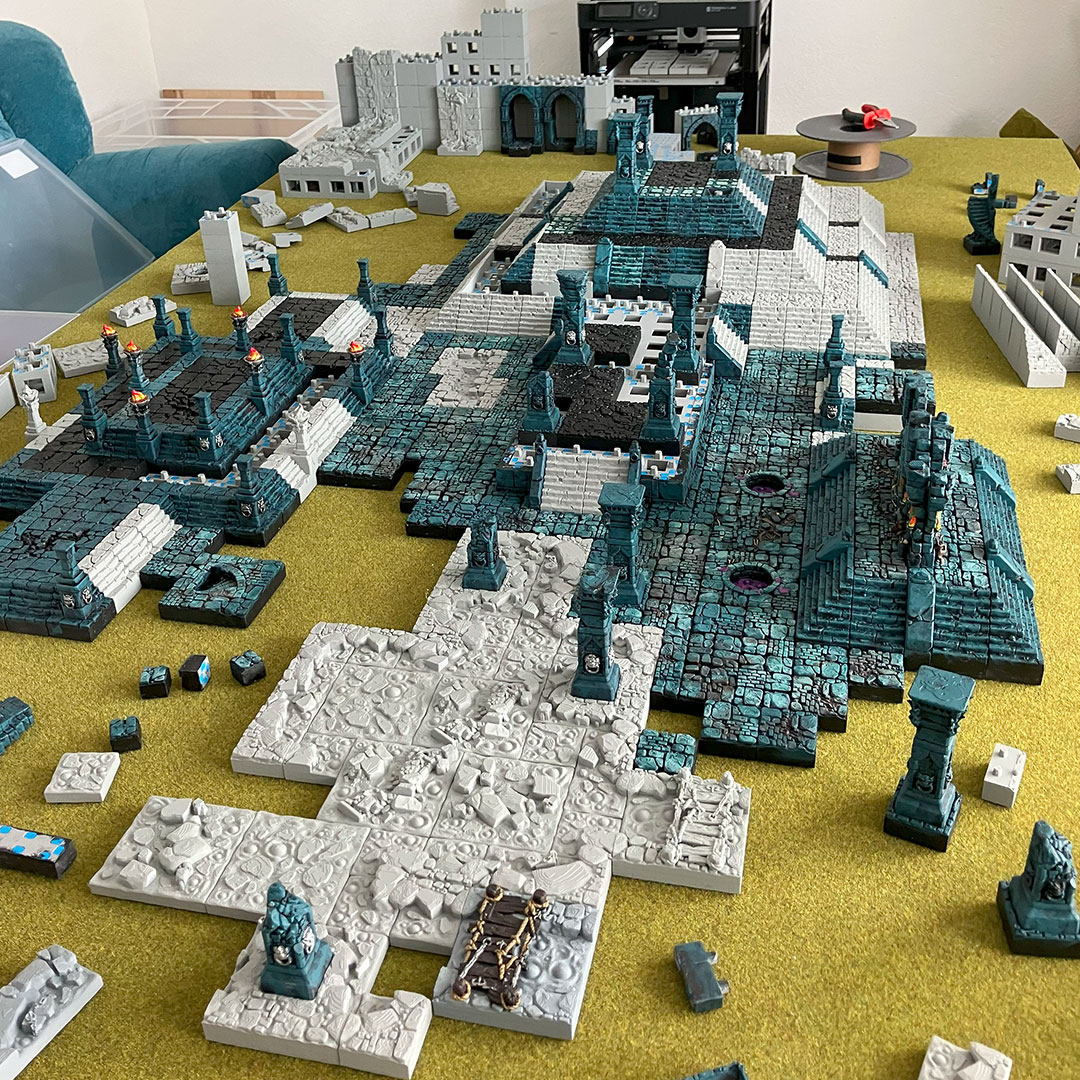


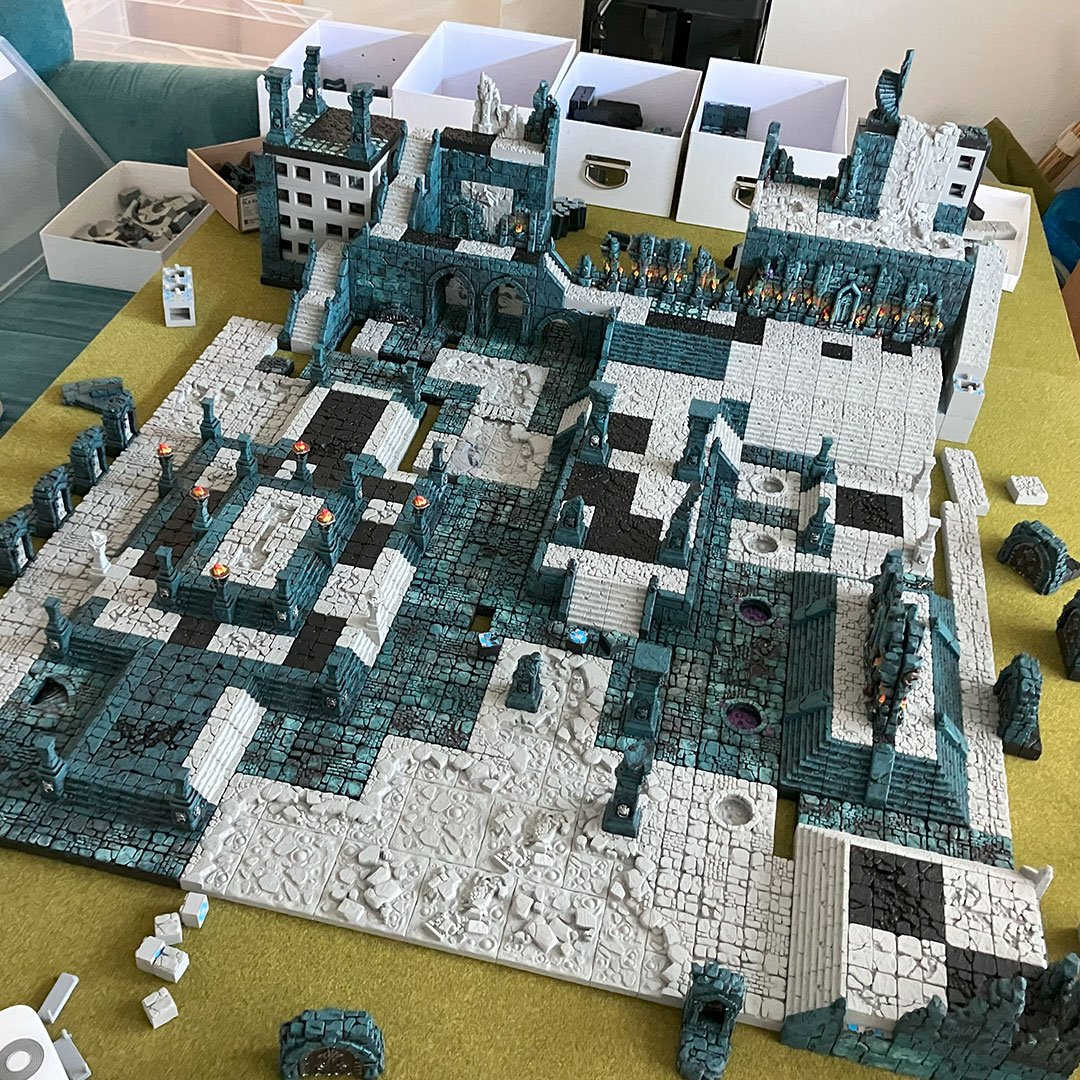
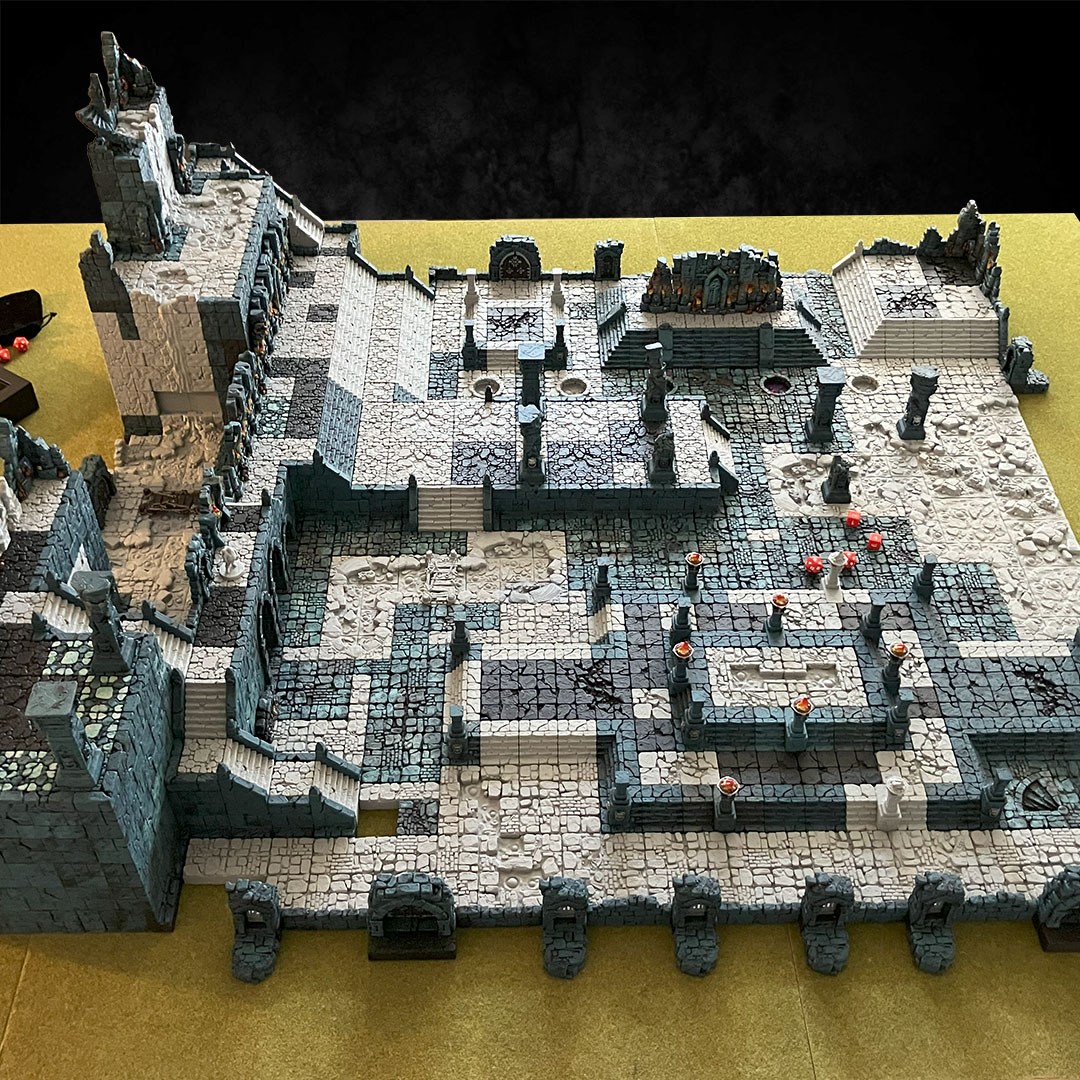
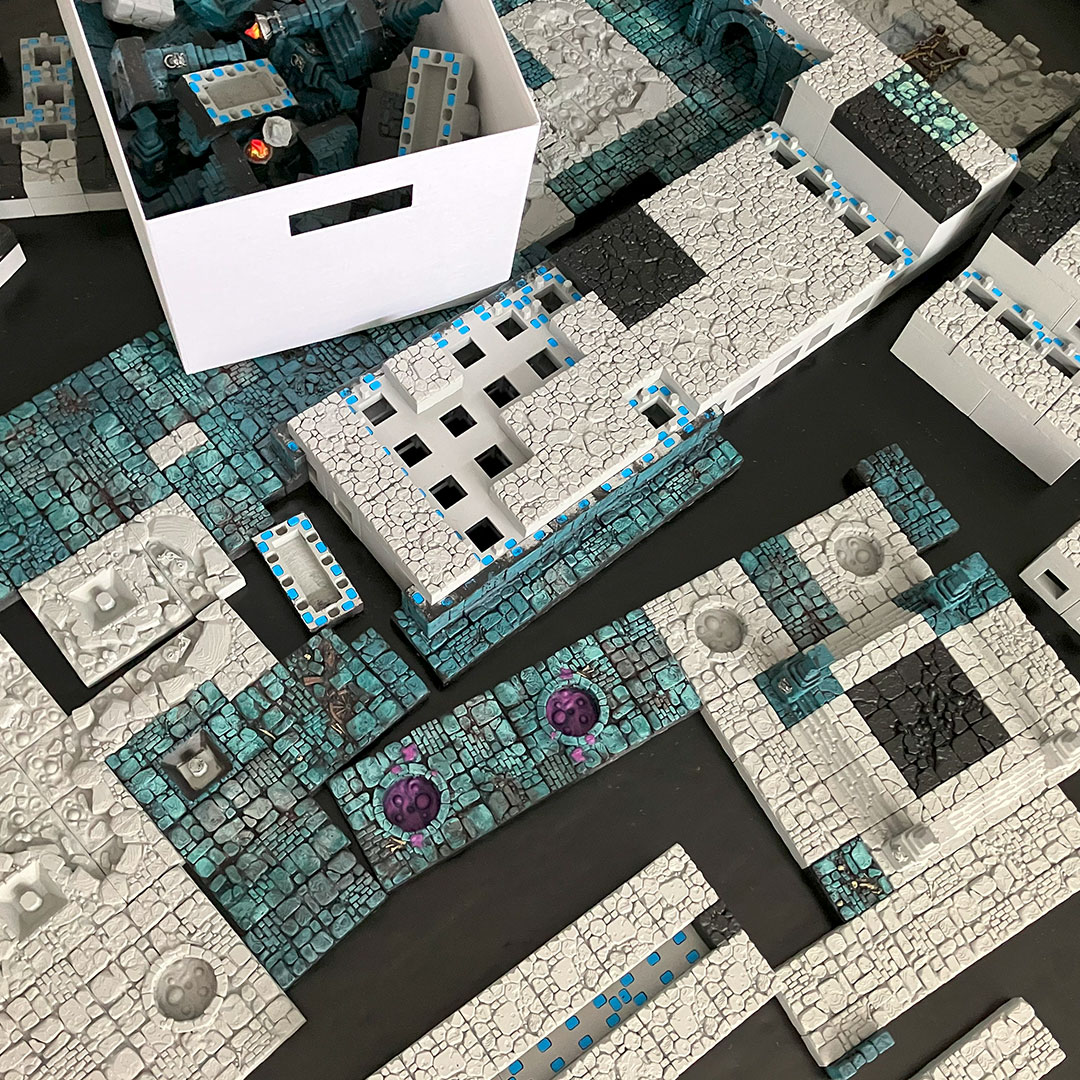
Step 3: The Finished Board
The last gaps were filled with reprinted pieces to complete the board. Although there is still a lot of painting left—especially to enhance the contrast between the lava and the various tiles—I’m very satisfied with the overall visual impression.


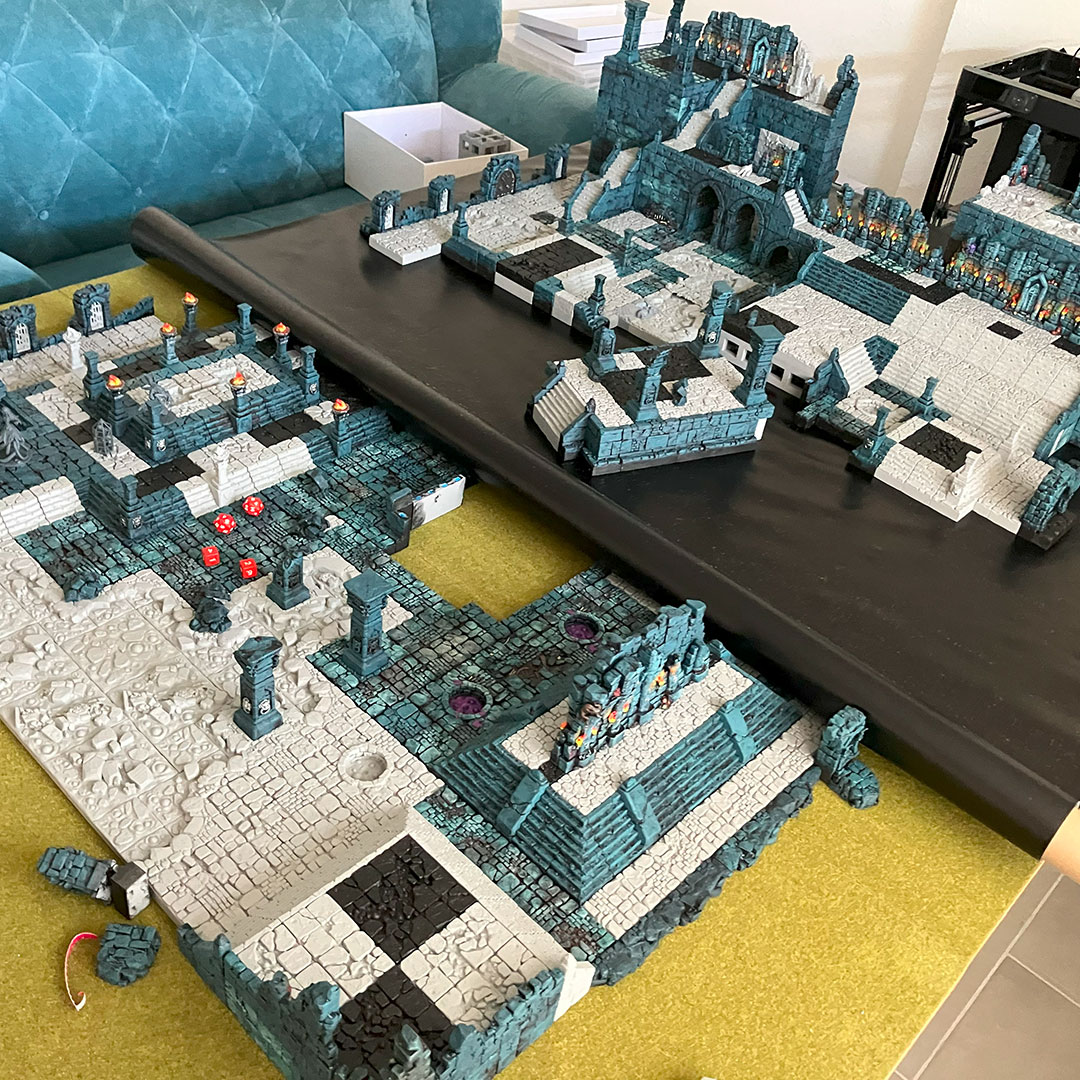
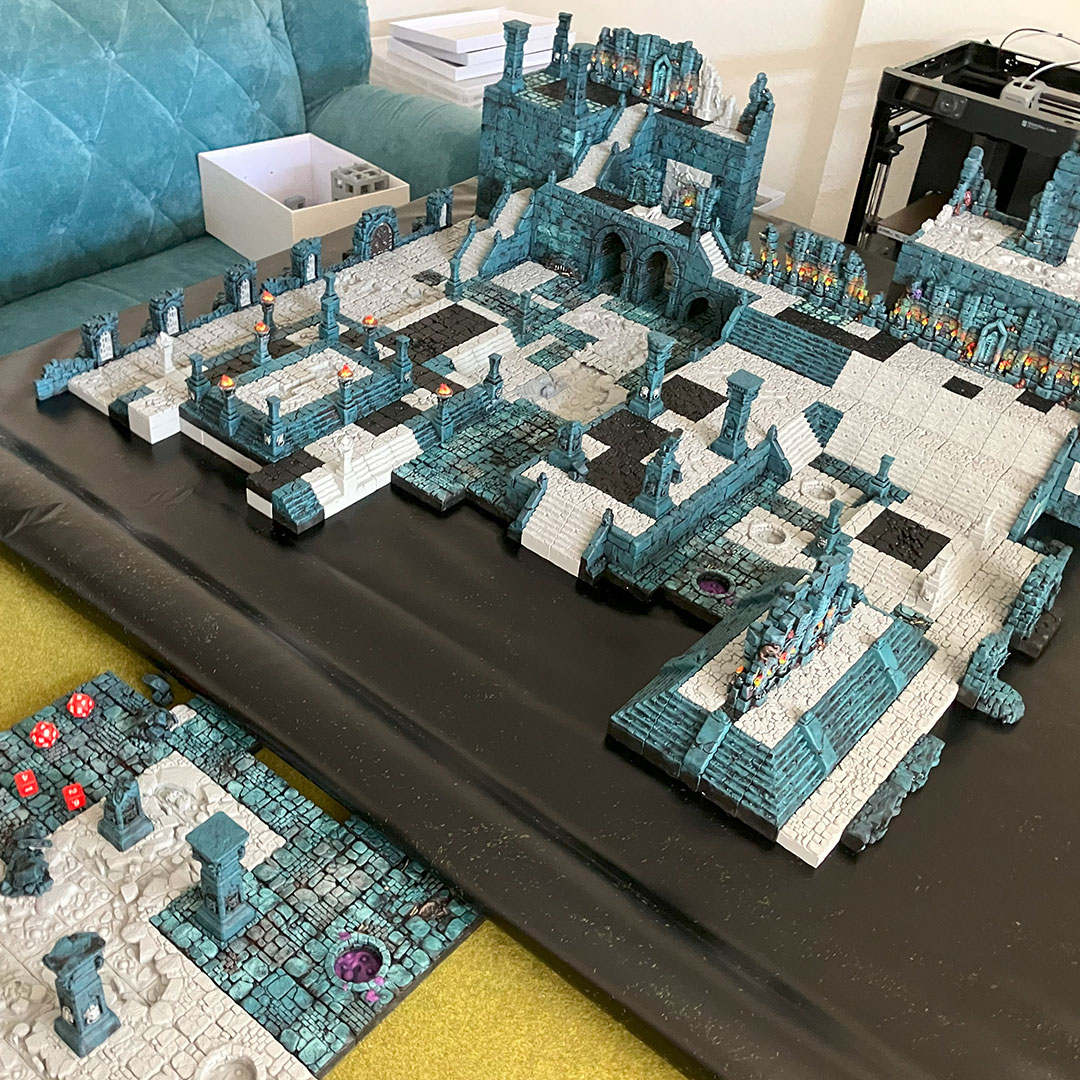
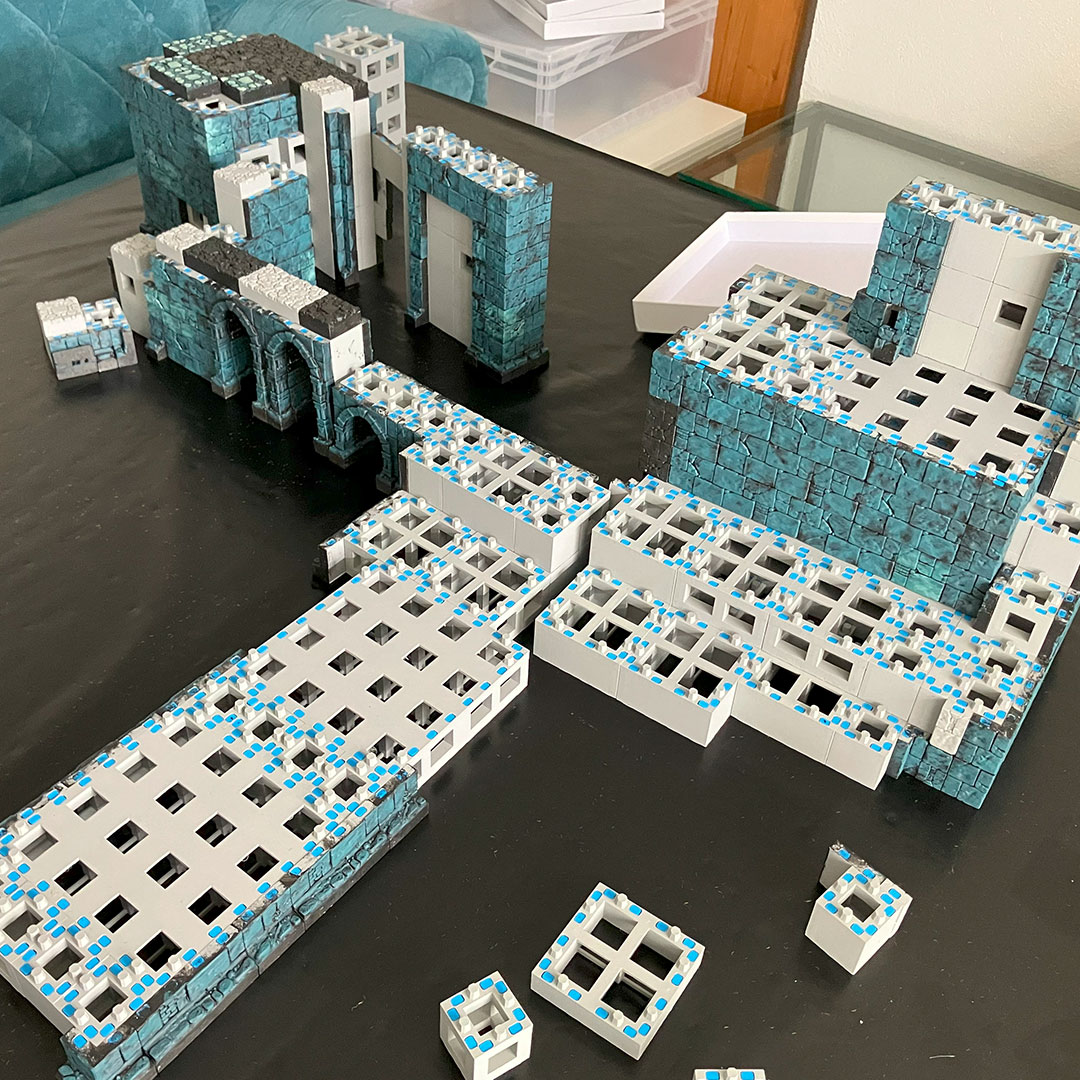
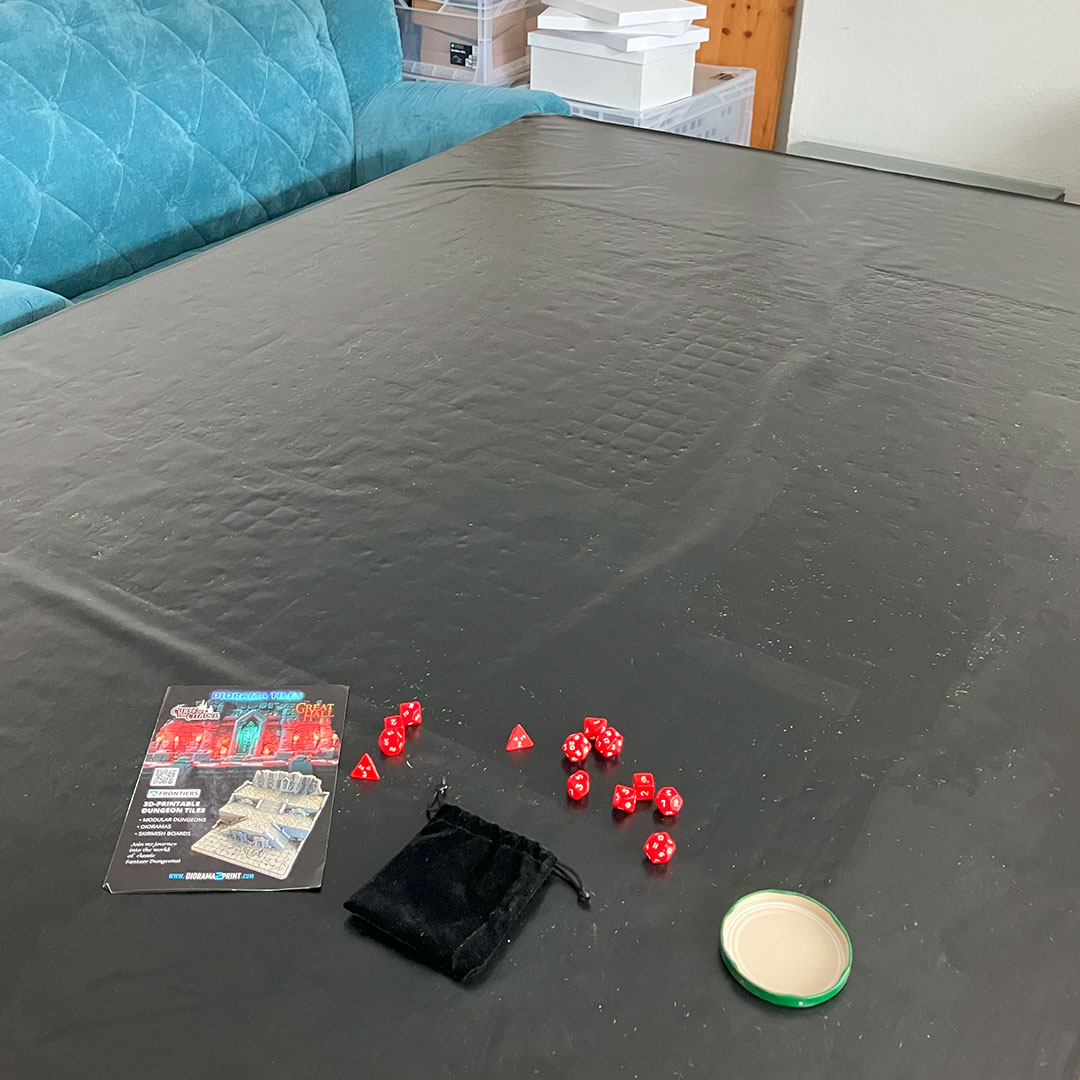
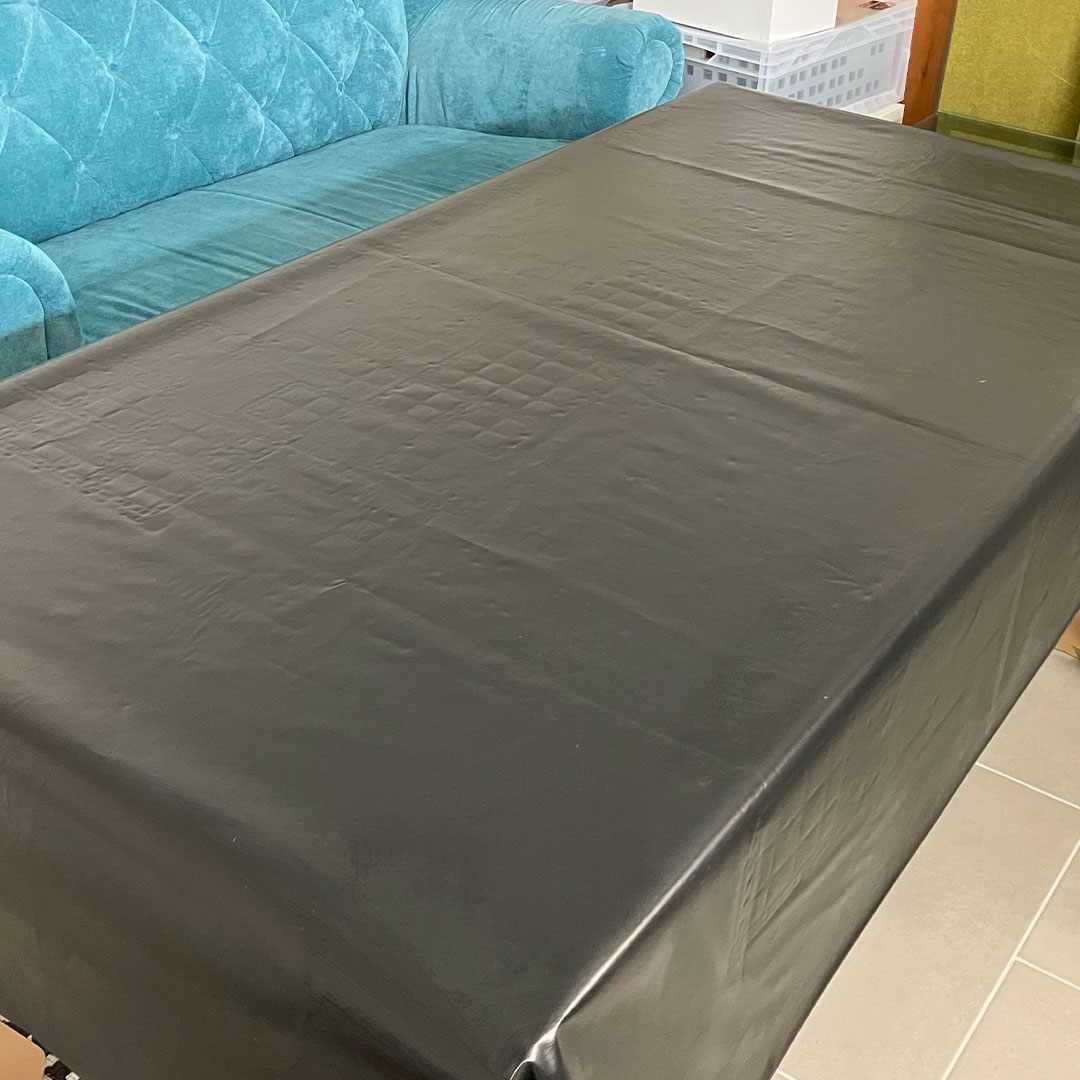
Step 4: Switching to a Black Base and Outlook
Time for a change of scenery — or rather, a change of surface. 😄
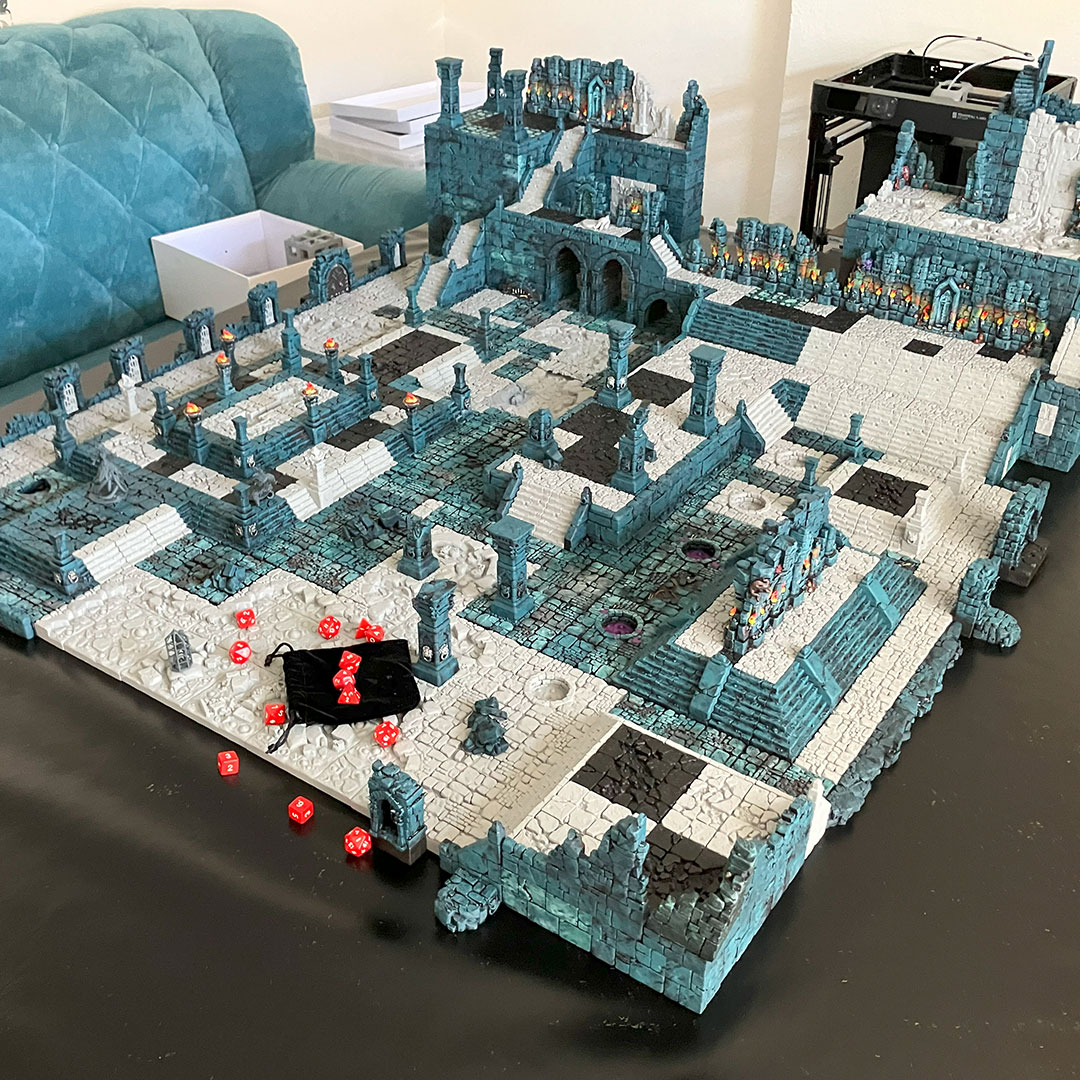
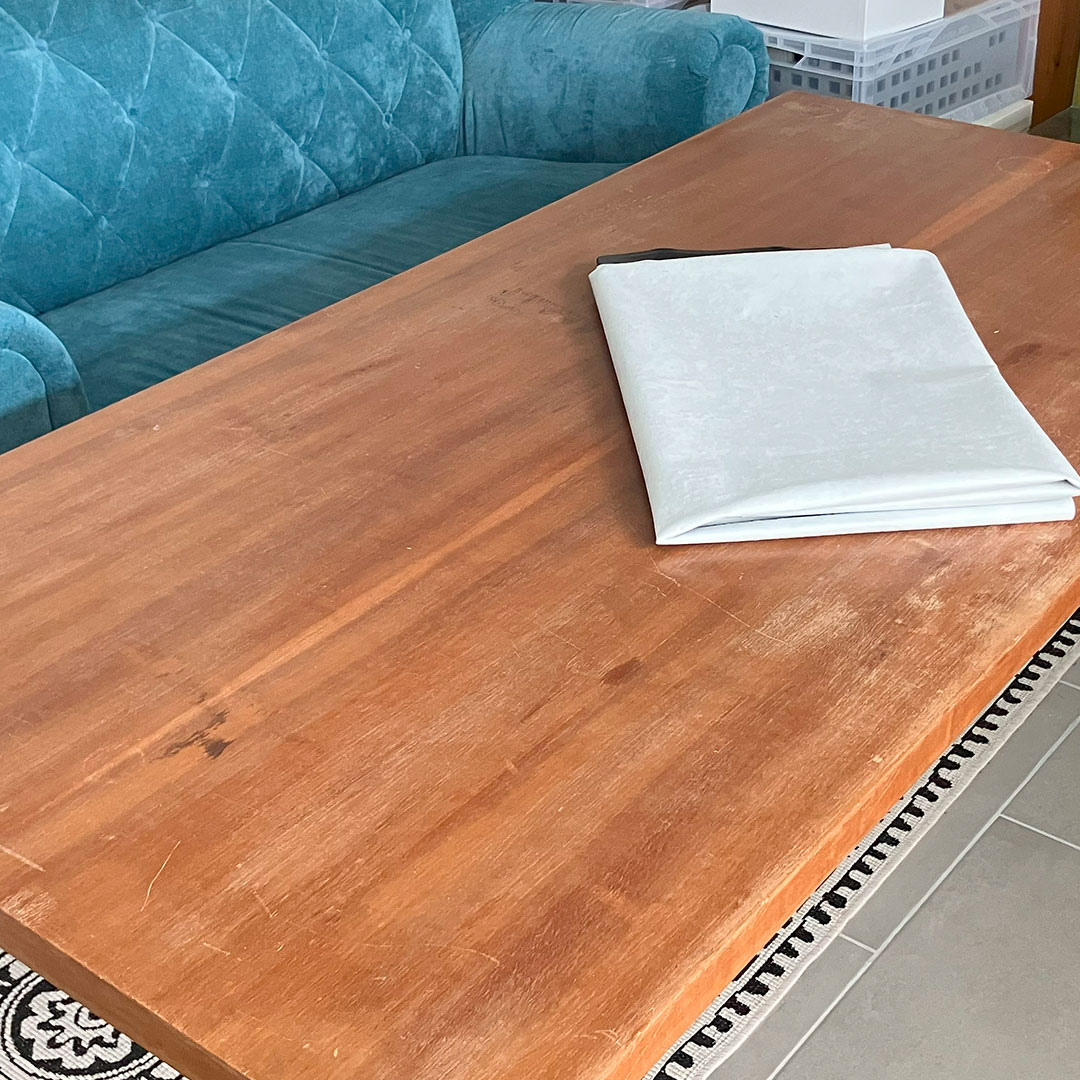
I decided to move the entire “Curse of the Citadel” layout from the grassy game mat to a sleek black vinyl tablecloth for a more neutral, dramatic look.
The process was surprisingly smooth thanks to one key feature: magnets. 🧲
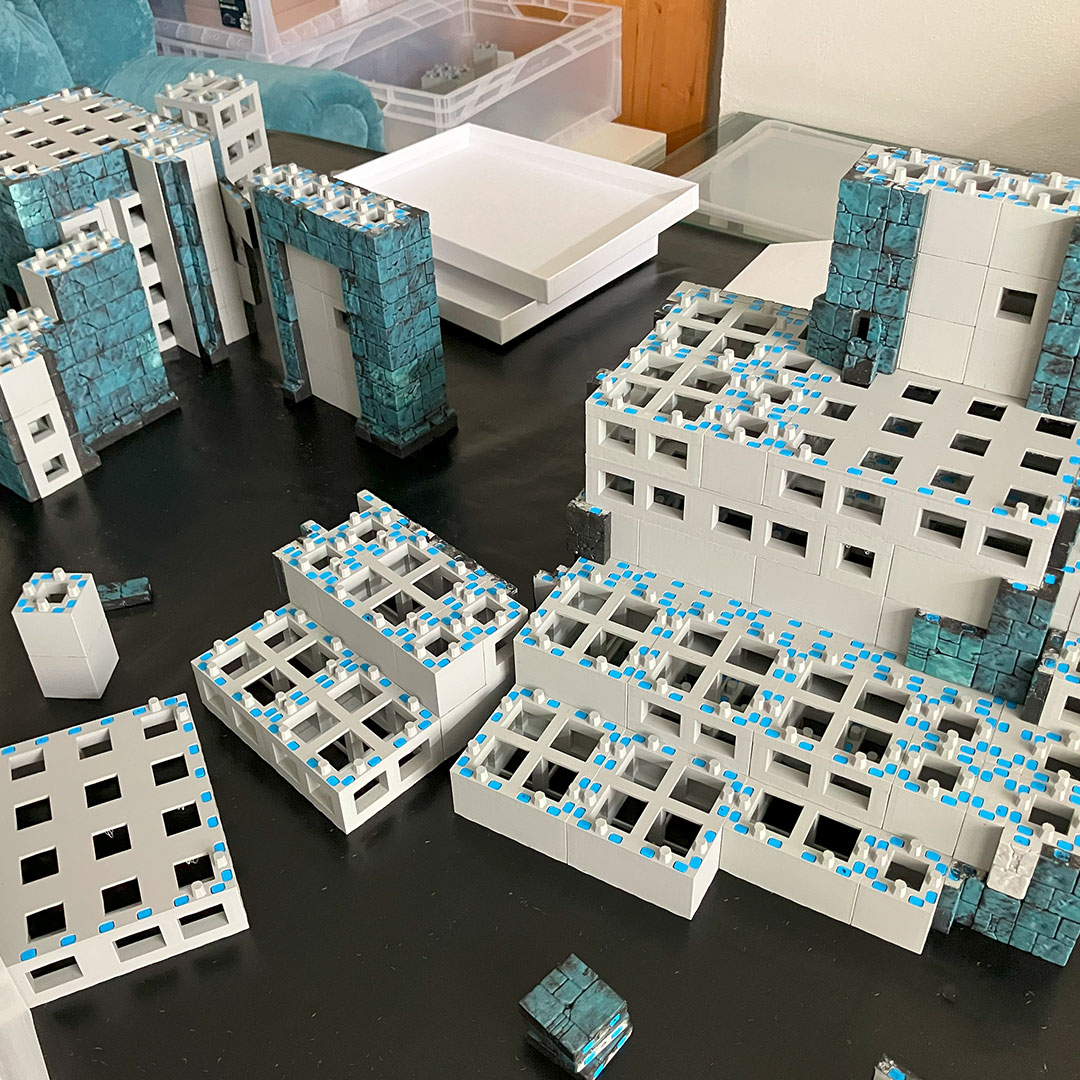
Most of the larger terrain sections are magnetized, which made it super easy to lift, shift, and reposition everything as I gradually rolled out the new base layer over the old grass mat.
It’s a strange feeling watching a lava temple crawl its way across a field and settle into a void of darkness… but also very satisfying. 😍
Even though the lava isn’t painted yet, you can already tell how well it will pop against the black surface once it’s glowing in reds, oranges, and yellows. That contrast is going to make the whole board feel so much more alive. ⚡🪨🌋
Here are a few shots from the transition phase. Final layout tweaks and lighting tests coming soon!
It’s a pity that the board has to be taken apart again for painting, but next, I want to try out a few different layouts and test new variations.


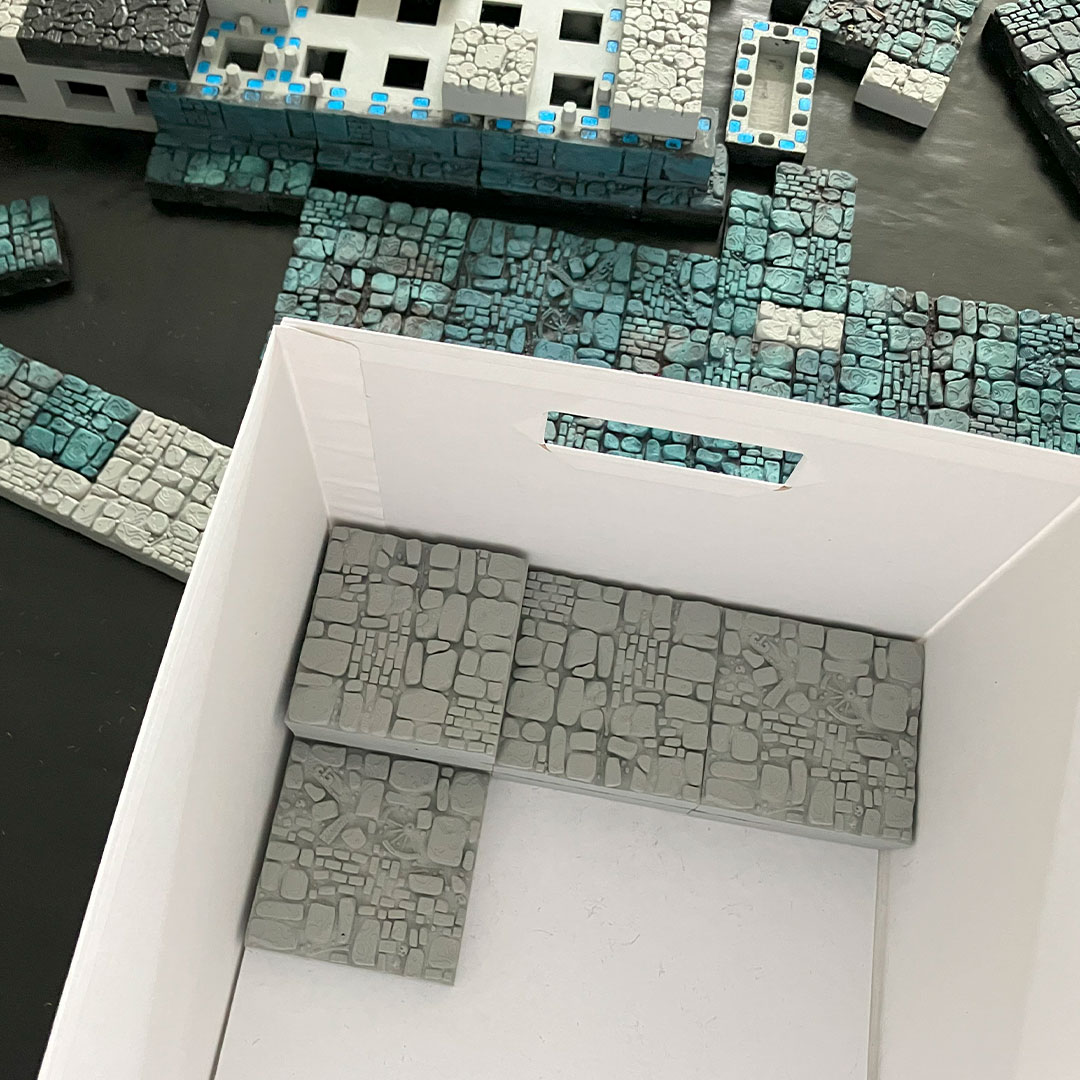
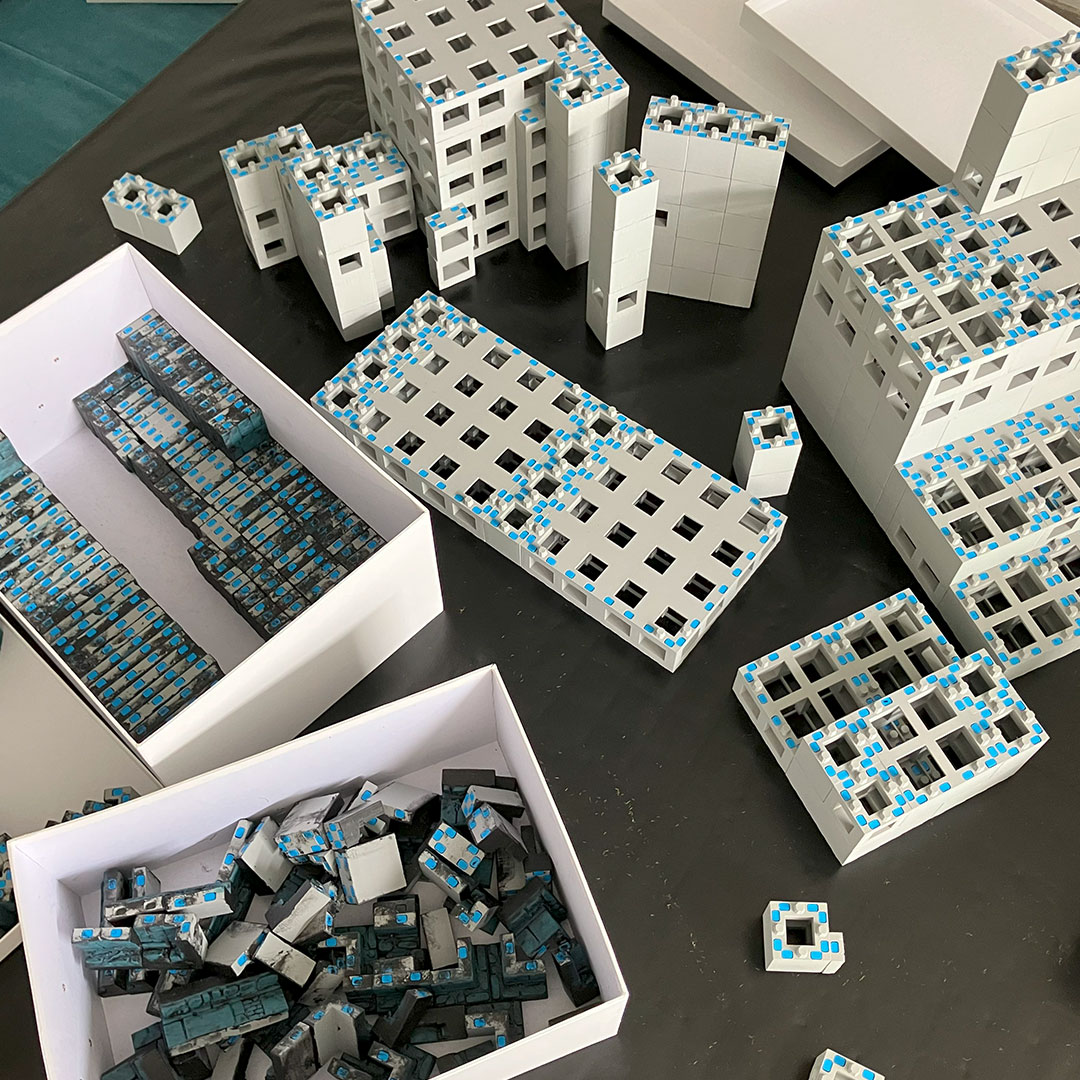
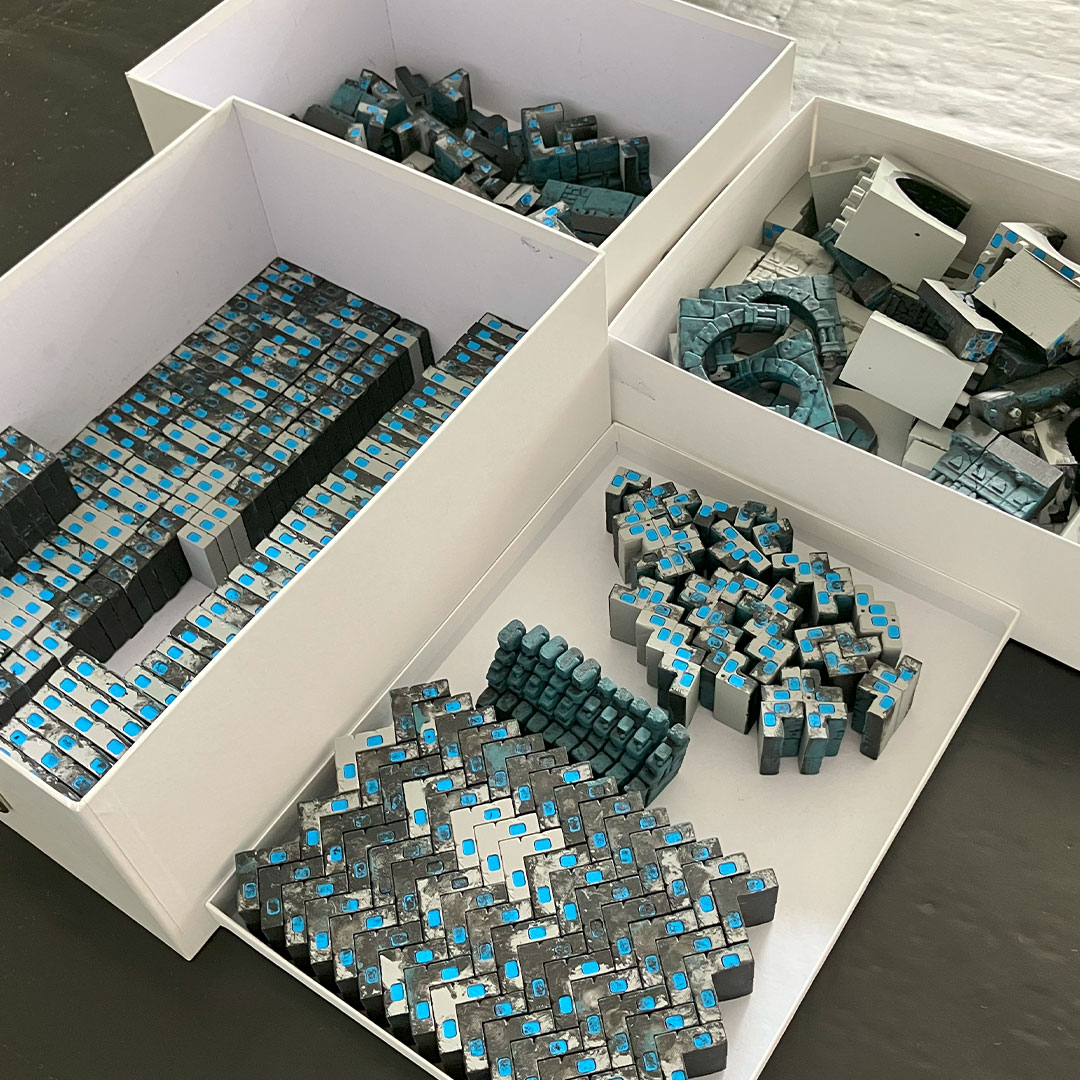
🧱 Step 5: Disassembling the Diorama
Once the setup was complete and fully documented, I took the temple board apart again. As much as it hurts to dismantle a large project like this, it’s part of the process—especially when making room for new ideas.
I documented the disassembly step by step to preserve the layout and highlight the system’s modular structure. Thanks to the magnets, every part could be separated without any issues. The photos offer a clear look into the breakdown process and demonstrate just how flexible the whole system is—perfect for frequent rebuilding, transport, or experimenting with alternative layouts.


Final Reflections
Looking back, this diorama was more than just a fun build – it gave me a clearer sense of where the set could be pushed a bit further in terms of variety and visual interest. The open layout, elevation changes, and absence of doors gave the board a more skirmish-like feel, shifting the focus toward movement and line of sight rather than room-by-room exploration.
While I’m happy with how it turned out and with the flexibility the system offers, the build also revealed a few areas where additional elements could add both impact and ease to larger setups – things like bridges or broader structural pieces.
Most of all, the process sparked some new thoughts around verticality and layout composition that I’ll definitely keep in mind for future builds. It was a valuable testbed that added both insight and inspiration.