You don’t need Golden Demon painting skills to bring your dungeon terrain to life – just some paint, the right method, and your dungeon will literally glow.
I’m not a pro painter either, but even with basic tools and a bit of experimentation, you can achieve impressive fire and lighting effects that elevate your scenery. Whether you’re working with 3D-printed pieces or classic dungeon walls – this tutorial will help you make your flames shine. No airbrush or wizard’s license required.
🔥 Step-by-Step Guide
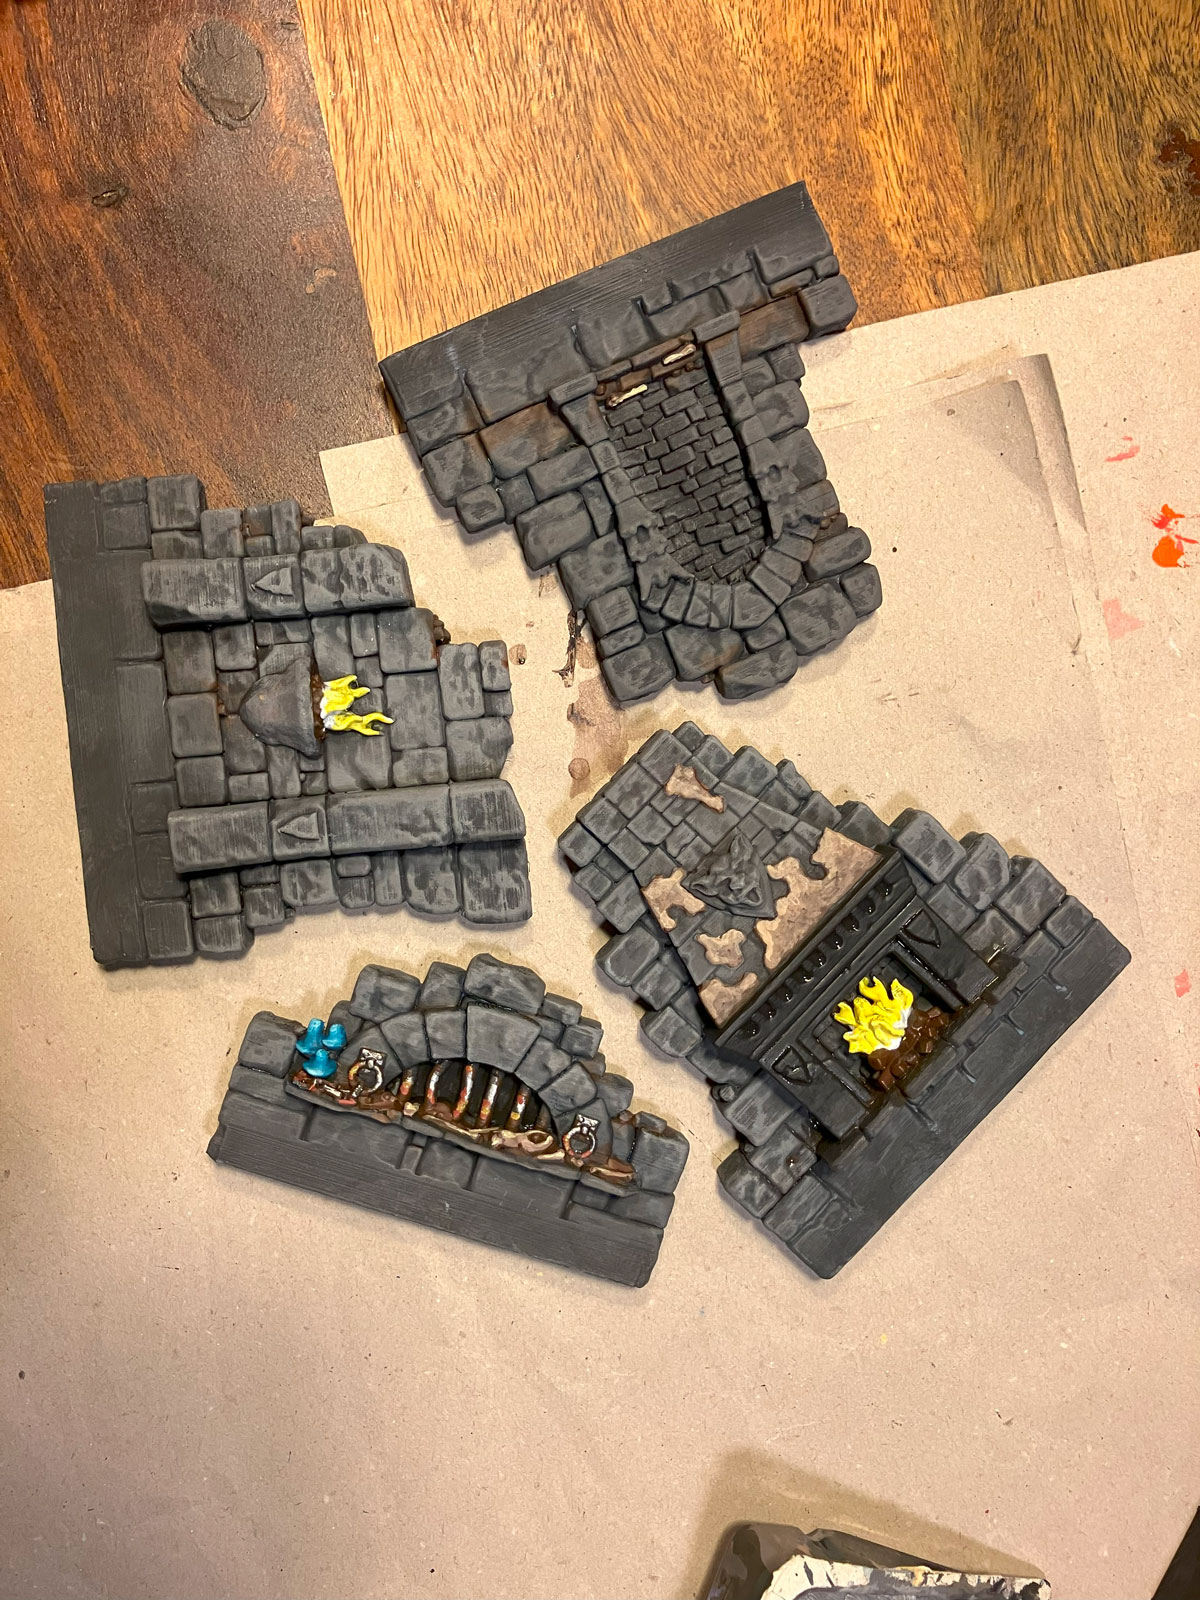
1️⃣ The Flame (no drybrushing)
Start with a white primer – two coats if needed for solid coverage
Leave the base of the flame white
Apply a bright yellow – also in two layers for a strong, opaque result
Add orange toward the tip, letting the yellow and white show through for a smooth transition
At the very top: red
For tall flames, consider finishing the tip with dark red or black for added depth
🎨 No drybrushing here – just clean layering!
2️⃣ The Light Reflection on Stonework (drybrushing only)
🔥 Important: To make colors visible on dark terrain, start by drybrushing a light gray base on the area where the glow will be.
Then, from the flame outward:
White
Yellow
Orange
Finally, red around the edges as a transition into the darker wall color
💡 Always use drybrushing here – the paint should gently catch on raised textures.
🛠️ Don’t fear rework – it’s part of the process!
I repainted my glow effect several times. Sometimes it looked too yellow, sometimes too white or too red. That’s totally normal – just keep adjusting until it looks right.
✨ Final Thoughts:
Even without pro skills, you can paint impressive flame and light effects that make your diorama or game table come alive.
Want to share your results or ask a question?
👉 Post your project using the hashtag #diorama2print
Happy painting – may your dungeon never be dark!