Starting a New Project with a New Color Theme
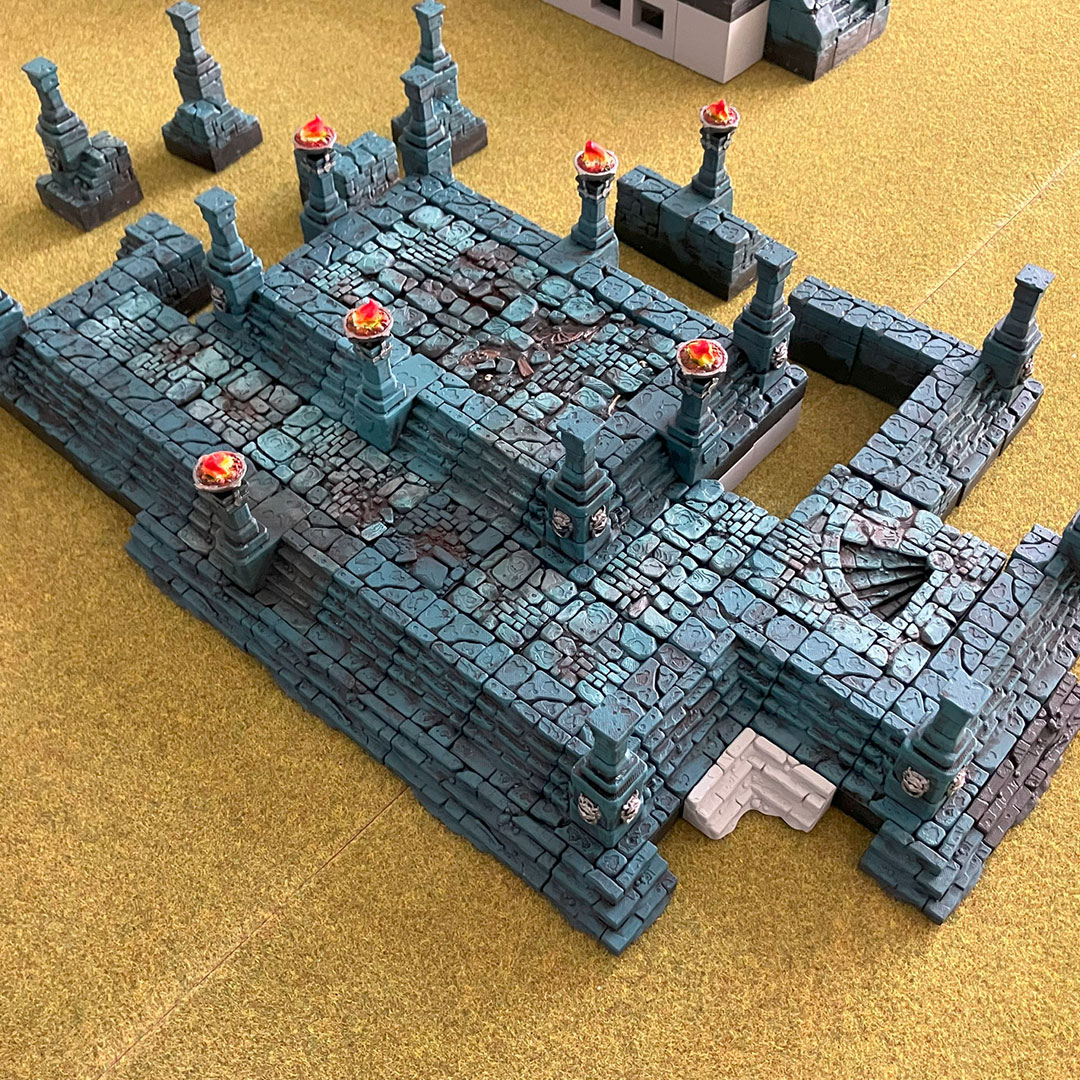
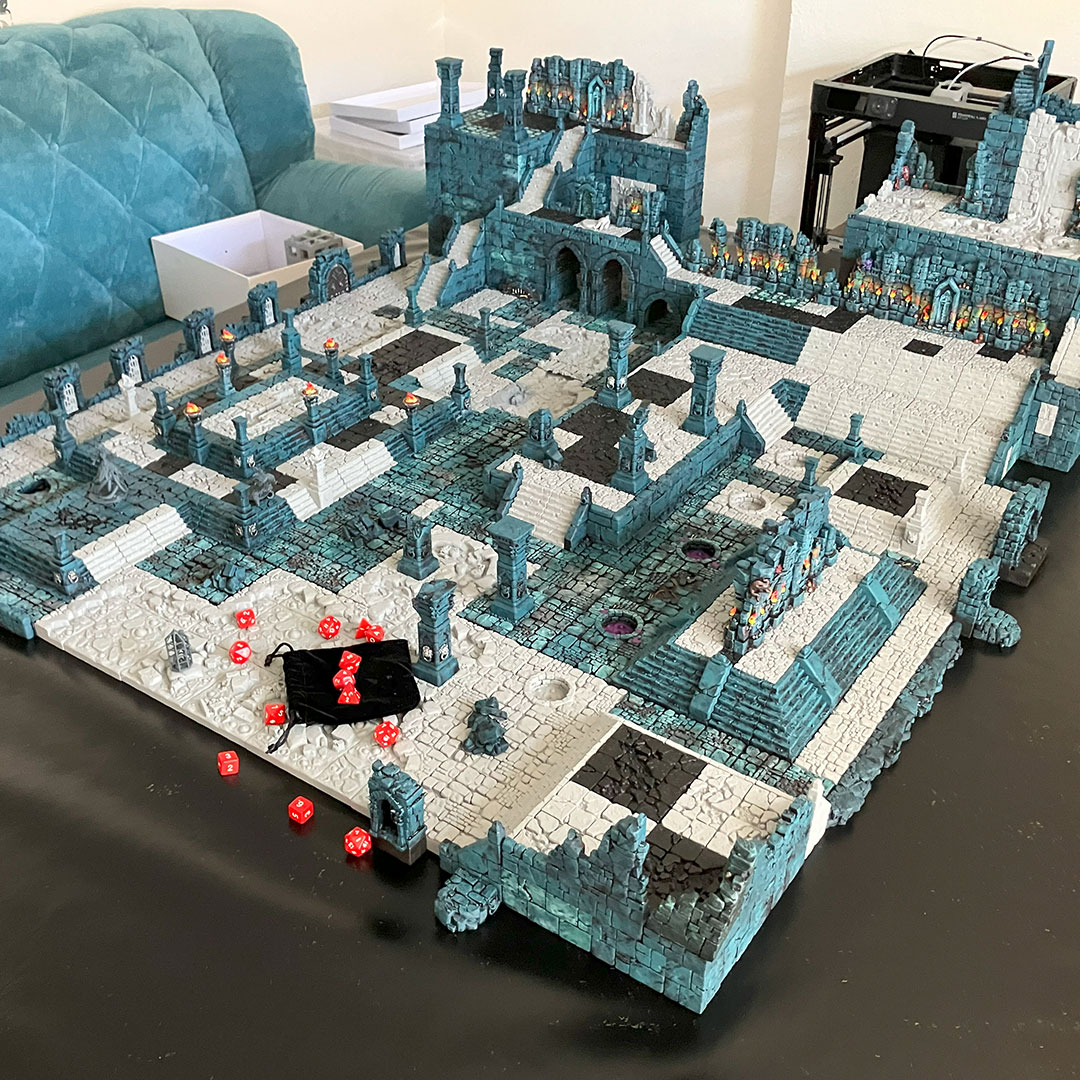
For my Great Hall campaign, which started in spring 2025, I not only began a new project by reprinting my set at 80% scale, but I also wanted to try a new, darker look.
Desired Atmosphere
The goal of this paint scheme is to create a dark and moody atmosphere that works well for dungeons, castles, and ruined cities.
The greenish-blue base color is meant to make the terrain more versatile, so it can be combined with icy or jungle environments in the future. It also creates a strong contrast with glowing lava, making it really stand out on the board.
Using Citadel Colors

During my first campaign, I was asked so often how I paint my Dungeon Tiles that I decided to use the more expensive Citadel paints this time.
The main reason for this is better reproducibility of the results. Even if Citadel paints for terrain might feel too expensive, I hope the color references will help you mix similar tones on your own.
So I selected a specific color palette and ordered a set of paints, which I then used quite experimentally on my first batch of diorama tiles. This helped me figure out what I liked and what worked well, so I could later optimize the painting process for larger quantities.
- Incubi Darkness (Citadel)
- Celestra Grey (Citadel)
- Nocturne Green (Citadel)
- Ionrach Skin (Citadel)
- Gorthor Brown (Citadel)
- Agrax Earthshade (Citadel)
- Oak Brown (Armypainter Warpaints)
- Tuskor Fur (Citadel)
- Skragg Brown (Citadel)
Starting Point

This is also my starting point: for the Great Hall campaign, I painted an early setup and worked in a rather experimental way. I tried combinations of Incubi Darkness and Nocturne Green, and highlighted them with Celestra Grey and Ionrach Skin. Later I added some brown tones and a dark wash to avoid everything looking too clean.
In this guide, I want to show my attempt to create this dark look on terrain in a way that is as efficient and, most importantly, reproducible as possible.
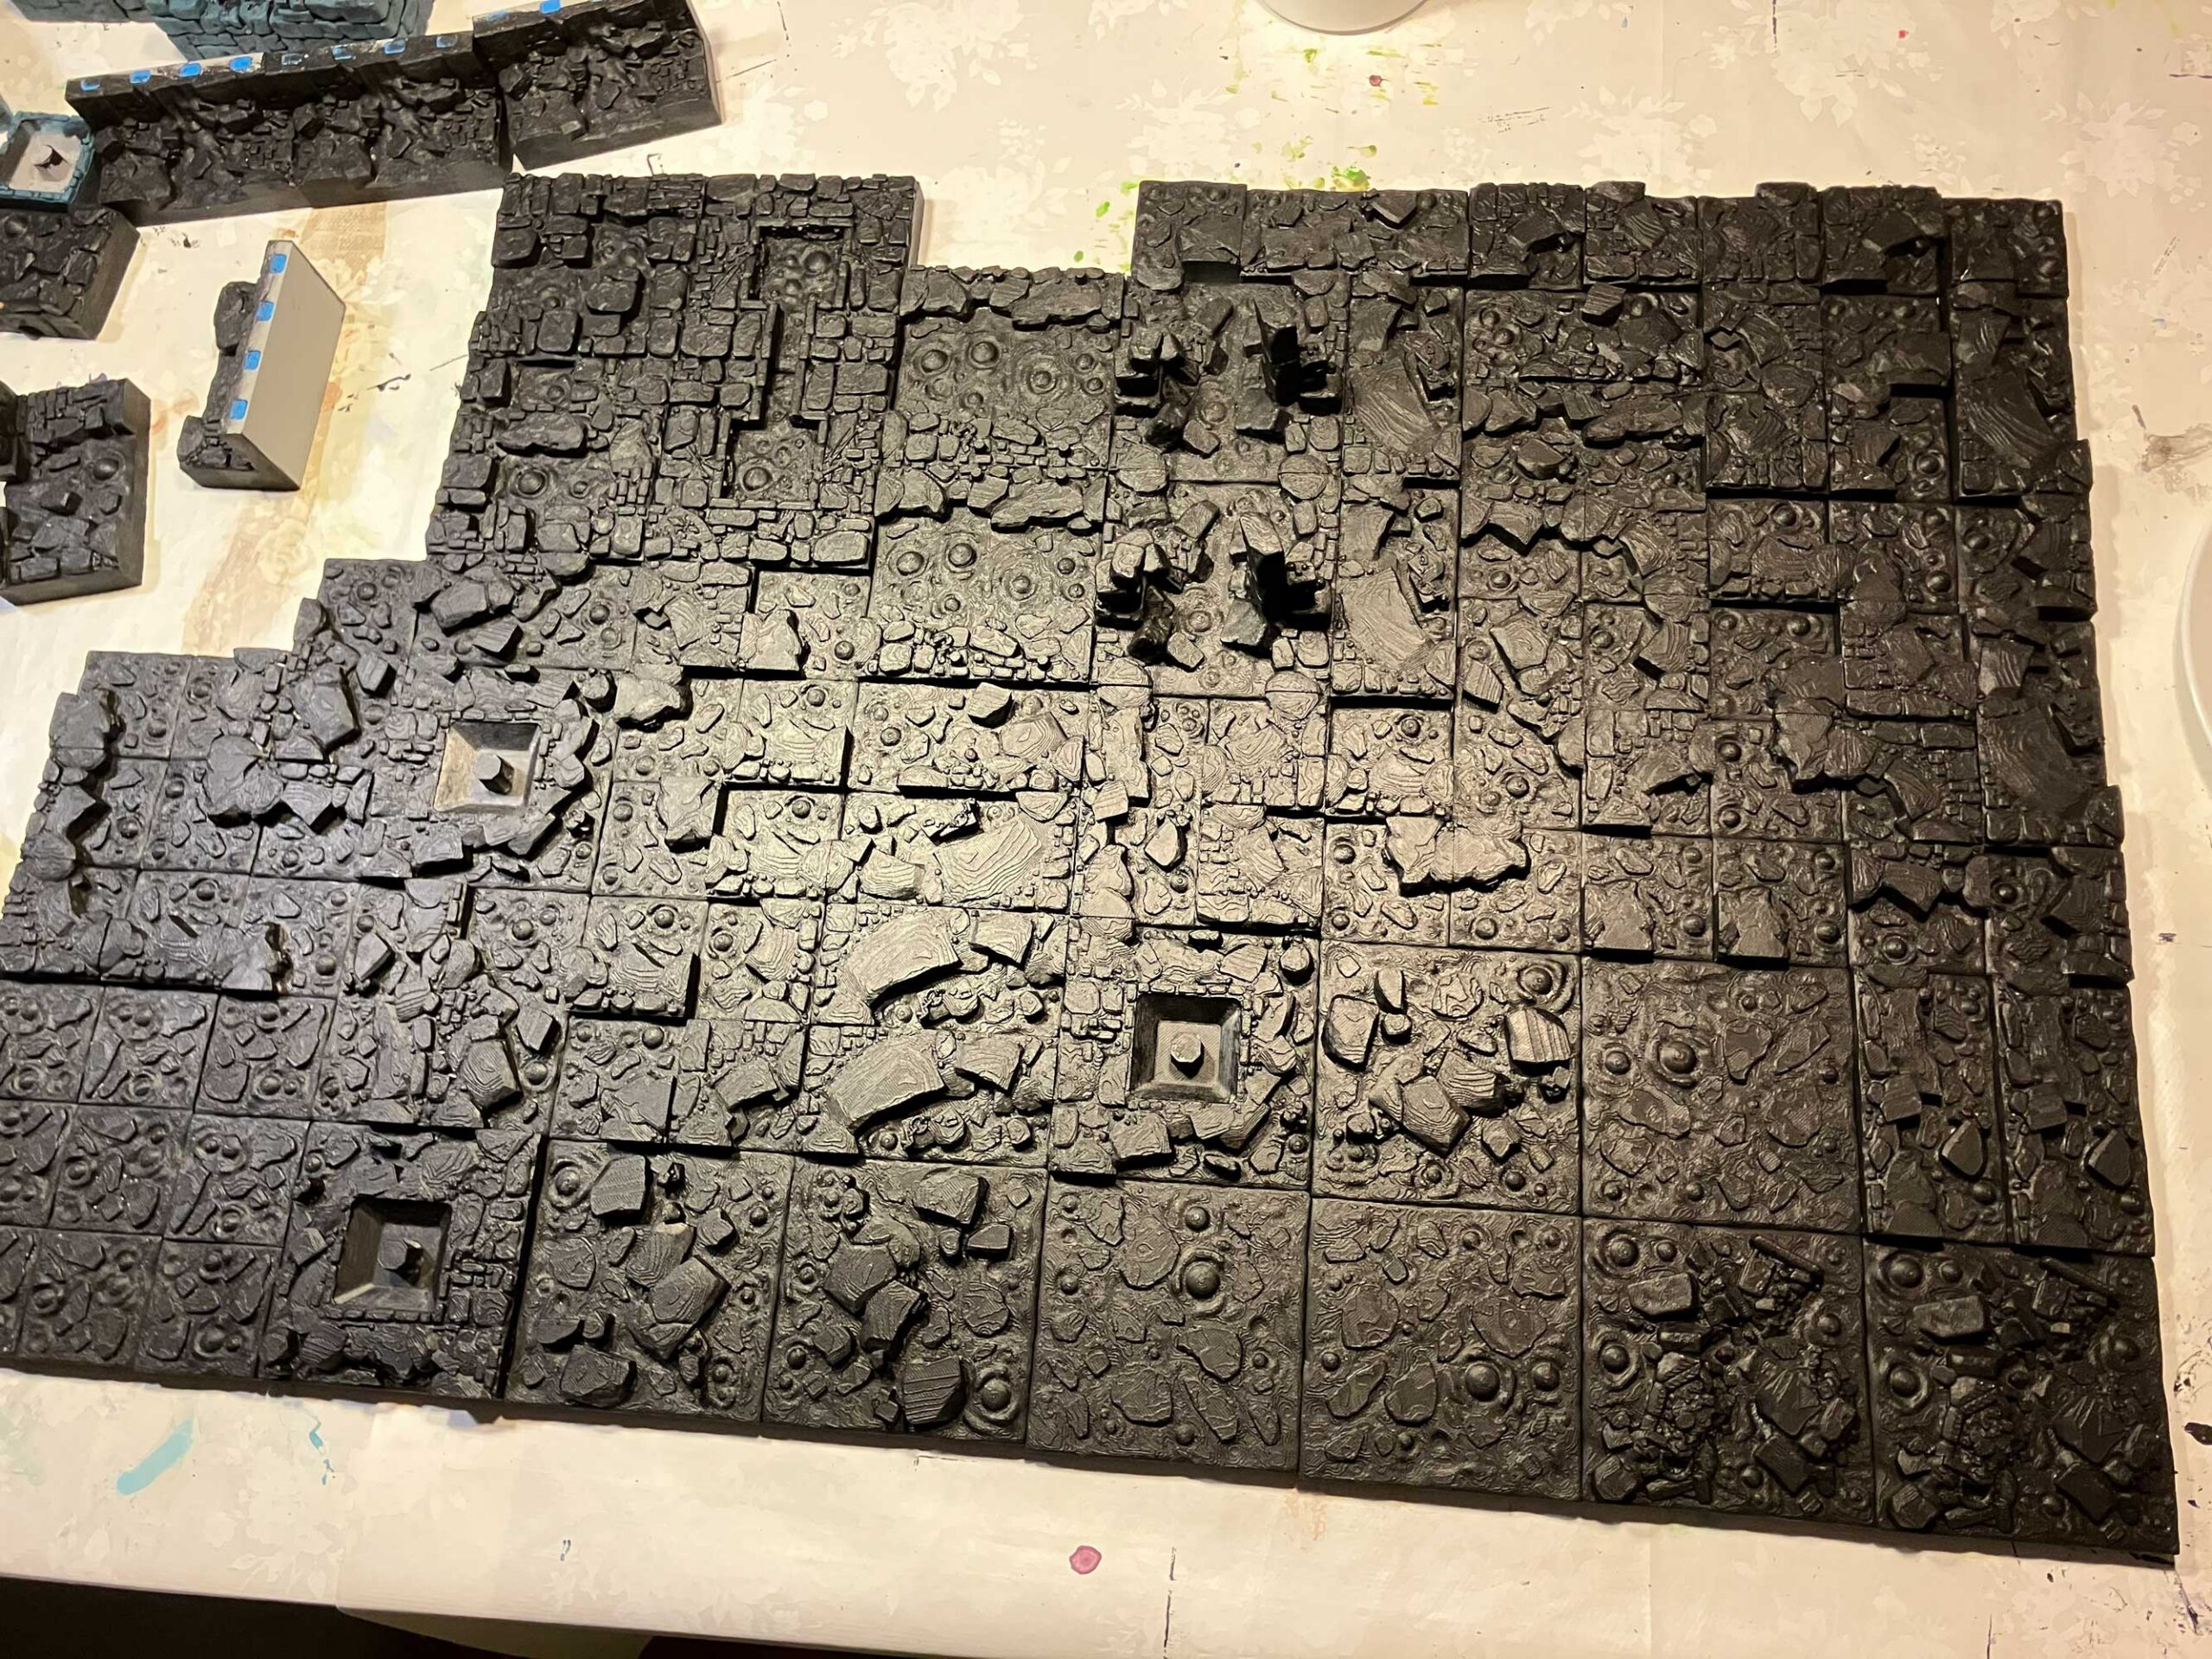
As mentioned before, I had to realize that painting around 40kg of PLA is no small task. At this point in the project, I simply wanted to get a lot of paint onto the terrain quickly. Because of that, I reduced the painting process down to a few essential steps.
This also allows me to give newly printed expansions a quick and consistent paint job that fits into the overall look.
Enough talk!
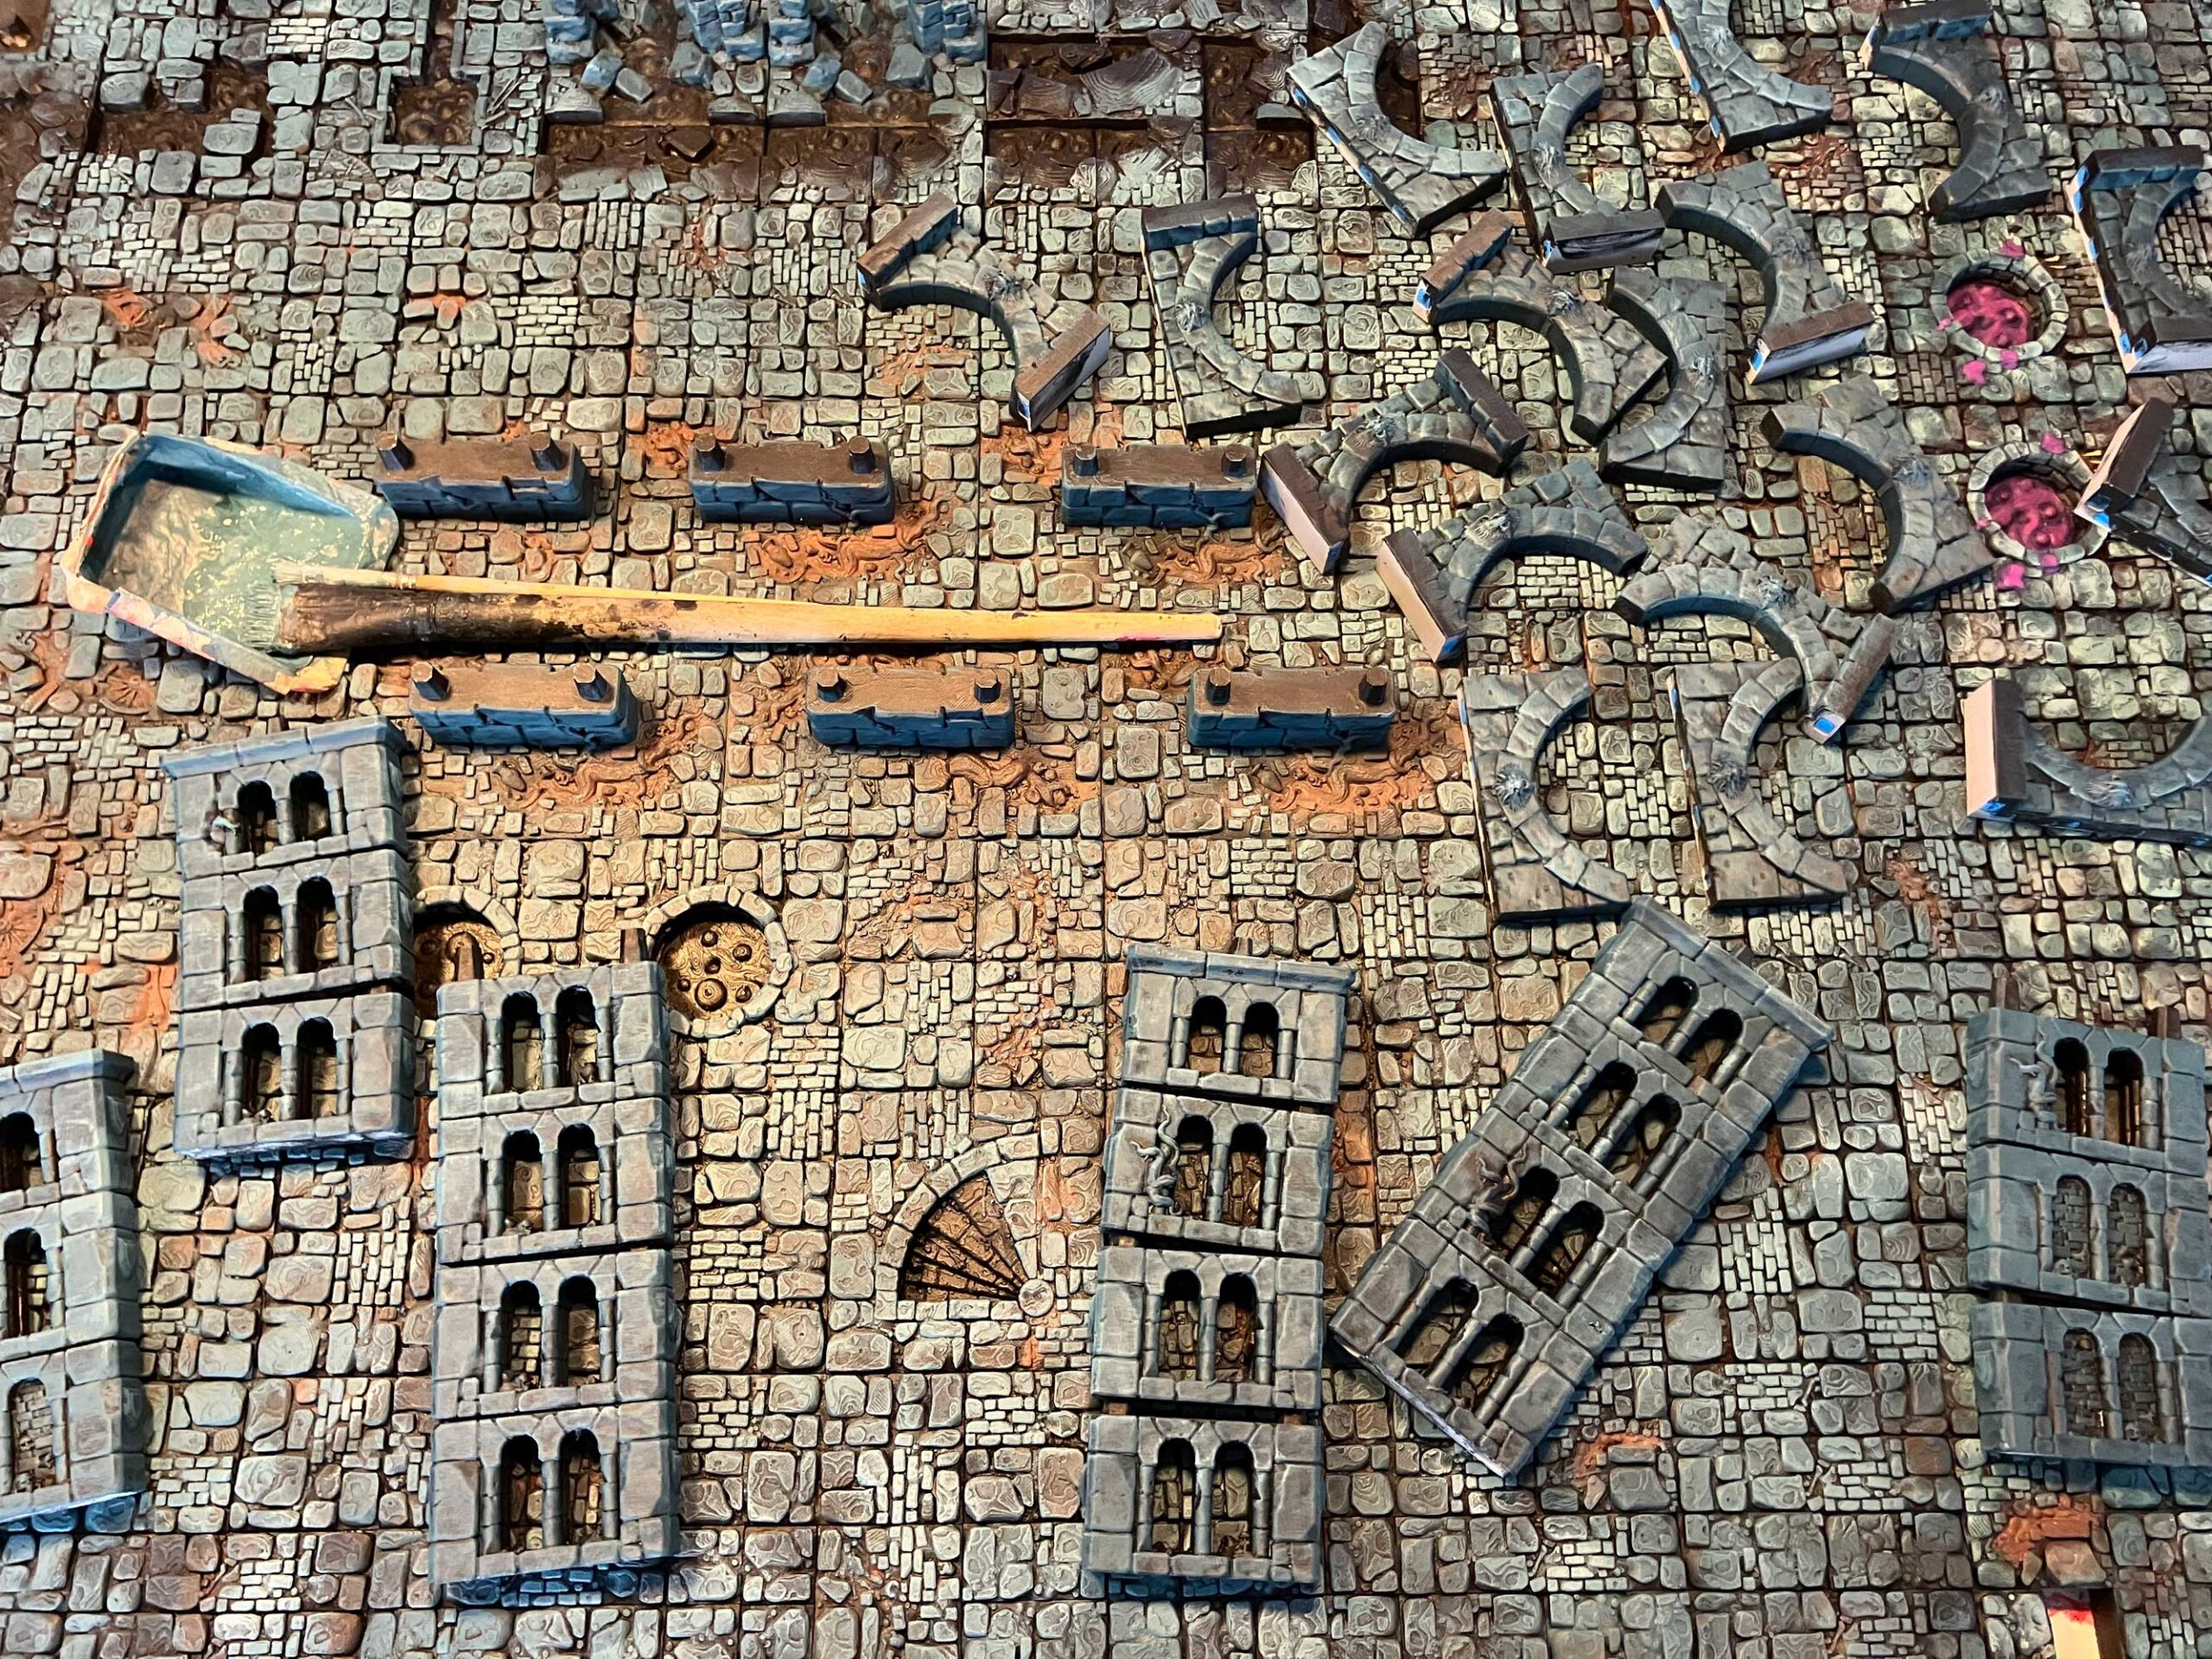
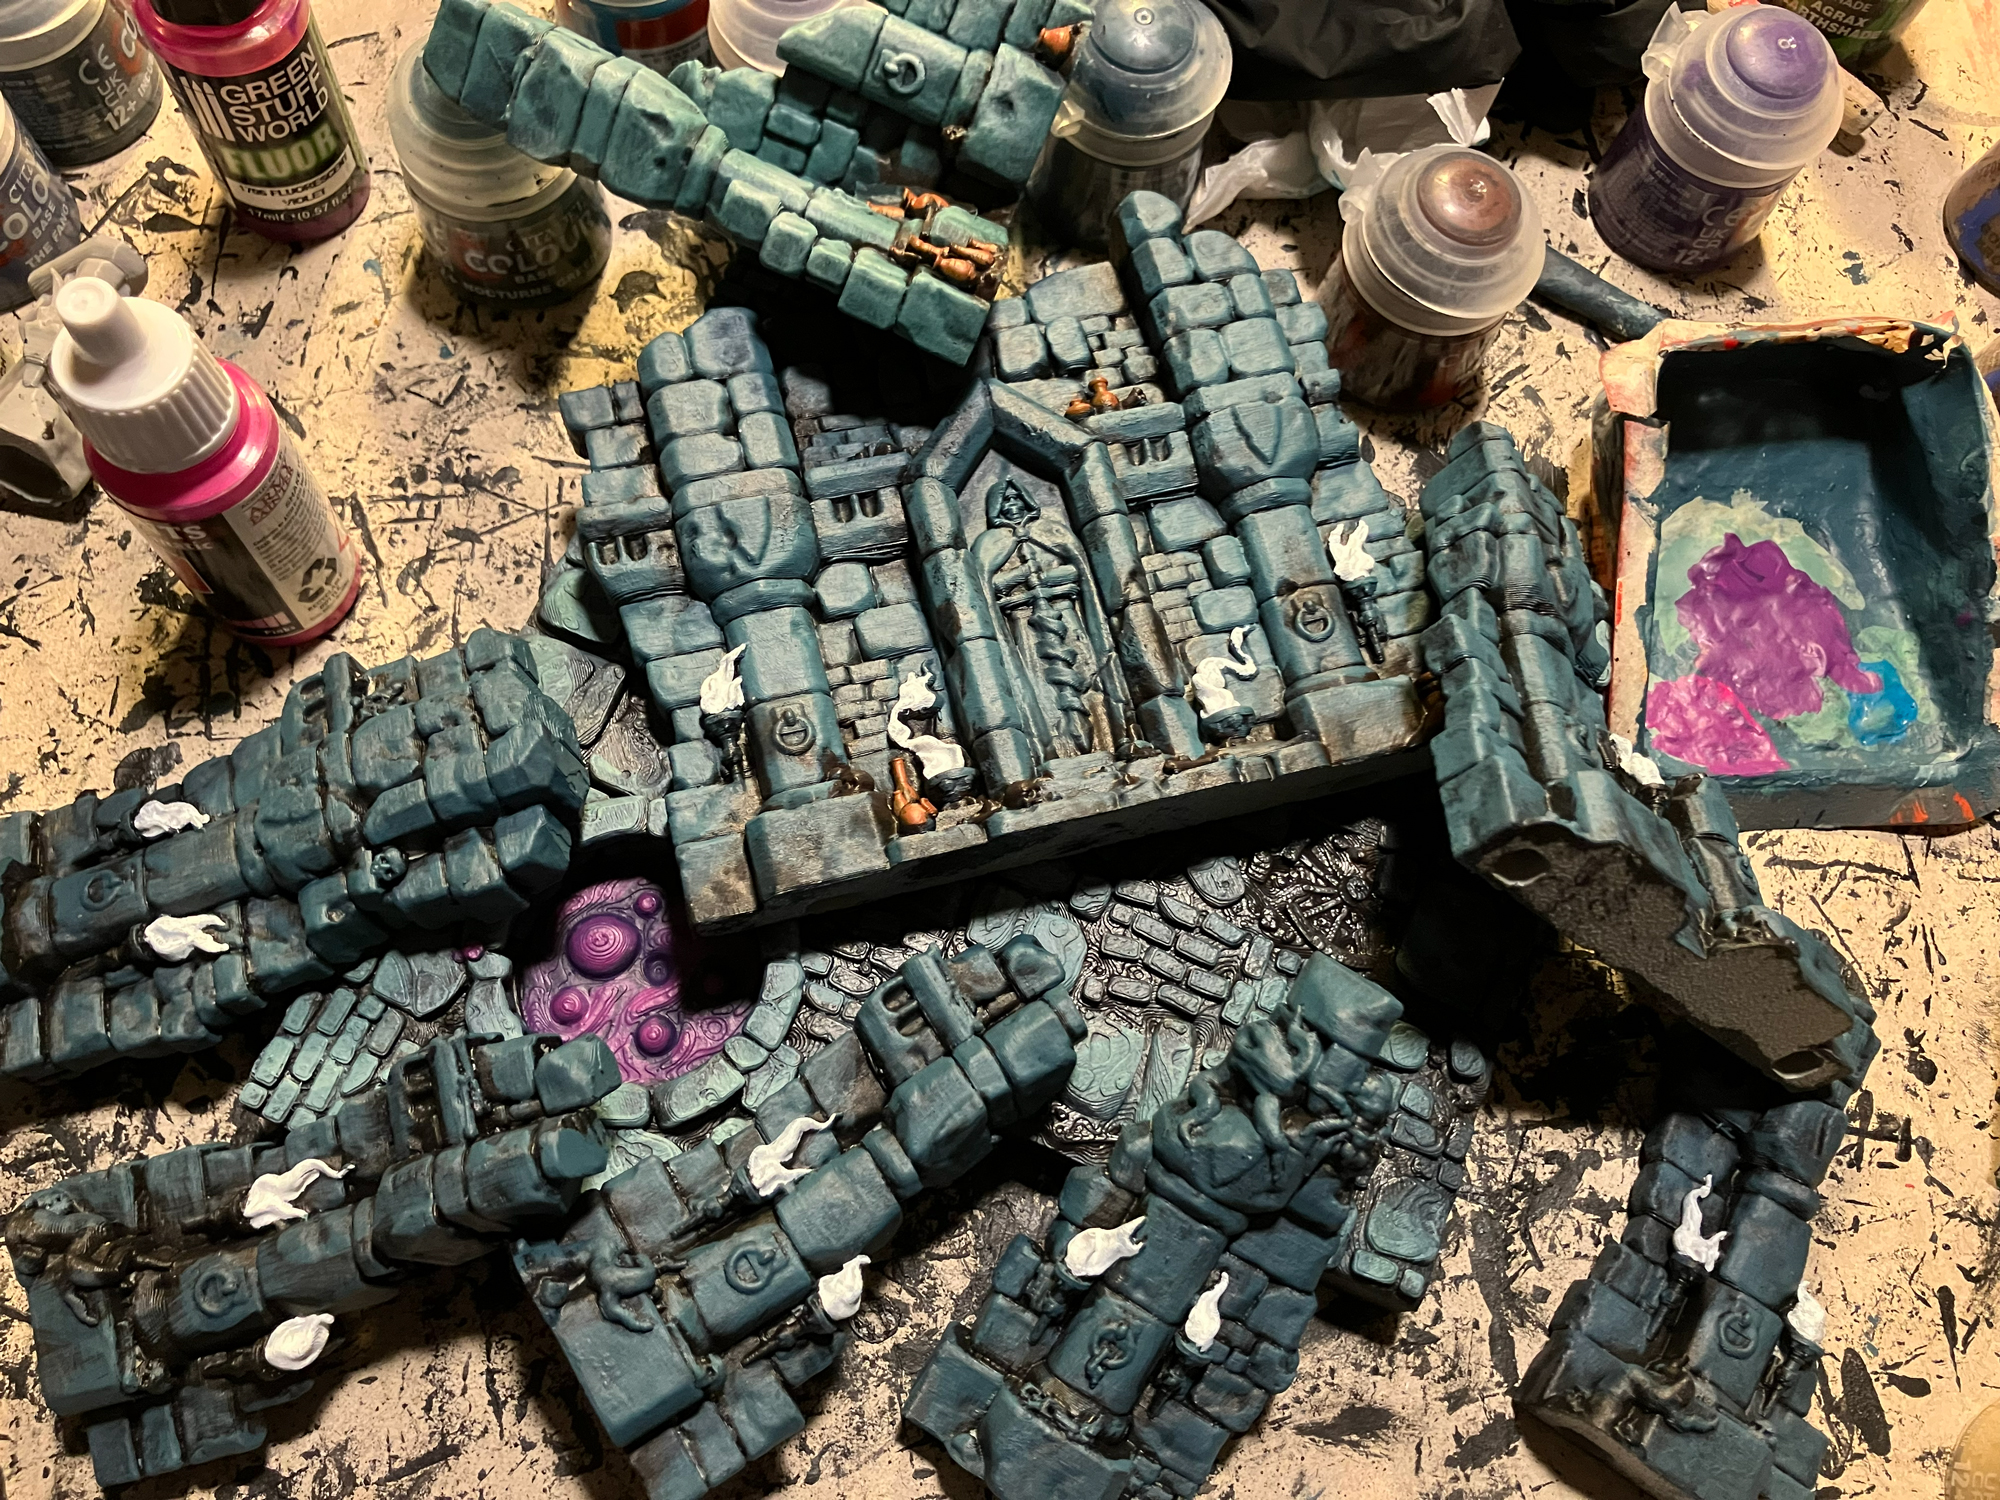
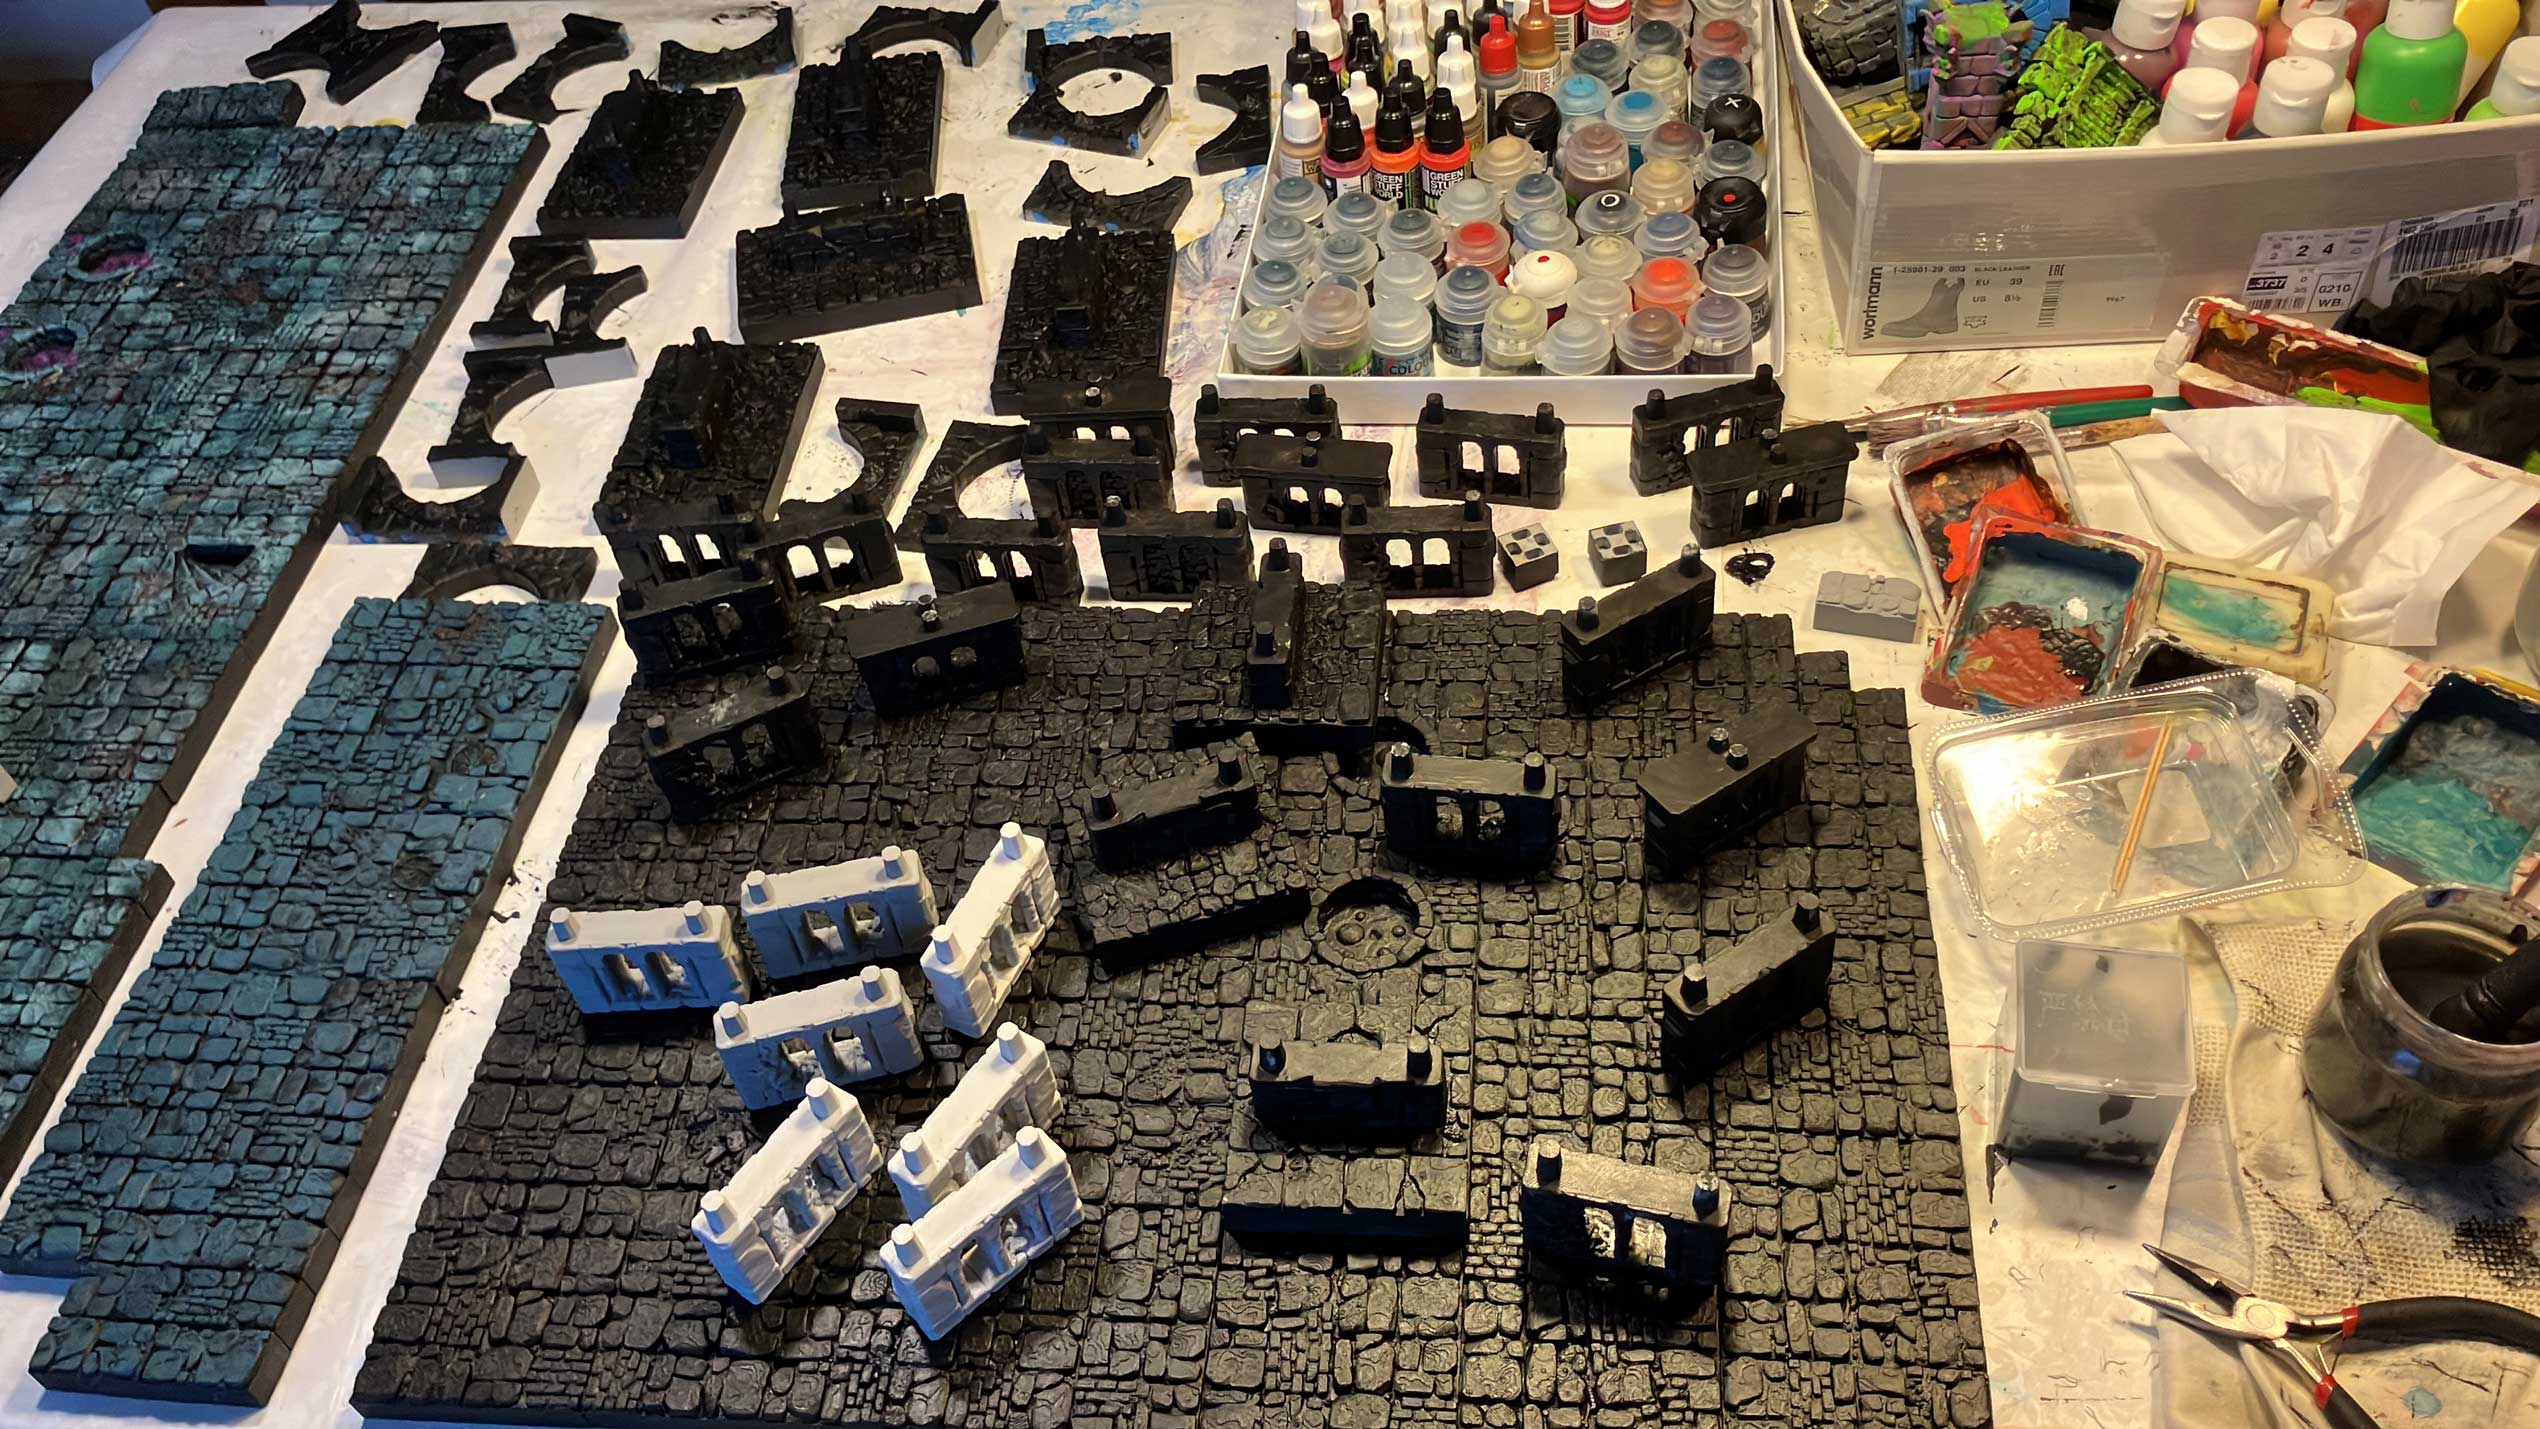
But before we start, here are some impressions from my painting session for the Great Hall campaign.




Step 01: Rough Drybrushing Base Color

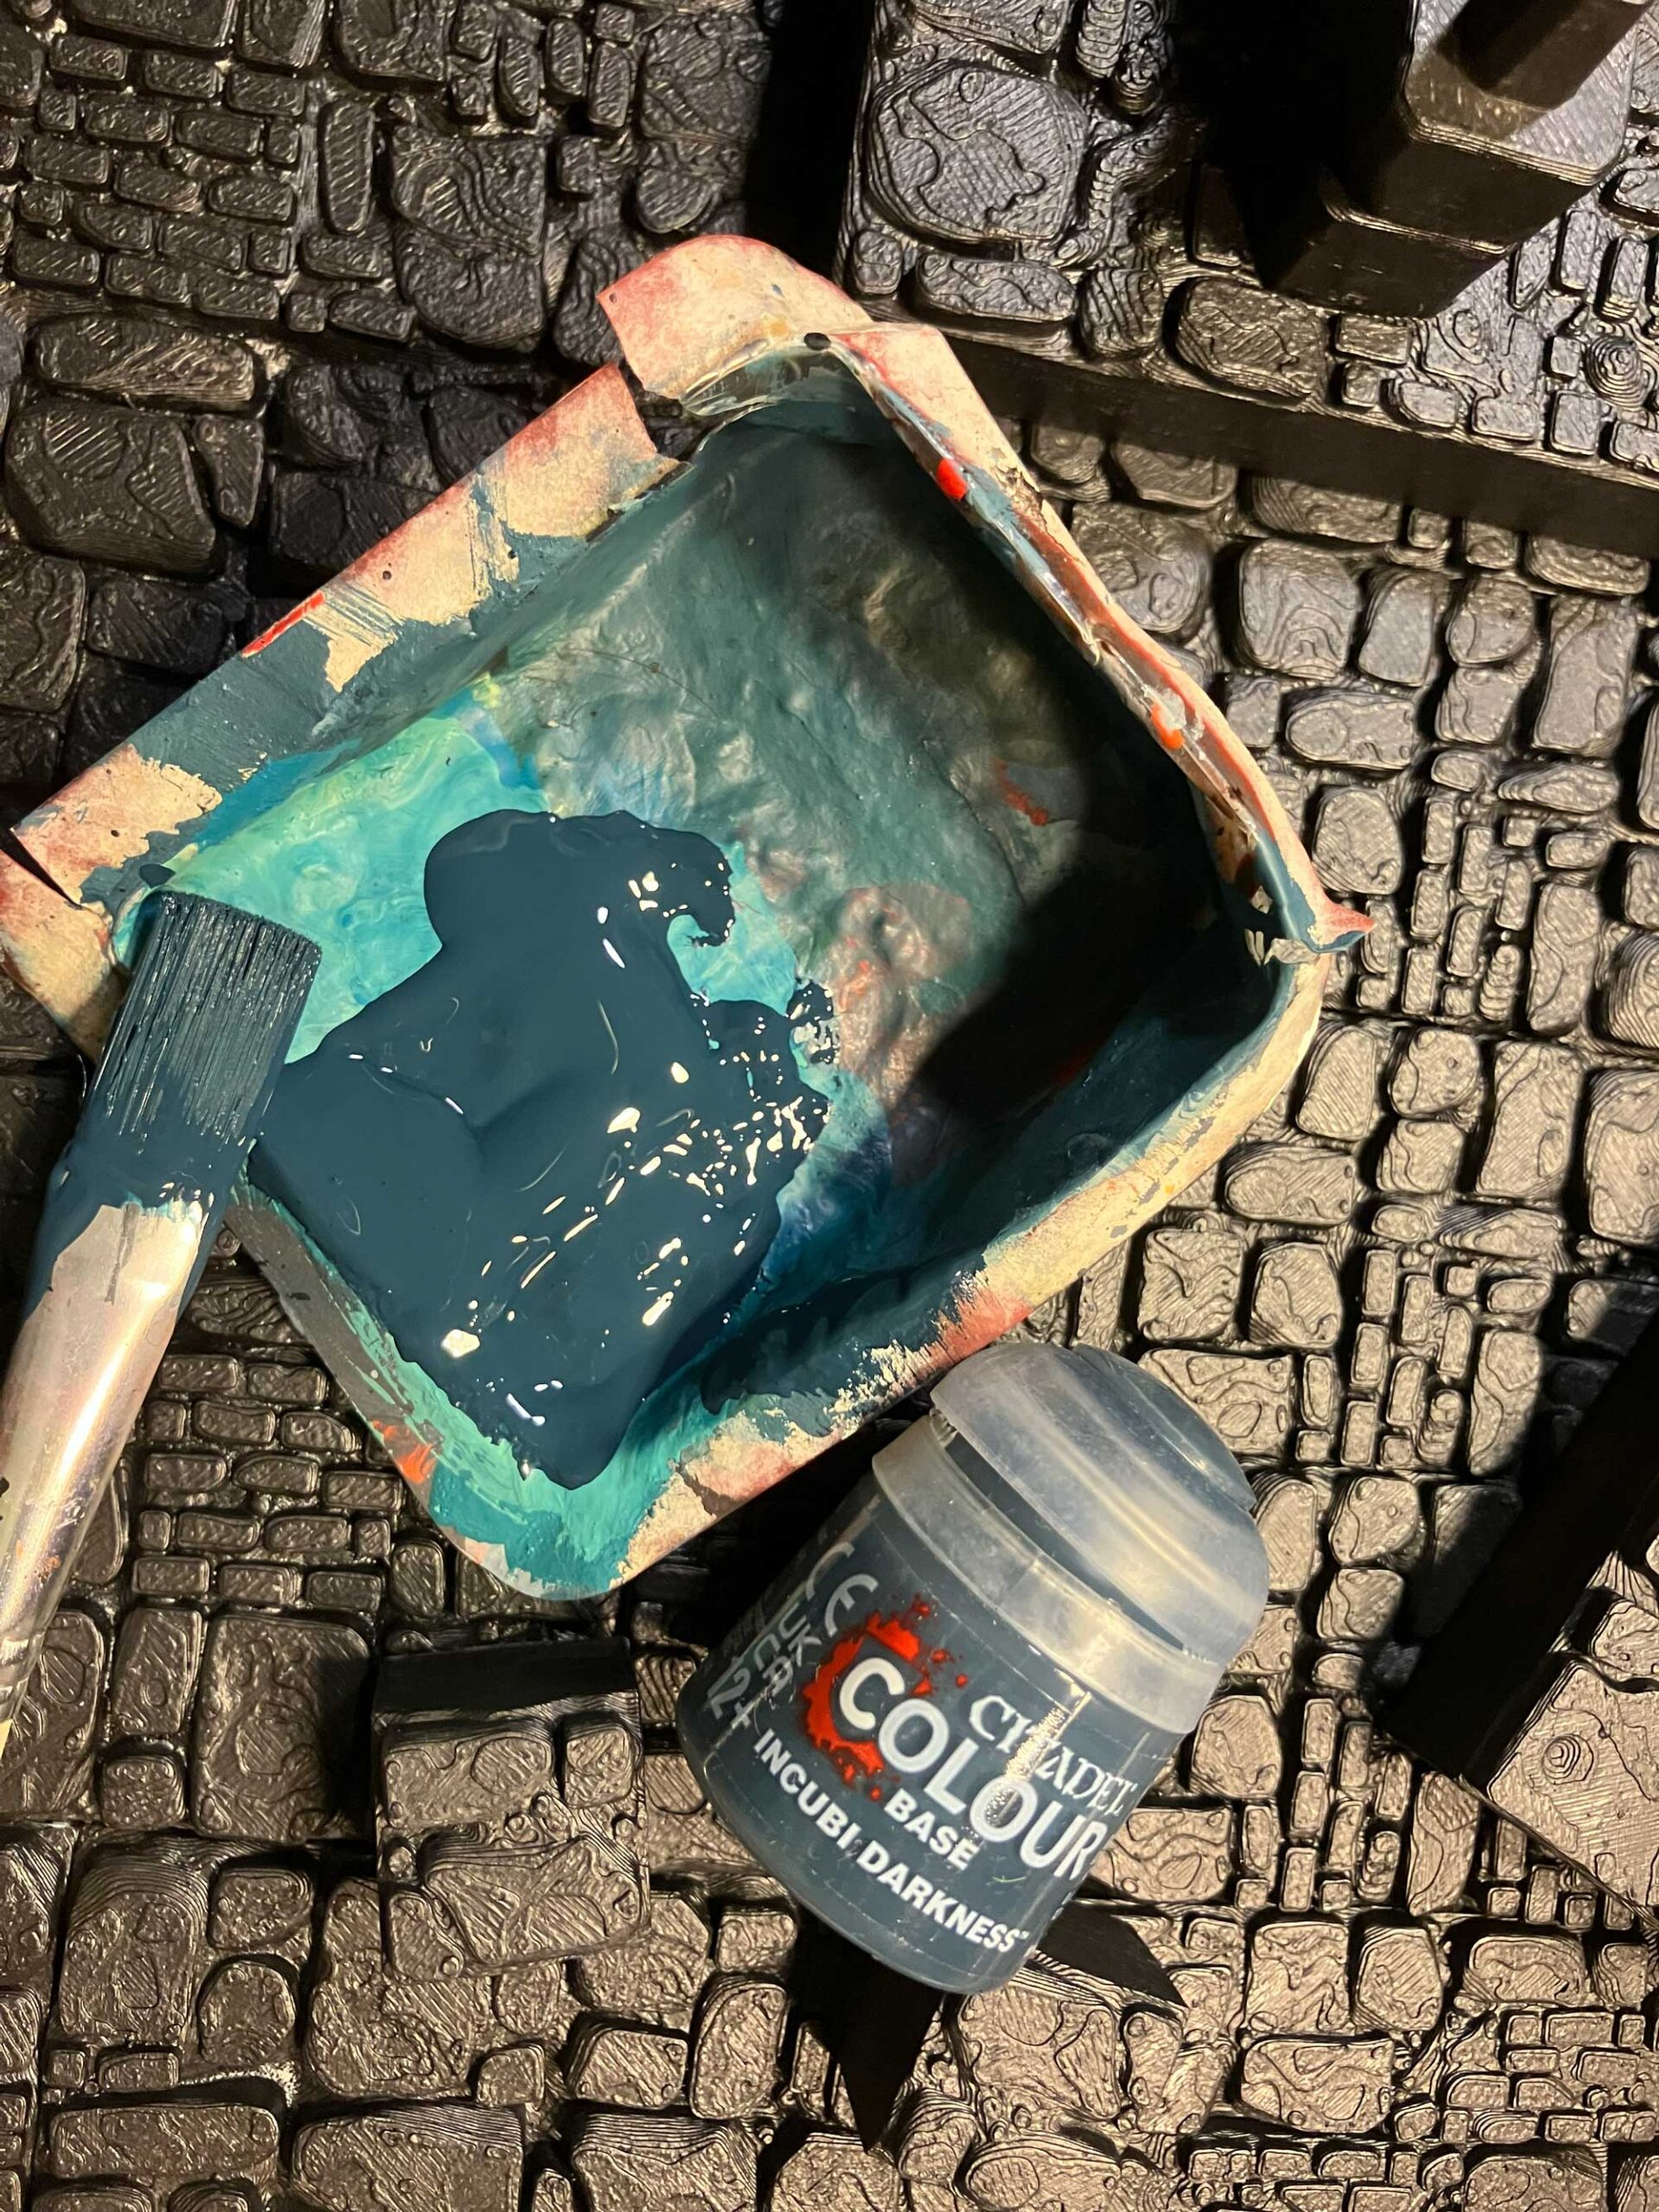
- Incubi Darkness
- Celestra Grey
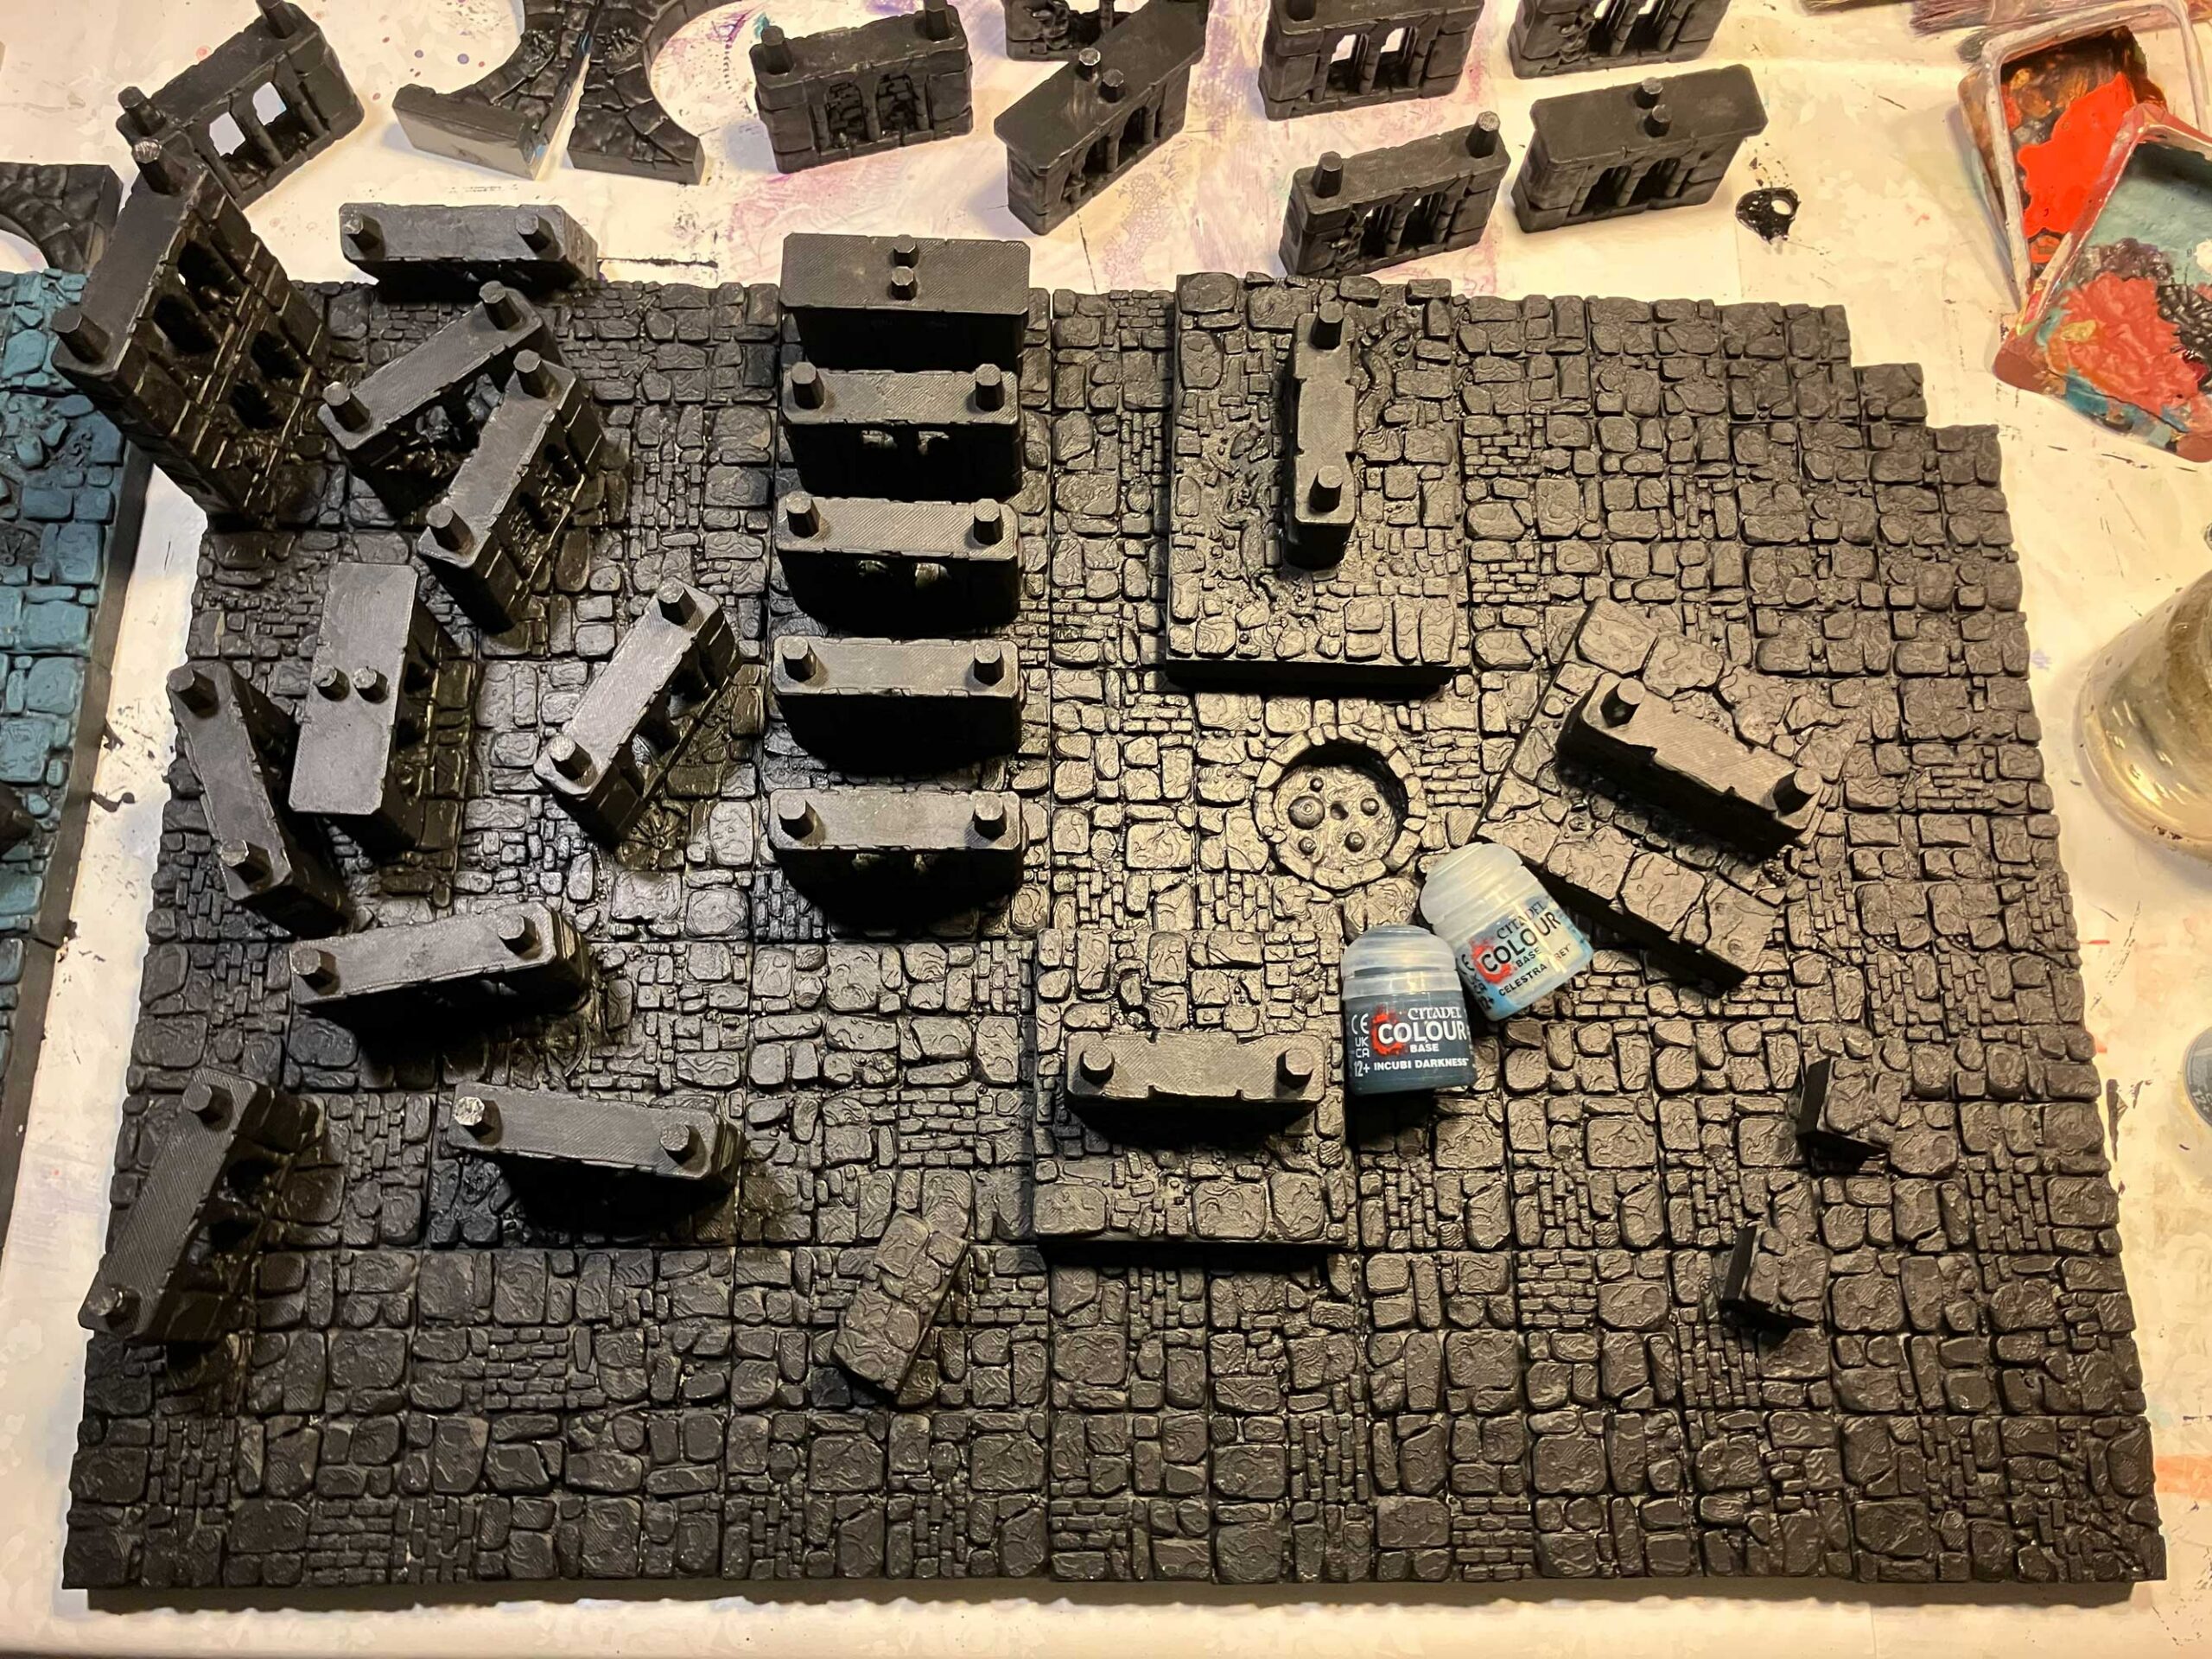
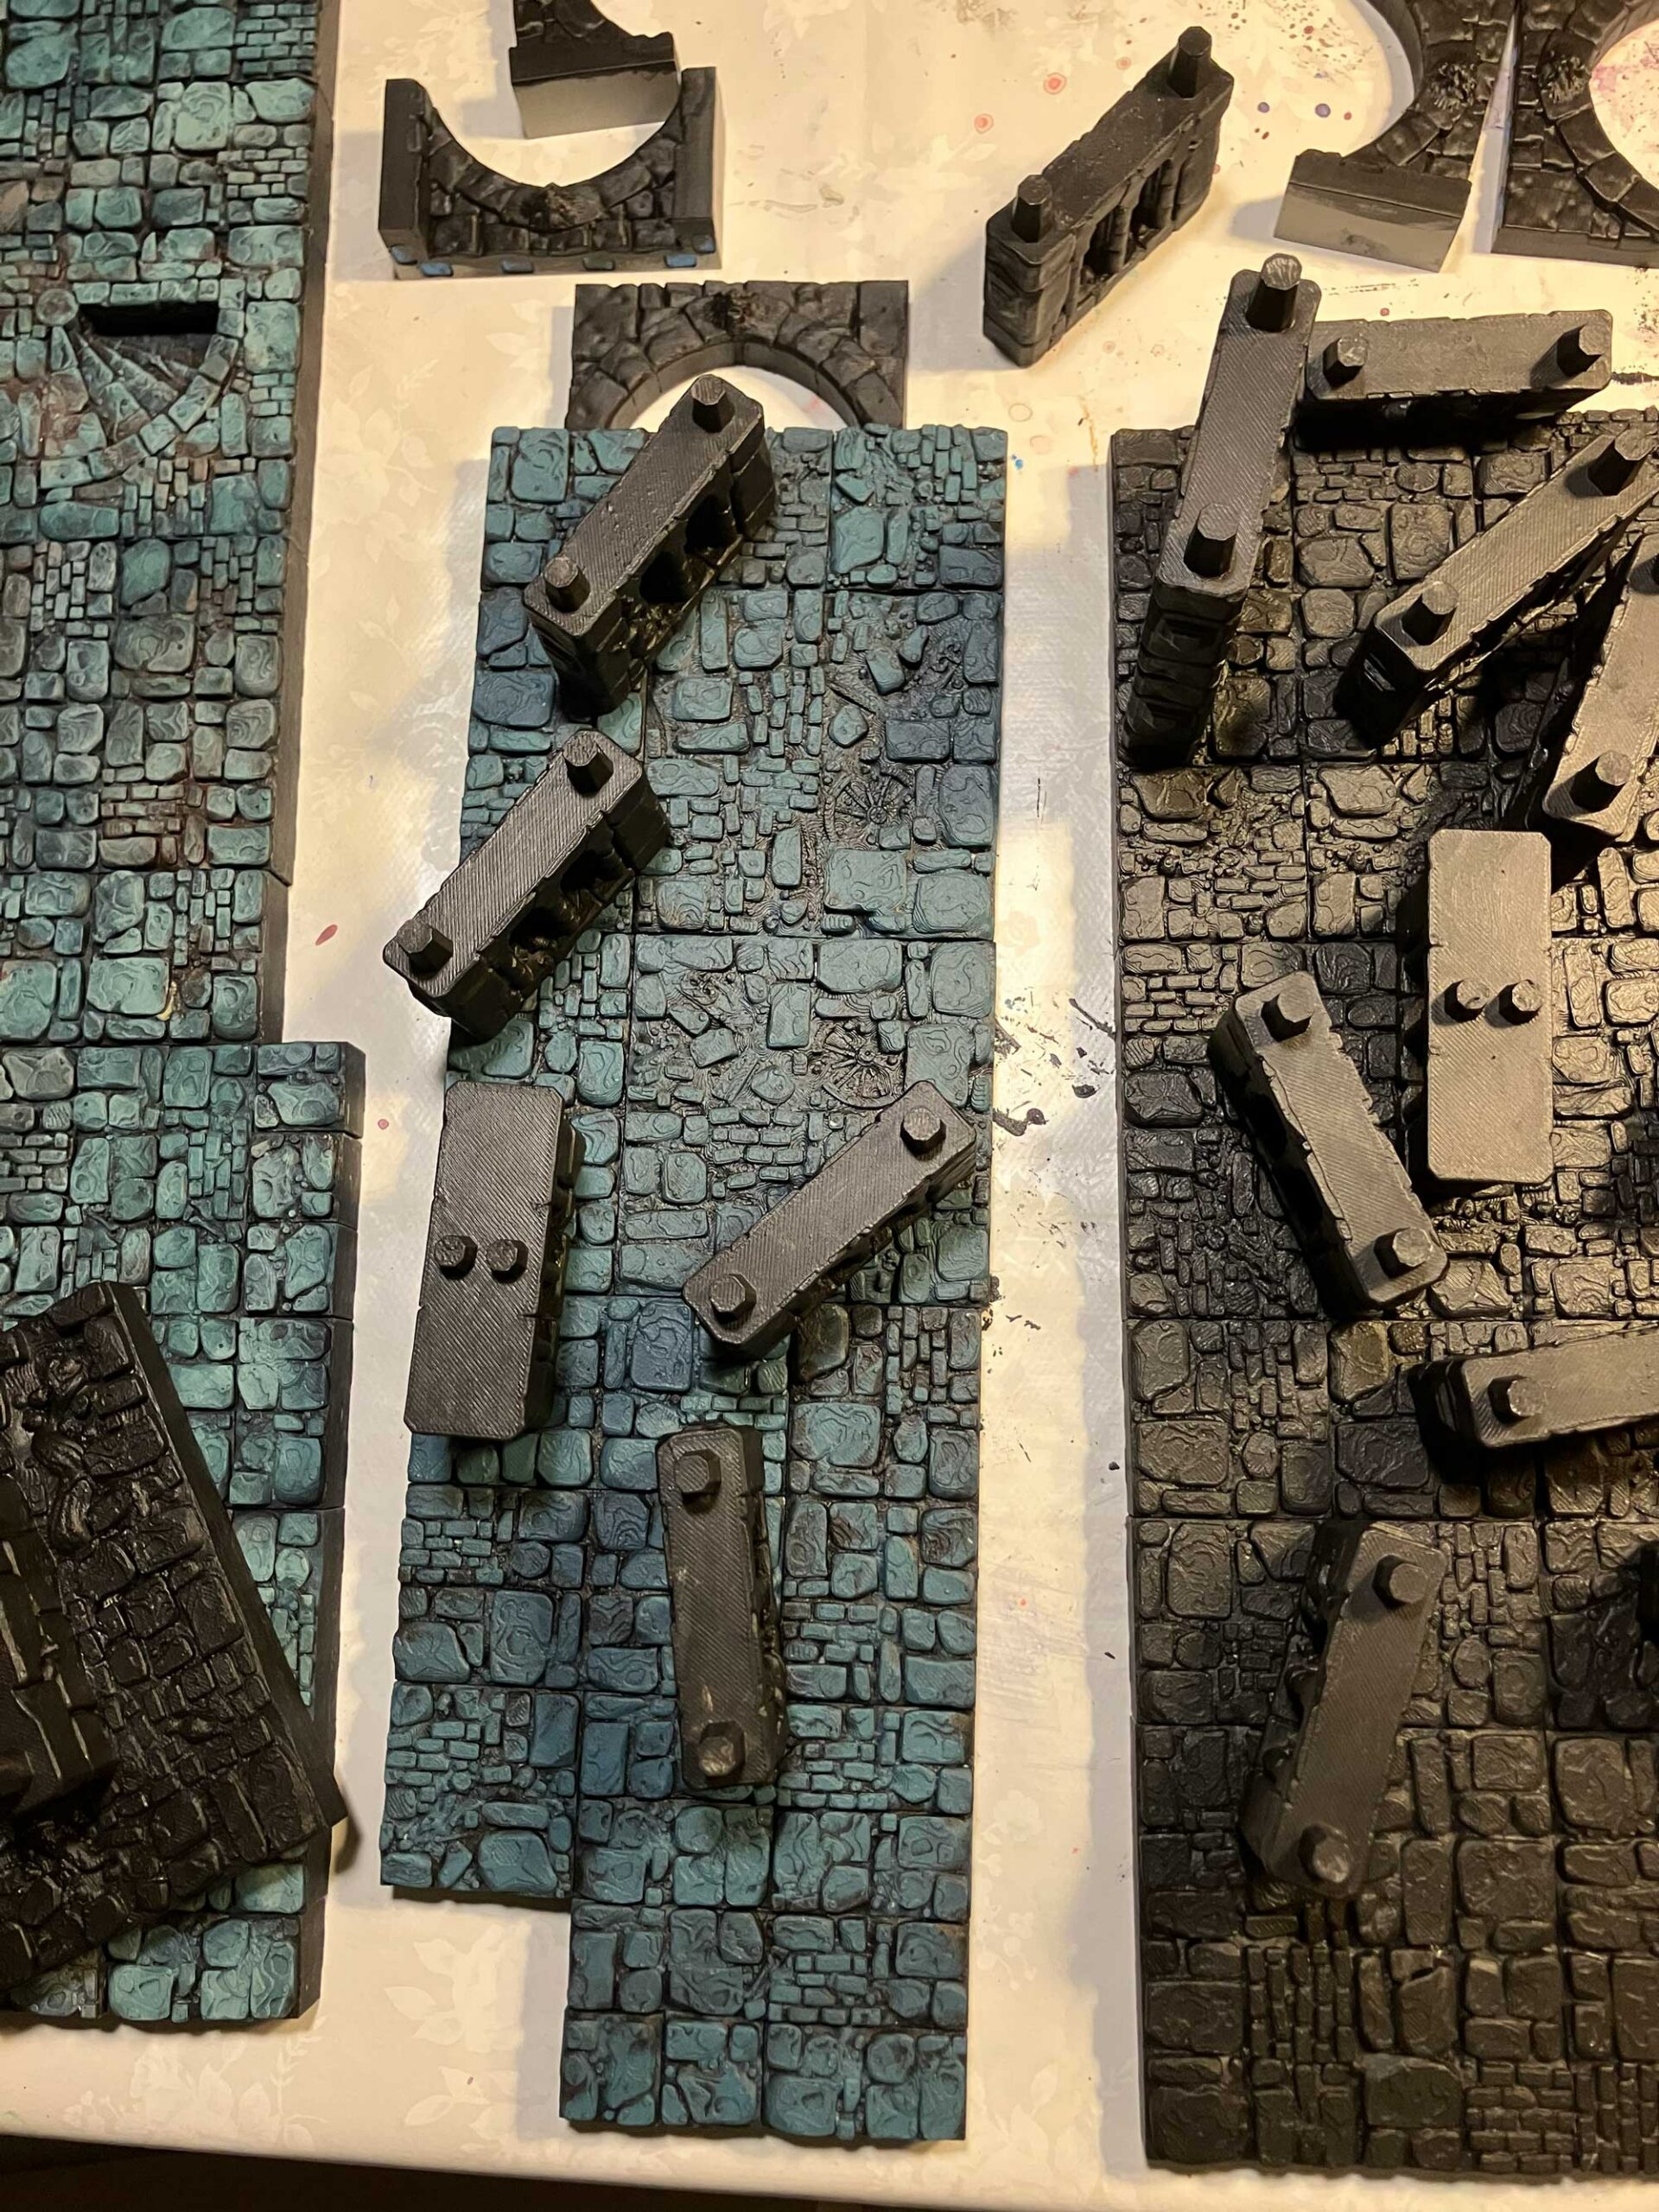
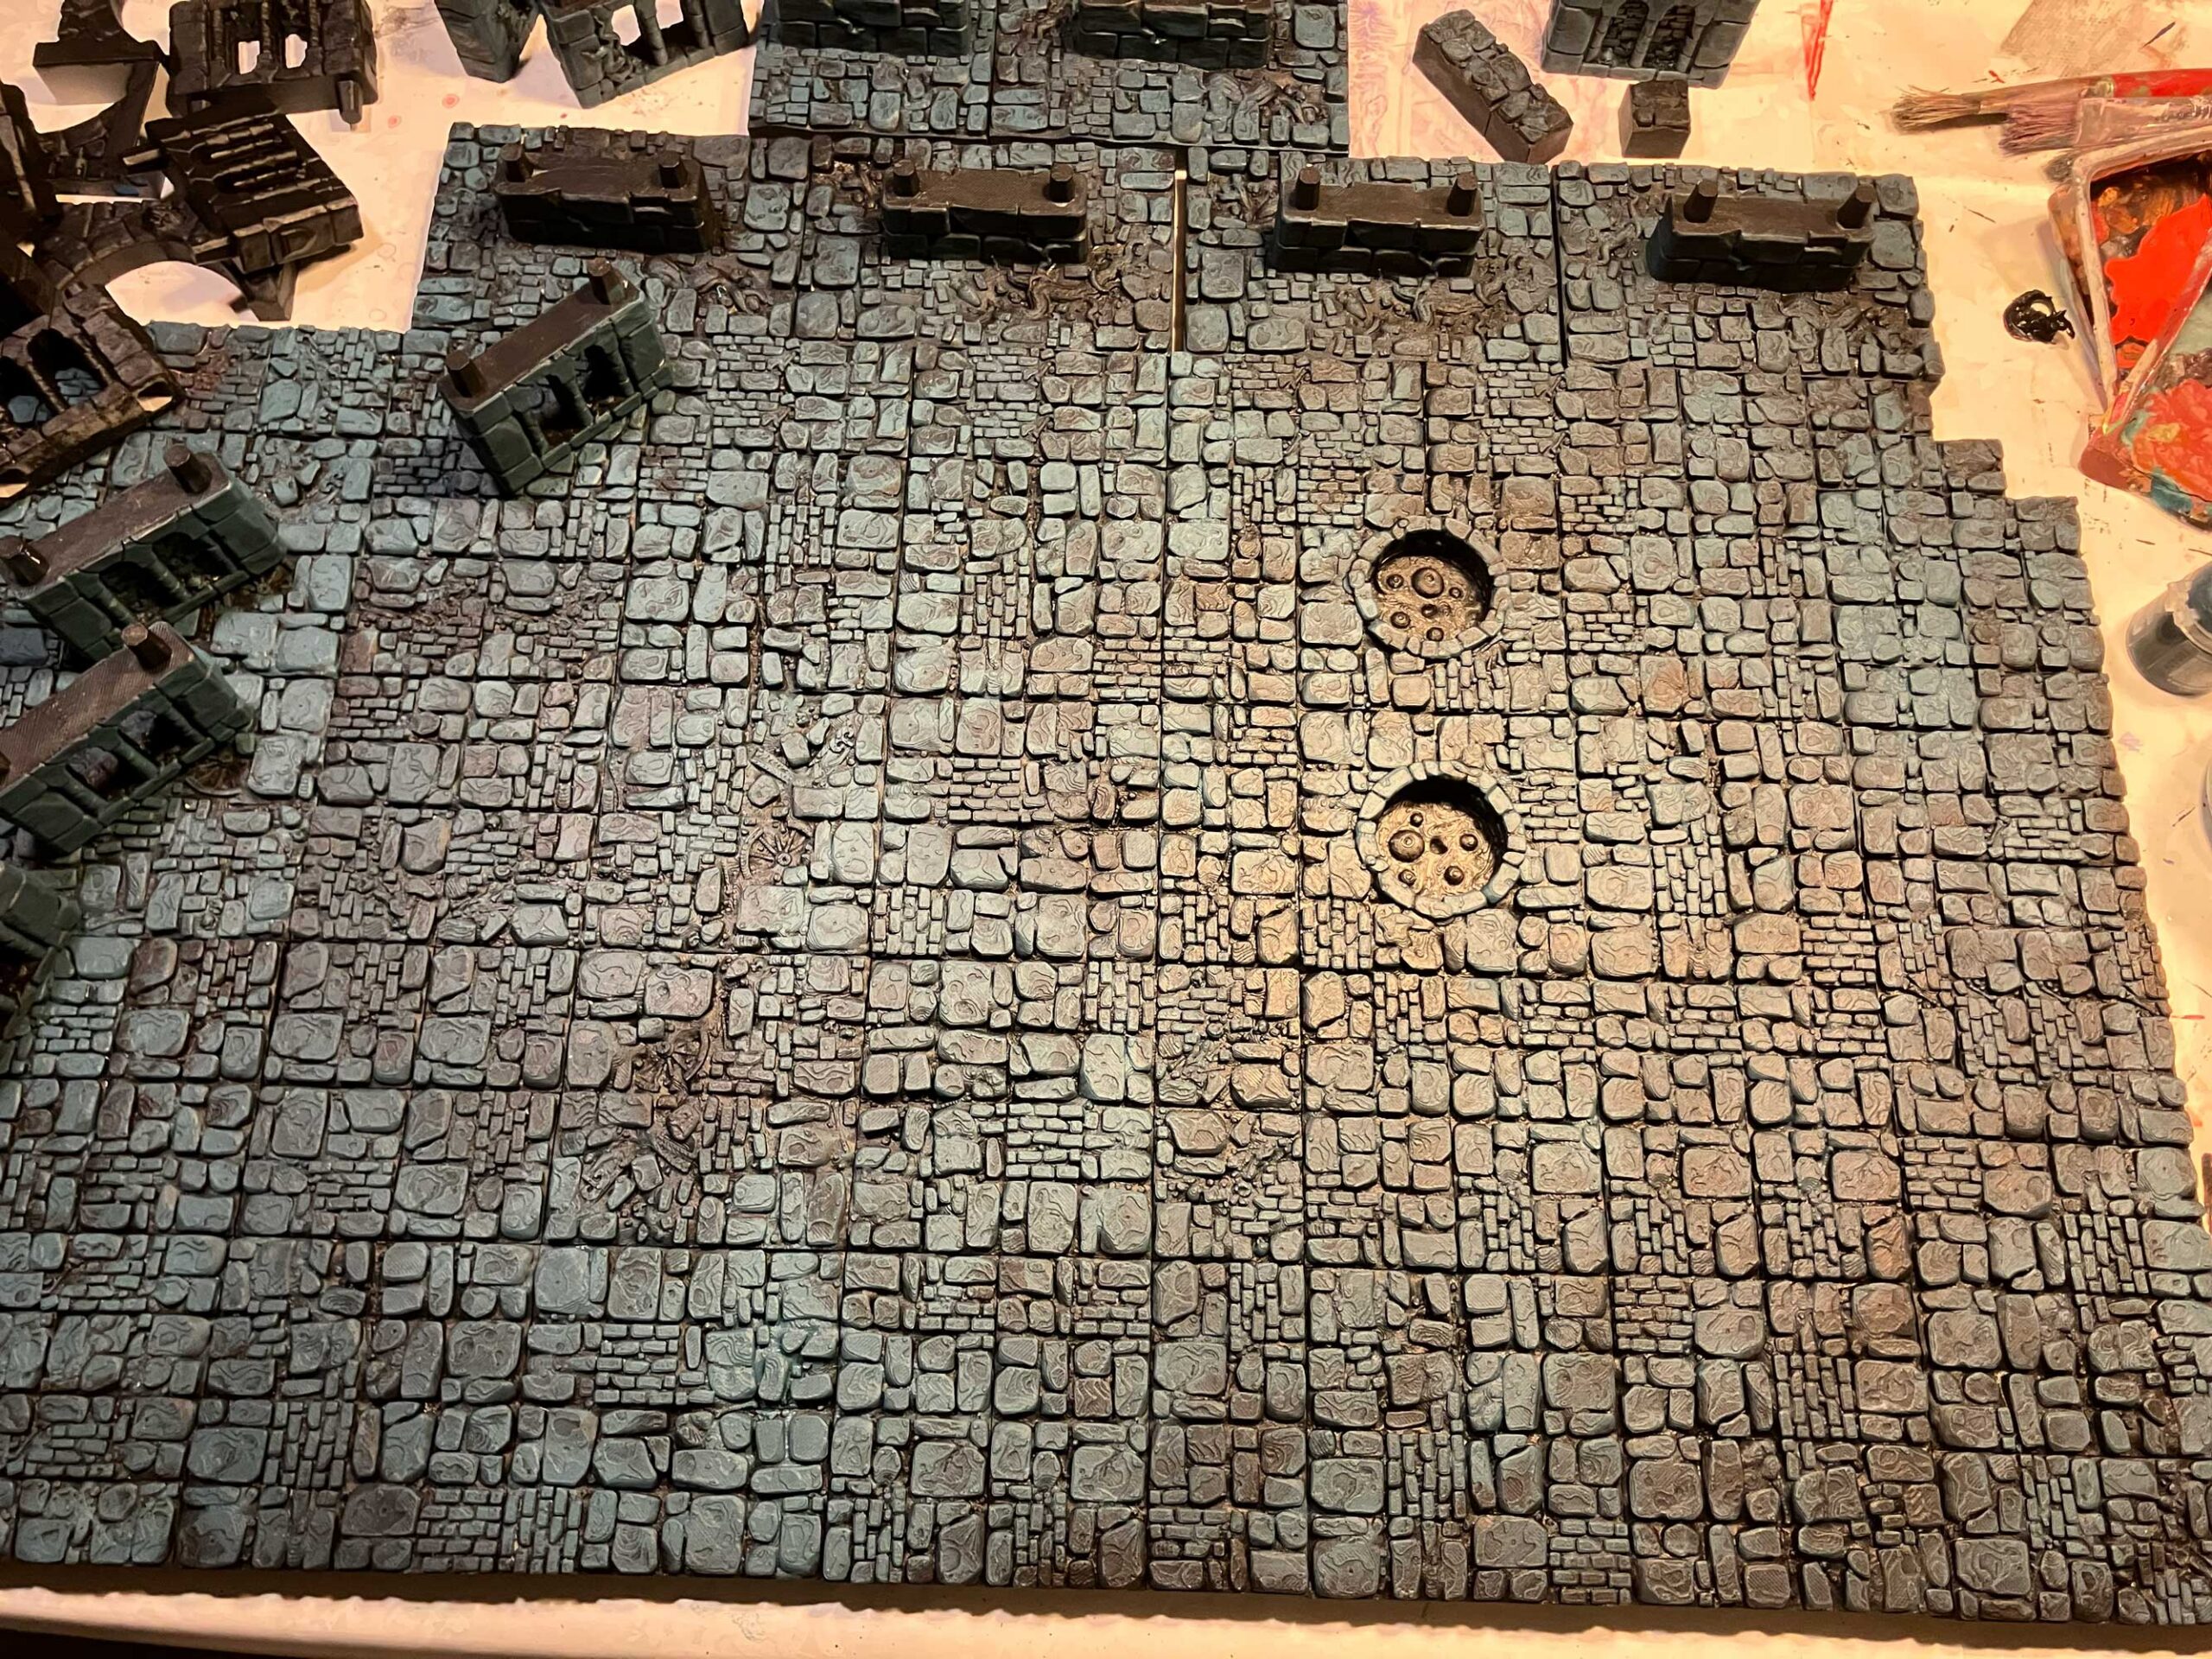
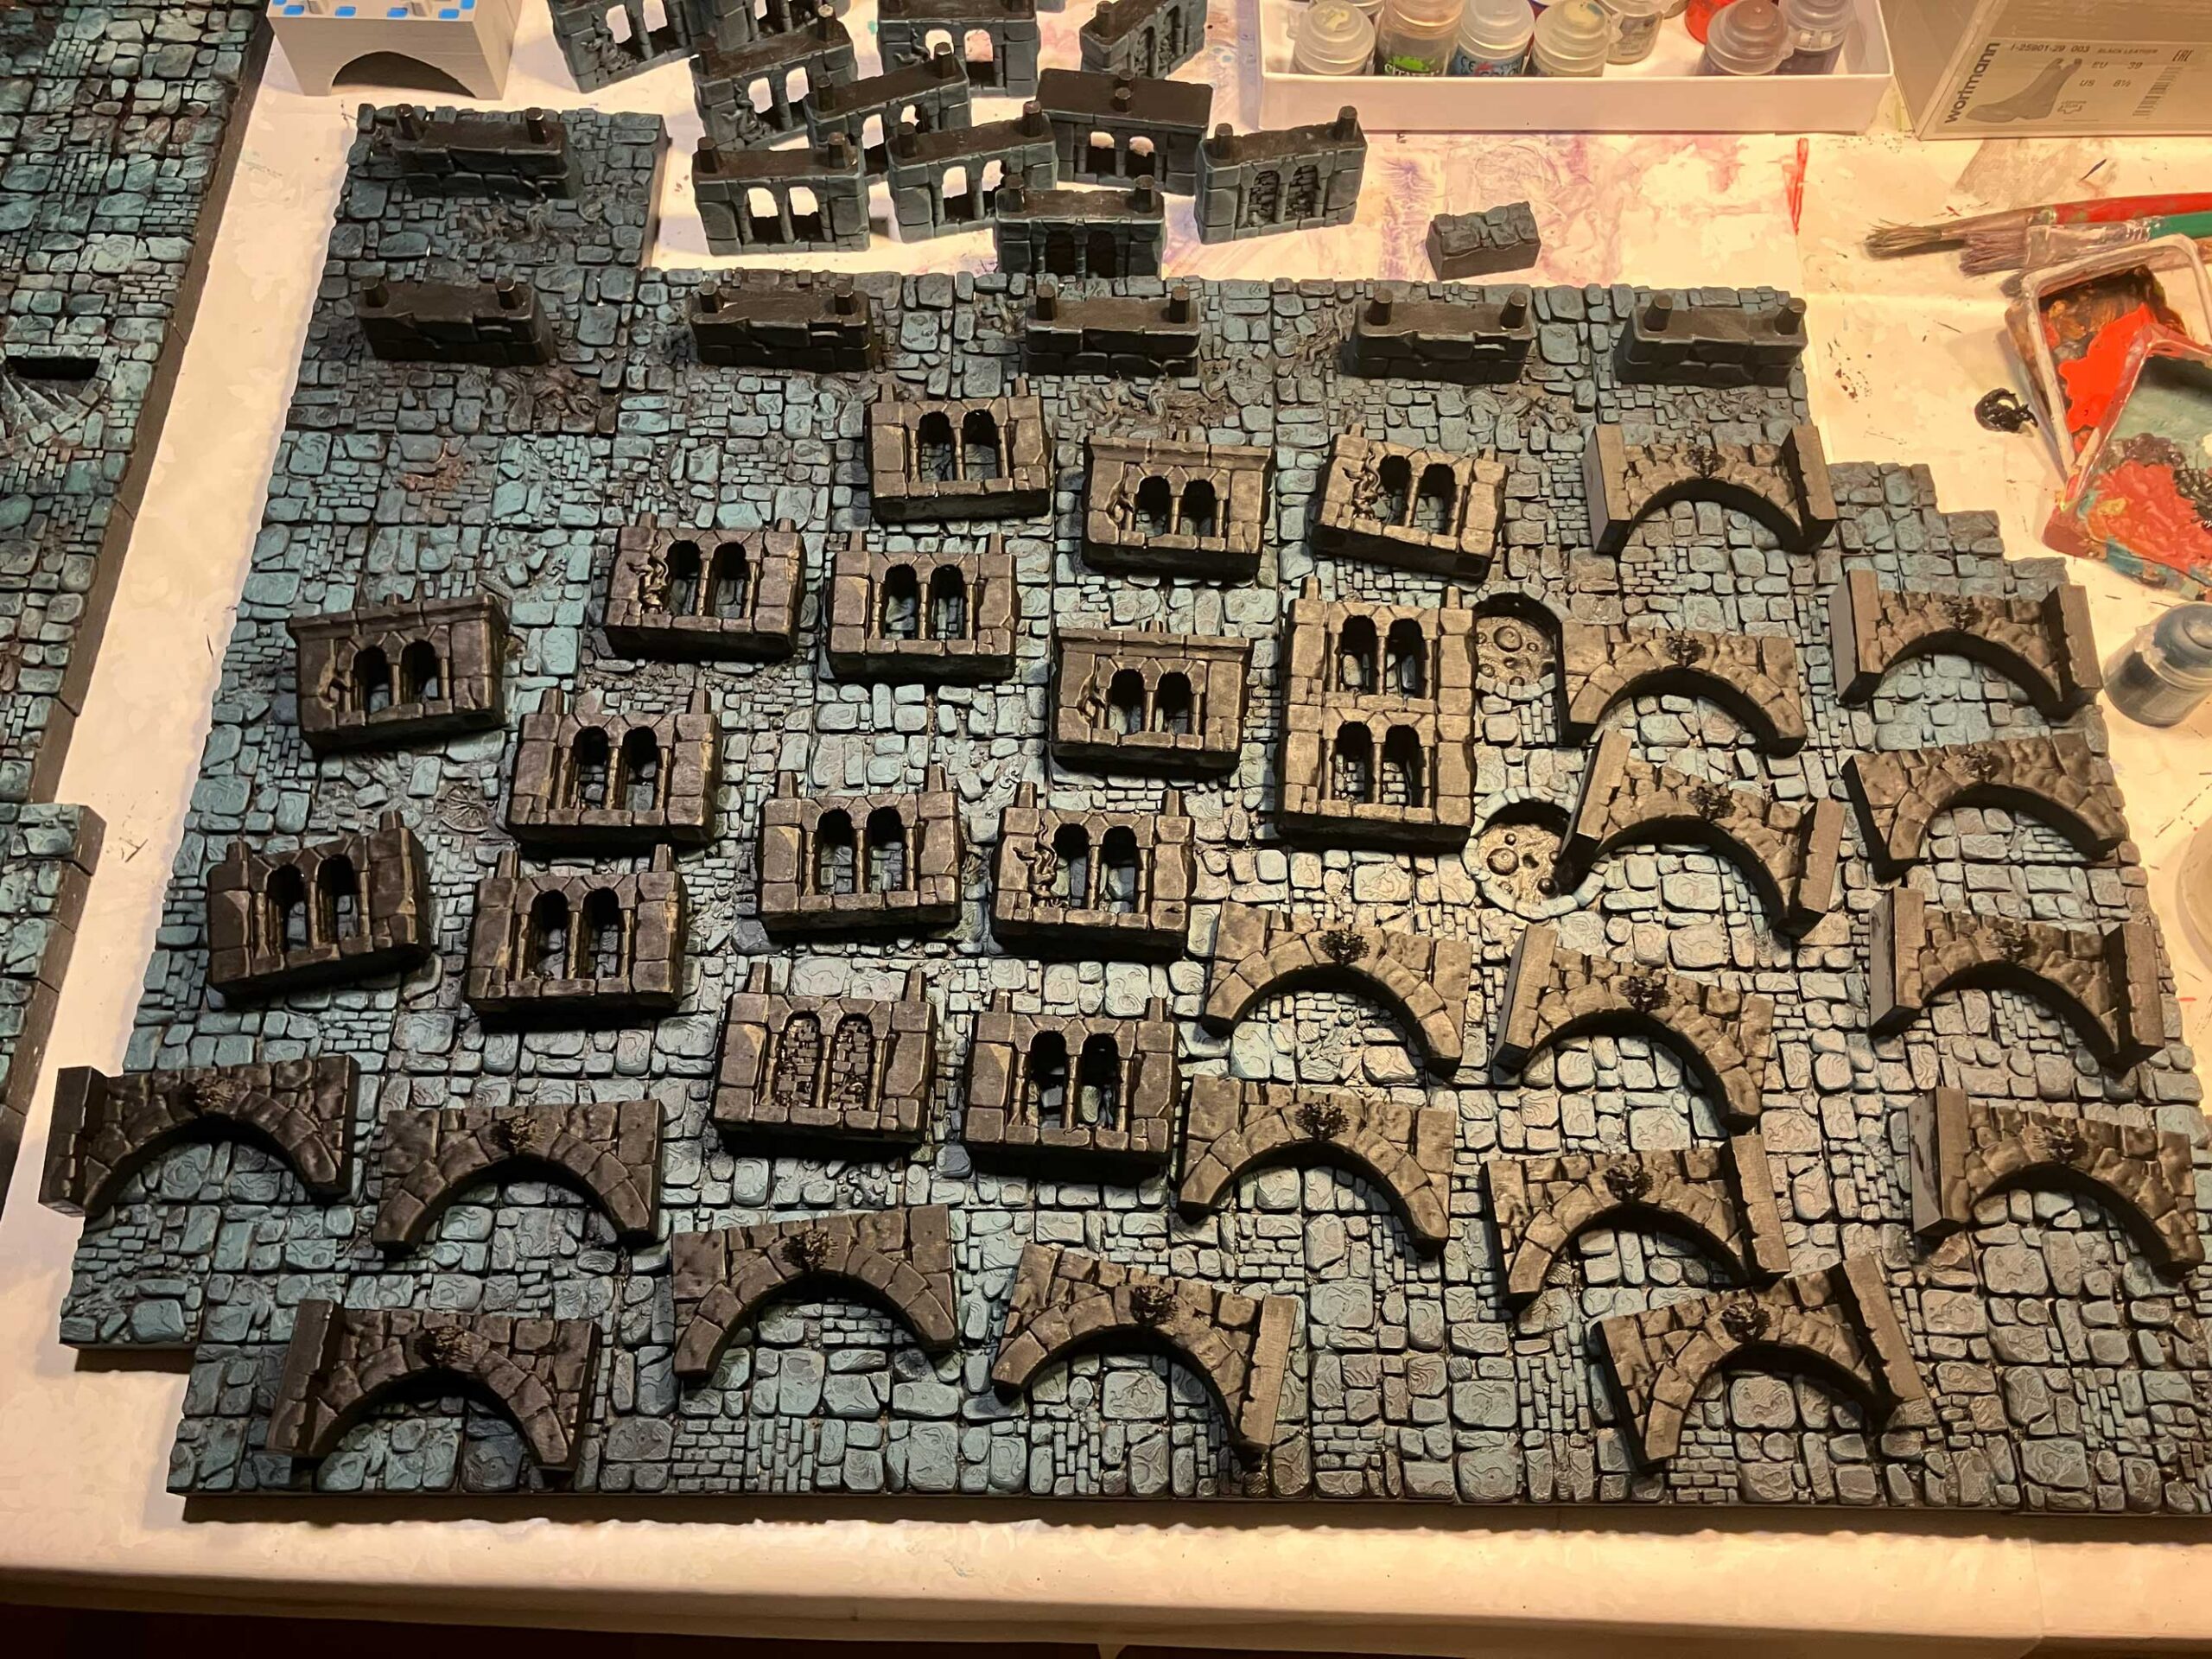
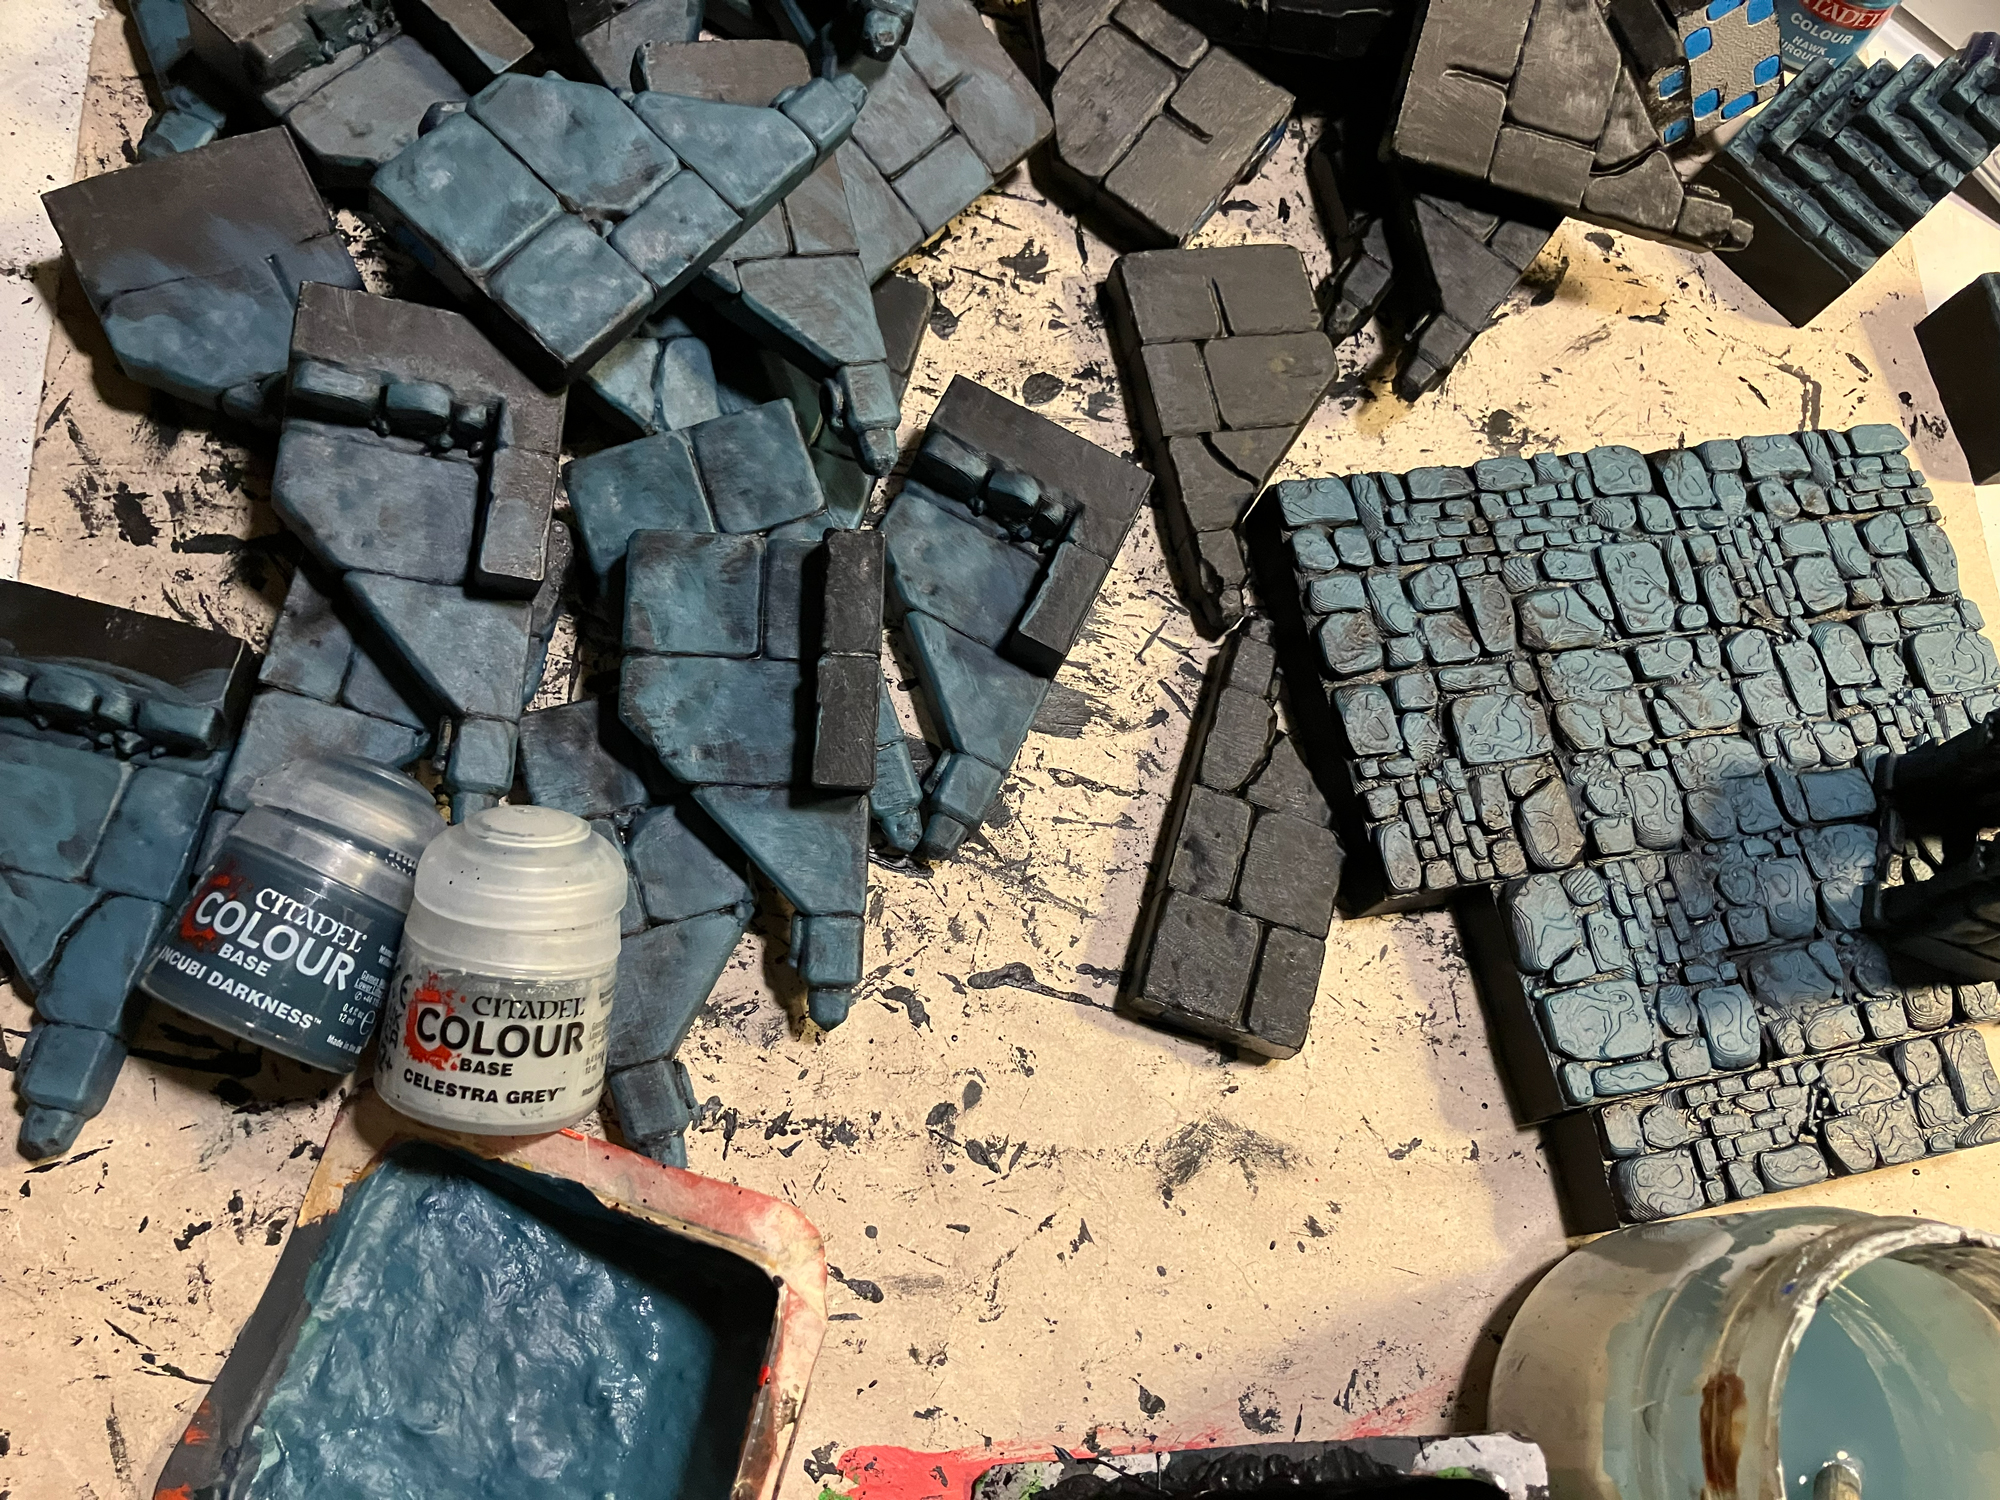
Incubi Darkness is too dark as a base color. I considered using it as a Layer 1, but since you can barely see any effect on black, it would feel like a waste of paint (and money). Instead, I used Celestra Grey to brighten the tone until the first pass already gives a decent-looking result.
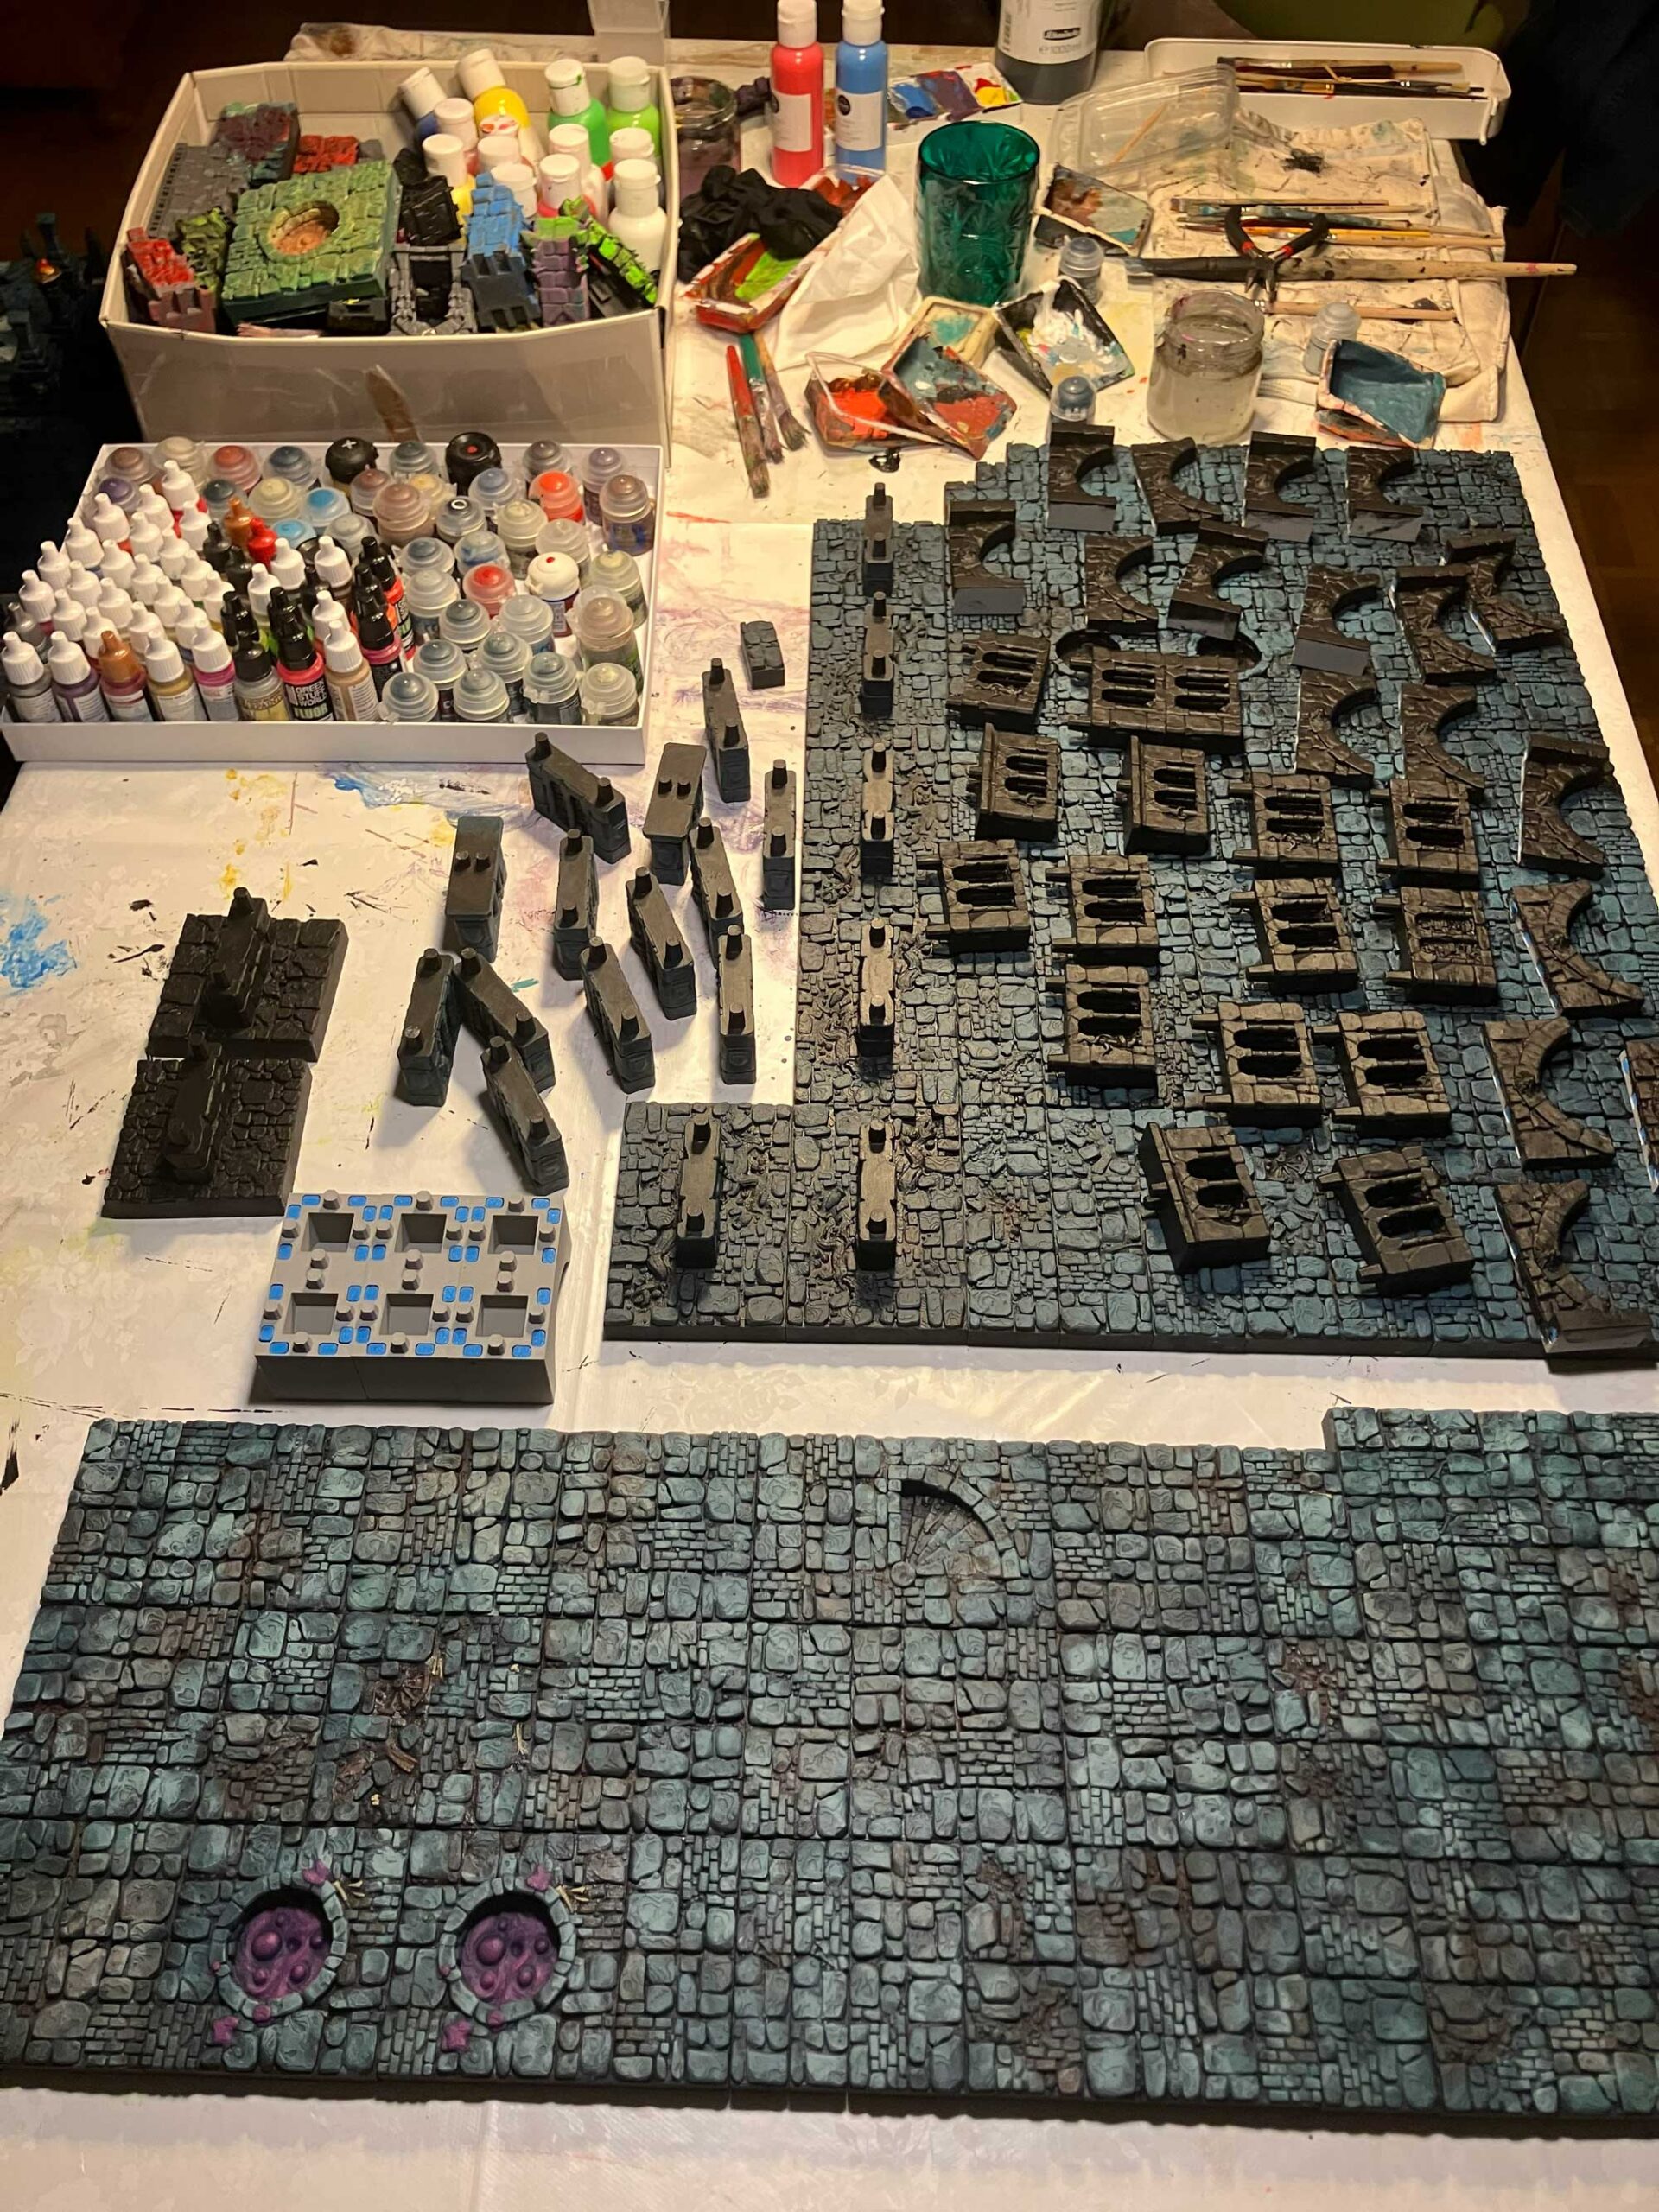
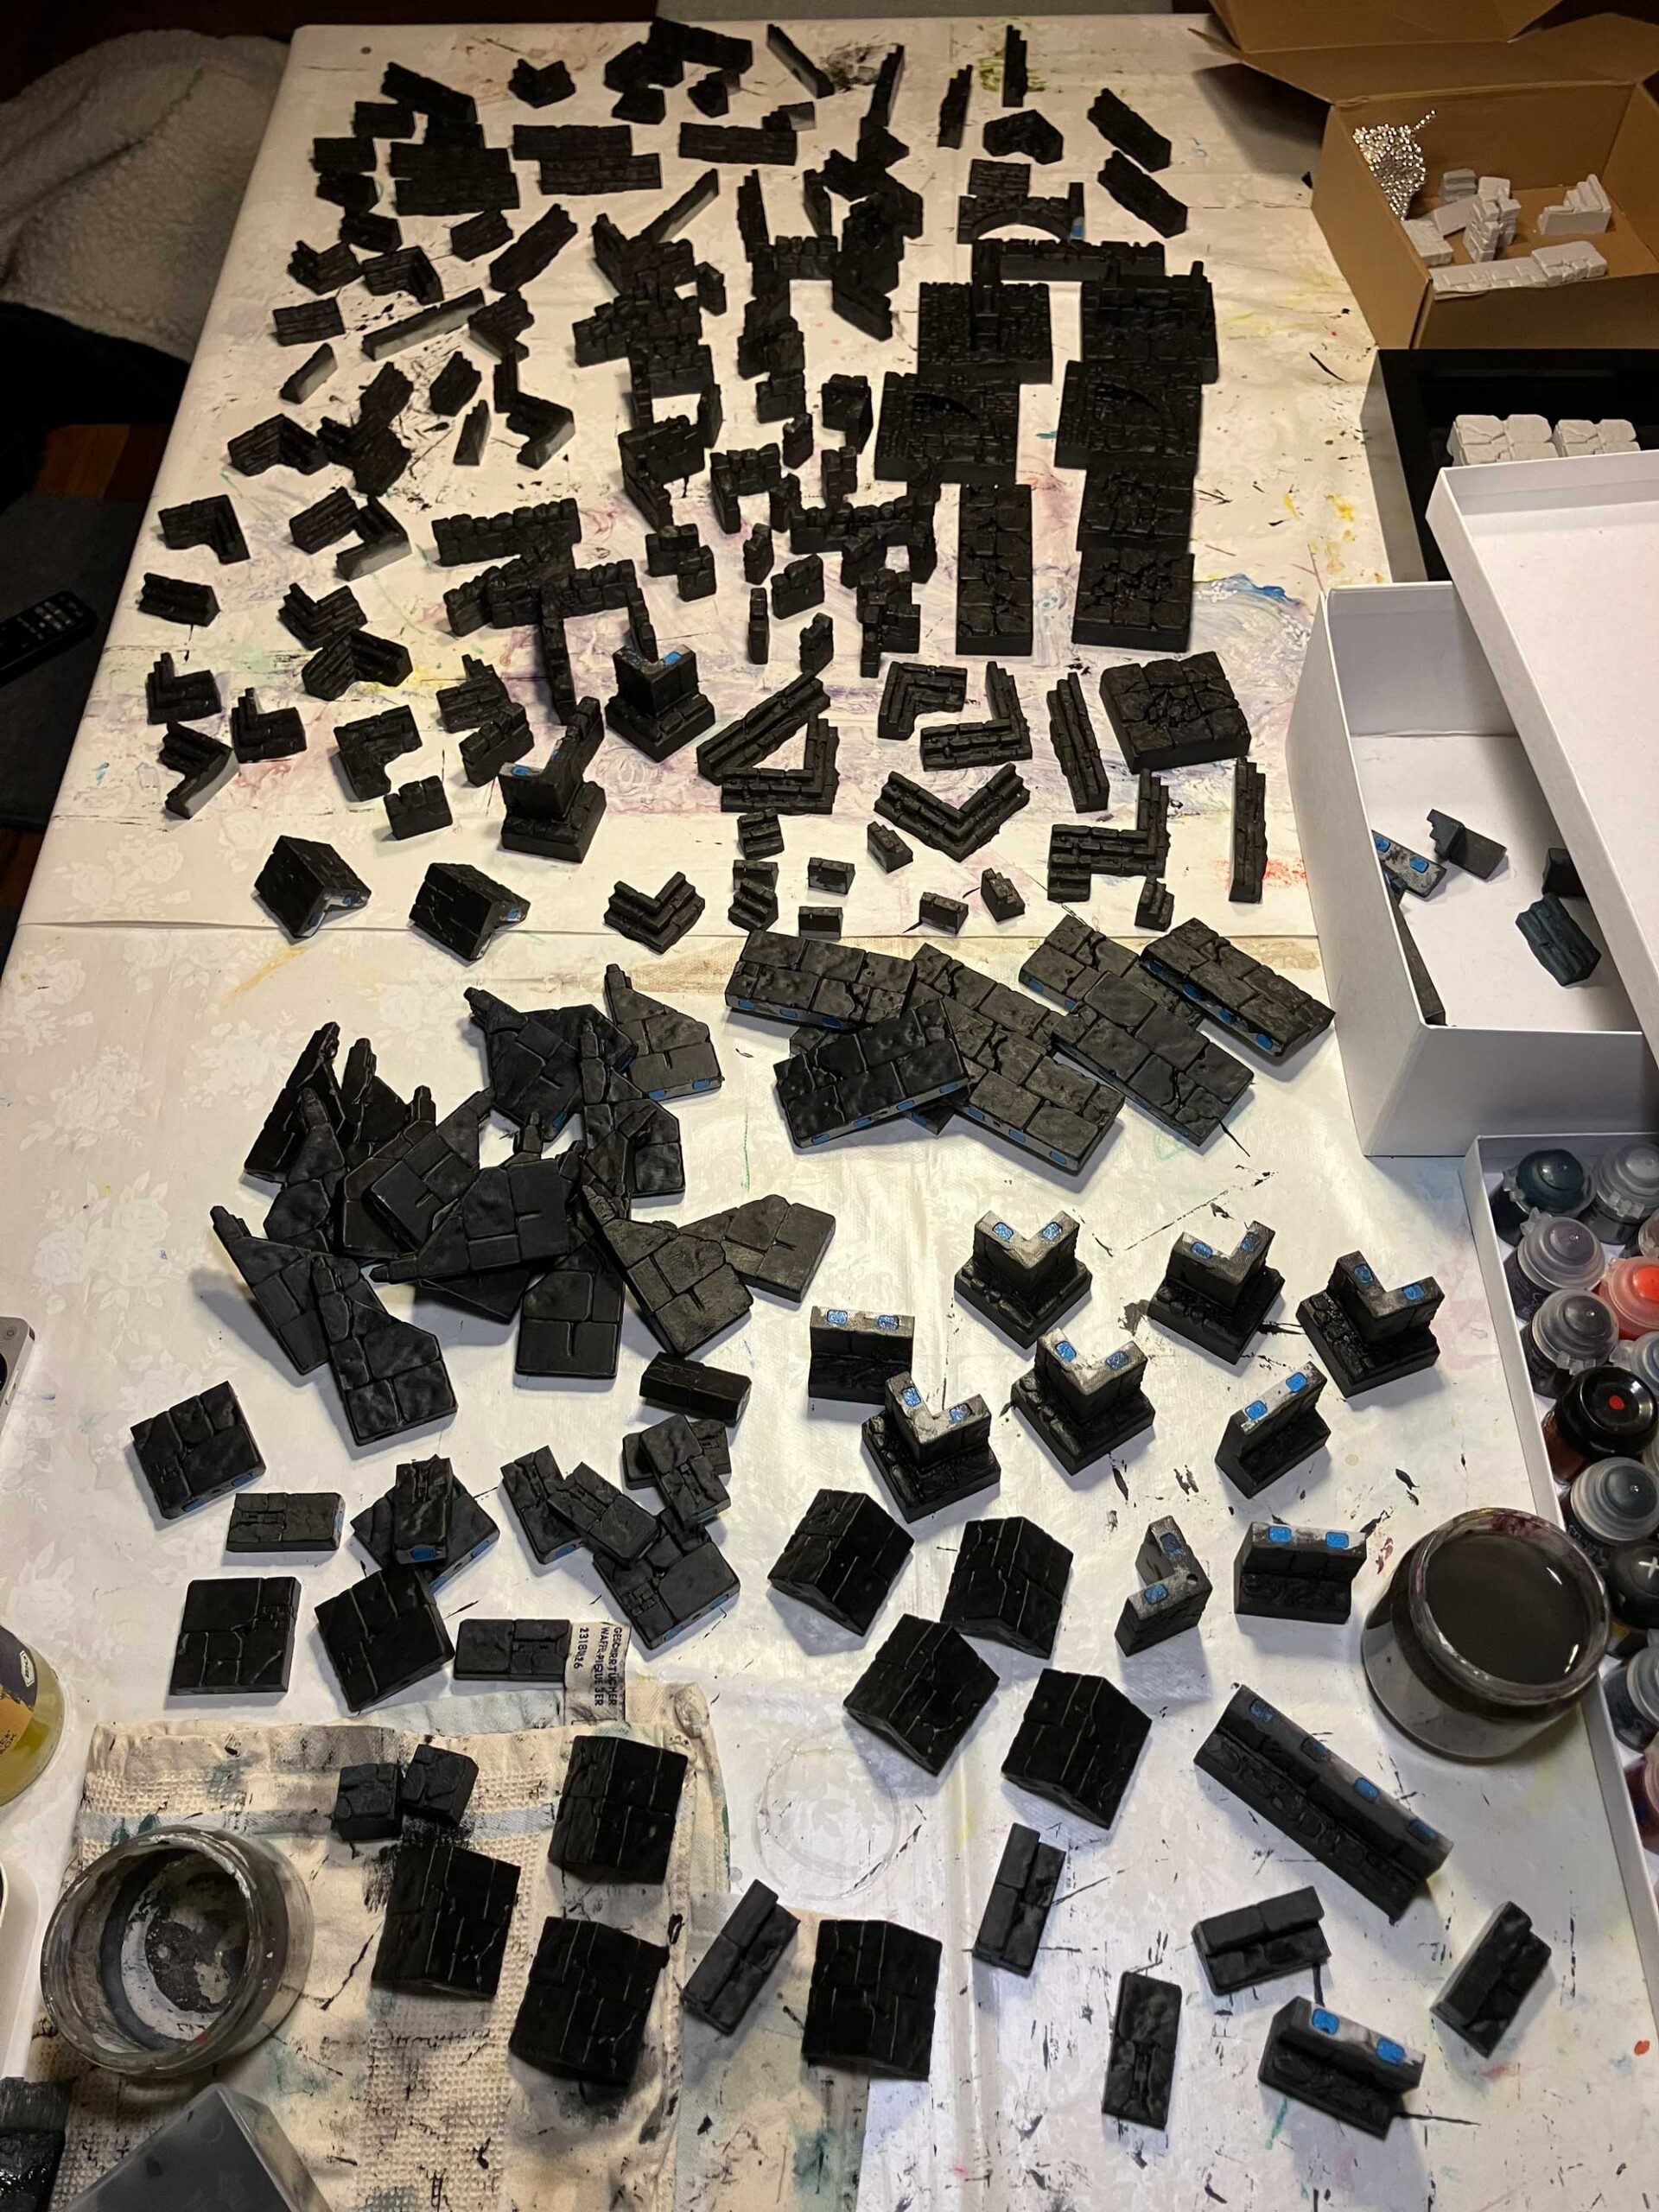
How bright you go is, as always, a matter of taste. The following gallery gives you an idea of how I approached it




Step 02: Repeating the Process

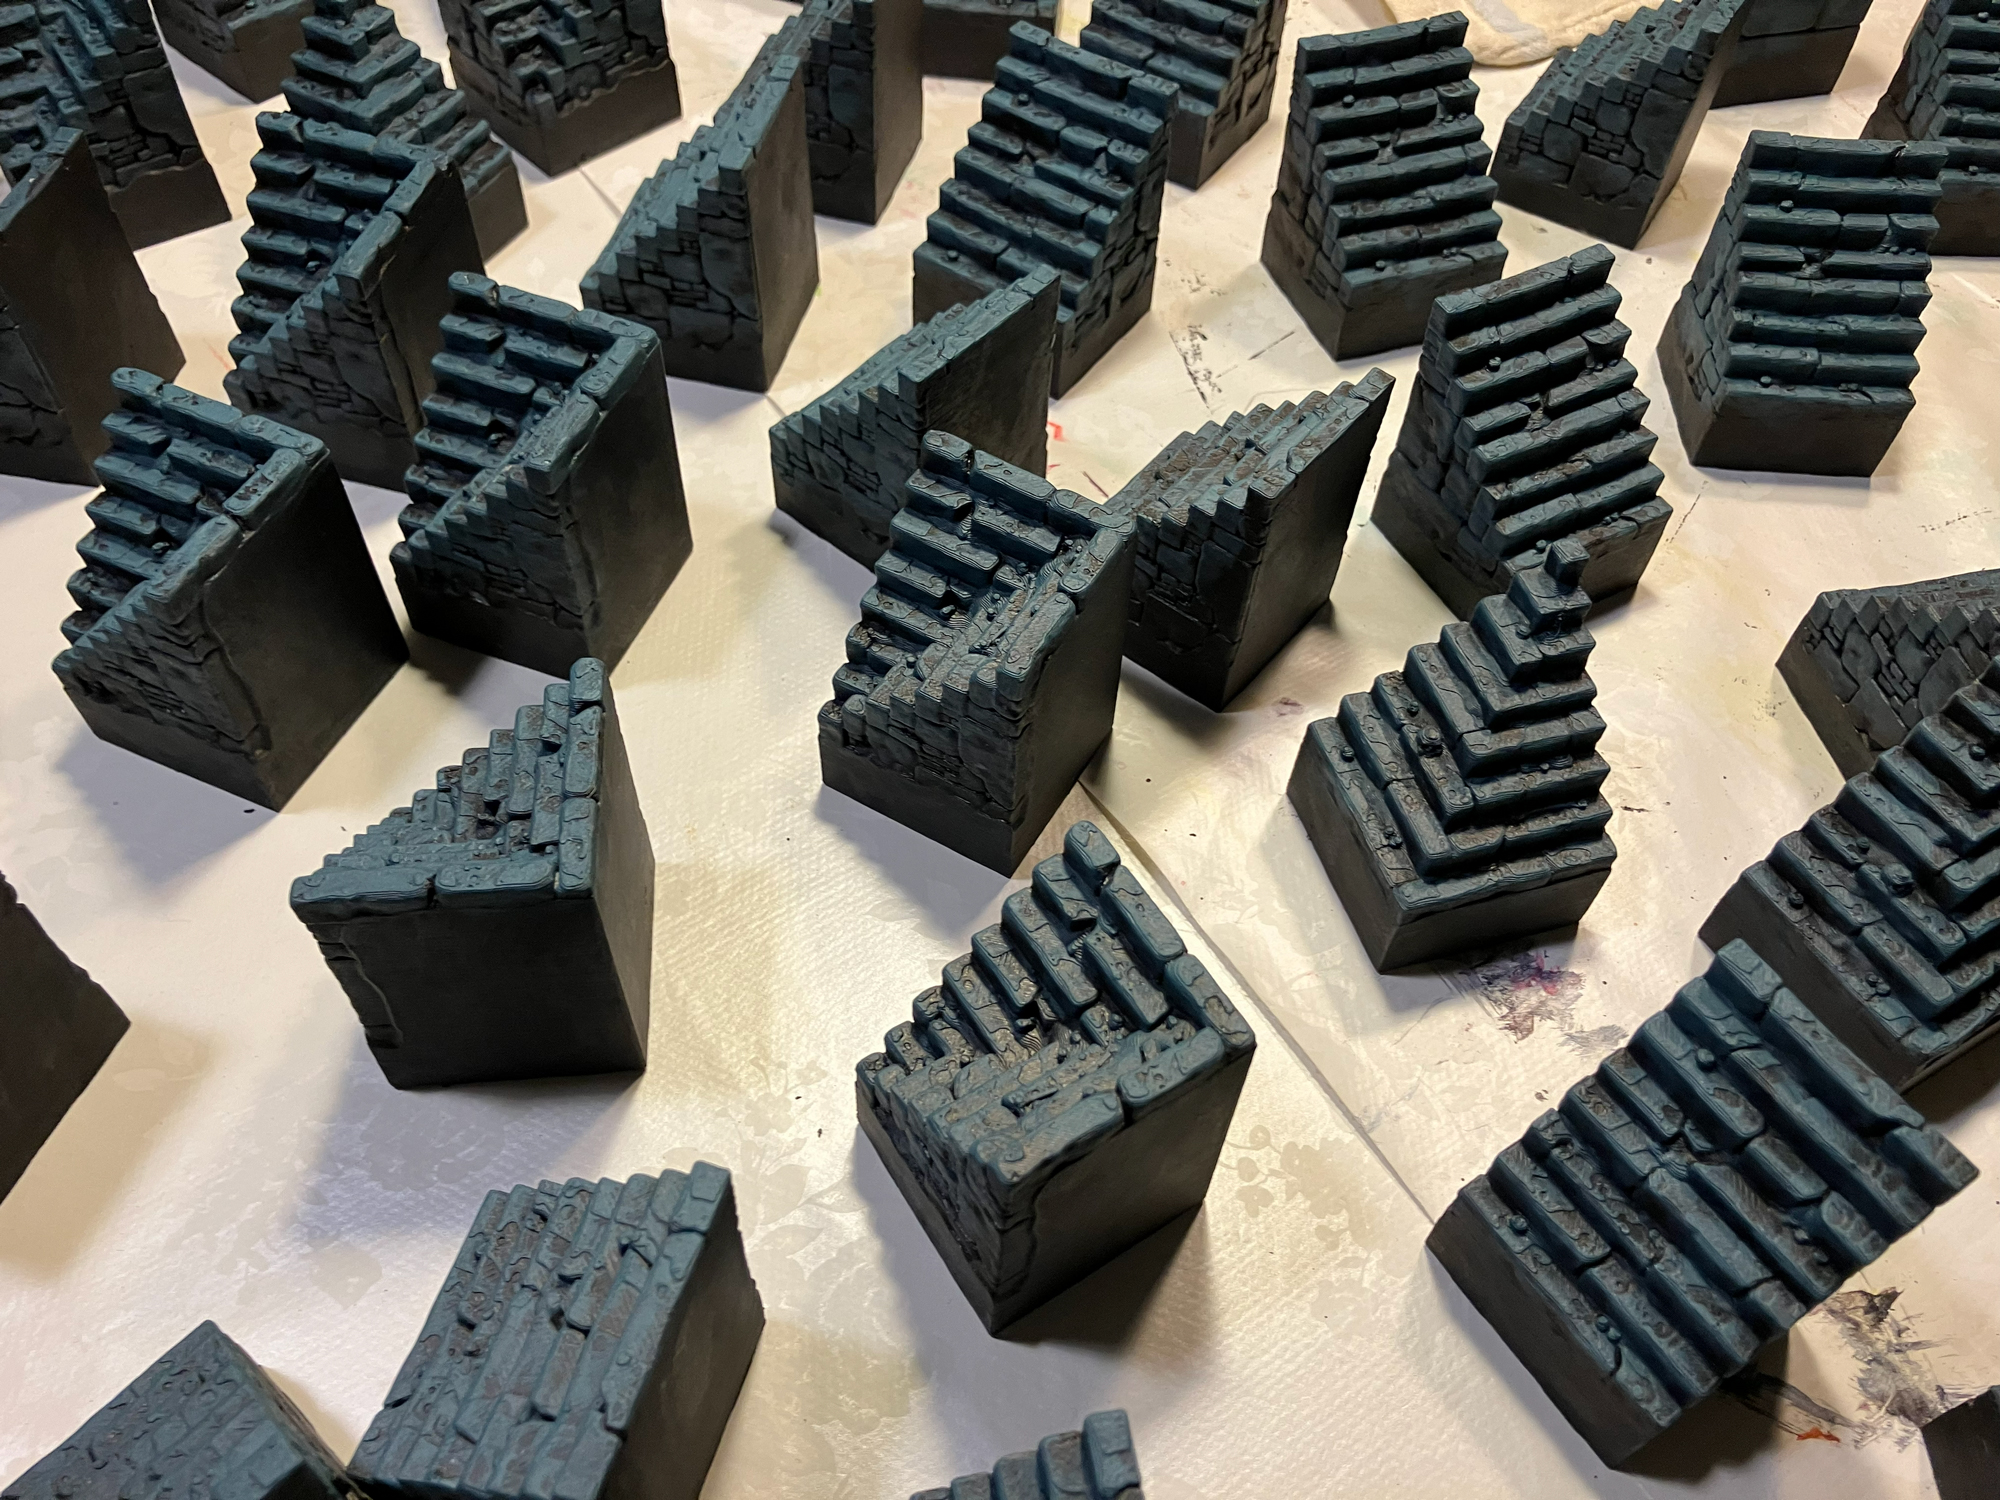
I repeated this process for tons of additional pieces – for example, all the lava tiles I have printed so far. Here are a few impressions of the madness I’ve unleashed in our living room.




Good News!
If you’re running out of energy to continue, you’re basically done here. With this simple paint job, you already get a very atmospheric result that looks great on your gaming table. In my case, most of my terrain now looks like this.
Since I experimented a lot with green and brown tones on my first floor pieces painted in this new scheme, the next step now continues (at least for the floor tiles)!
Step 03: Adding Earth and Dirt
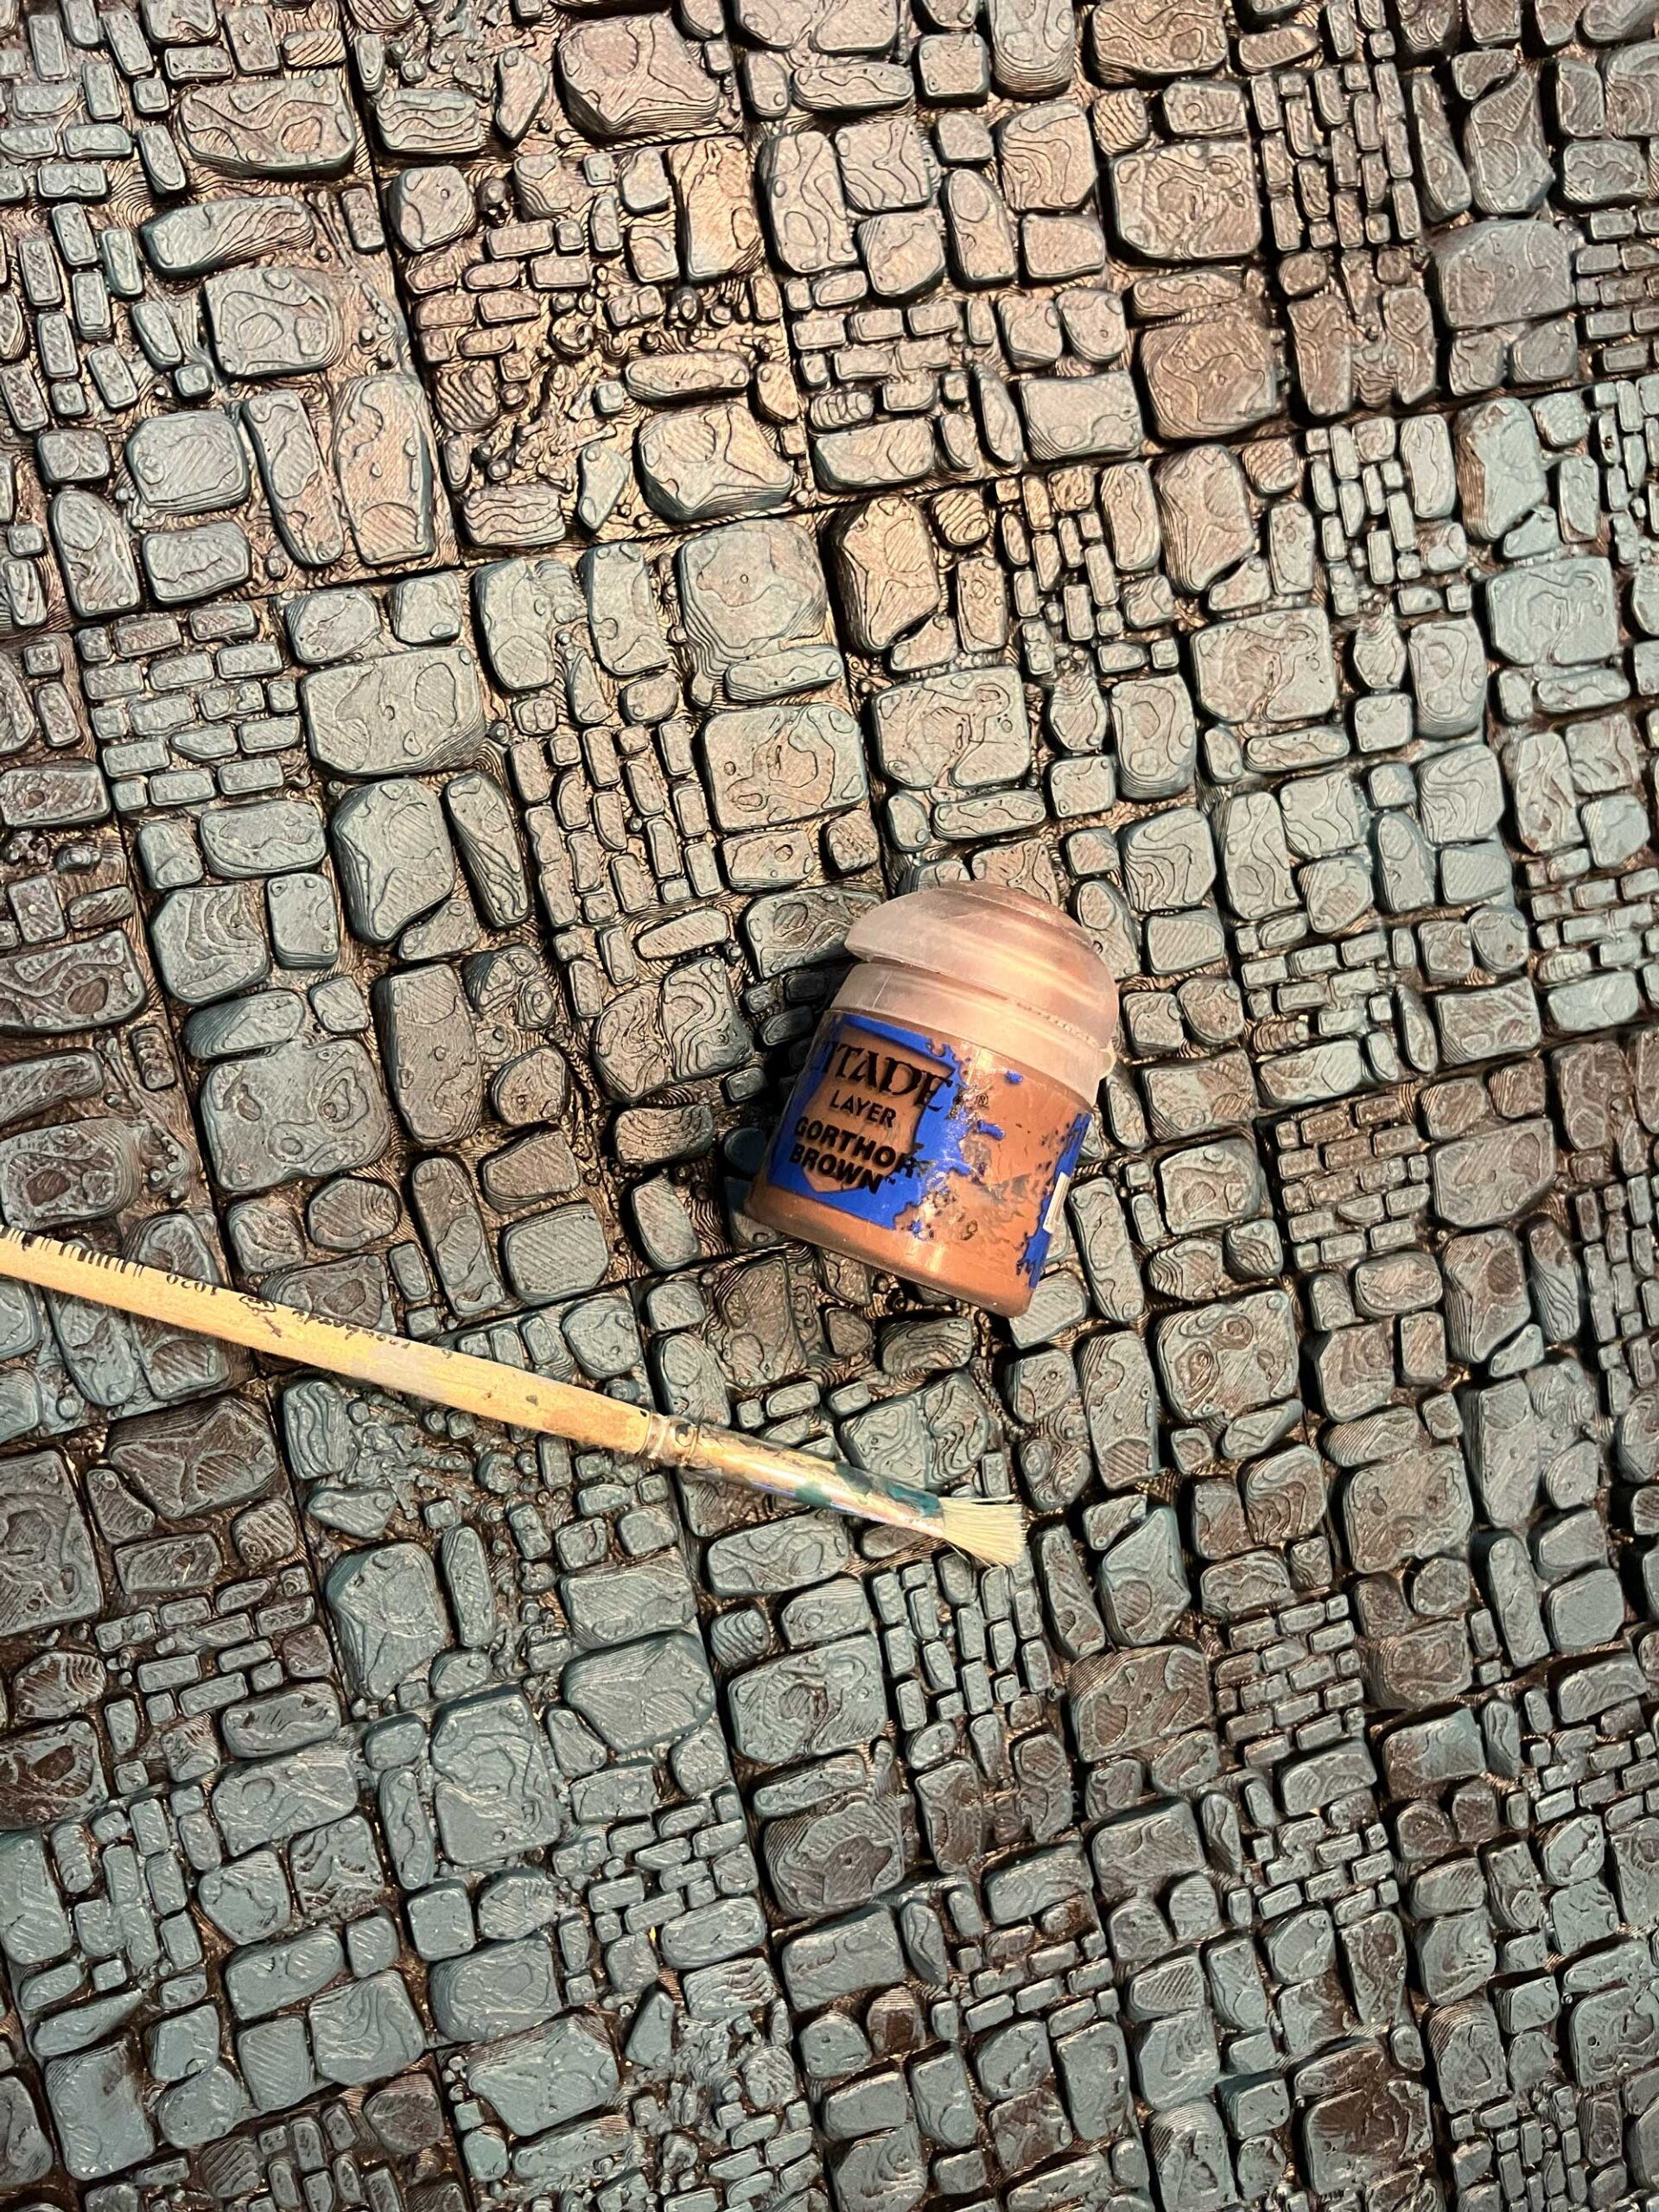
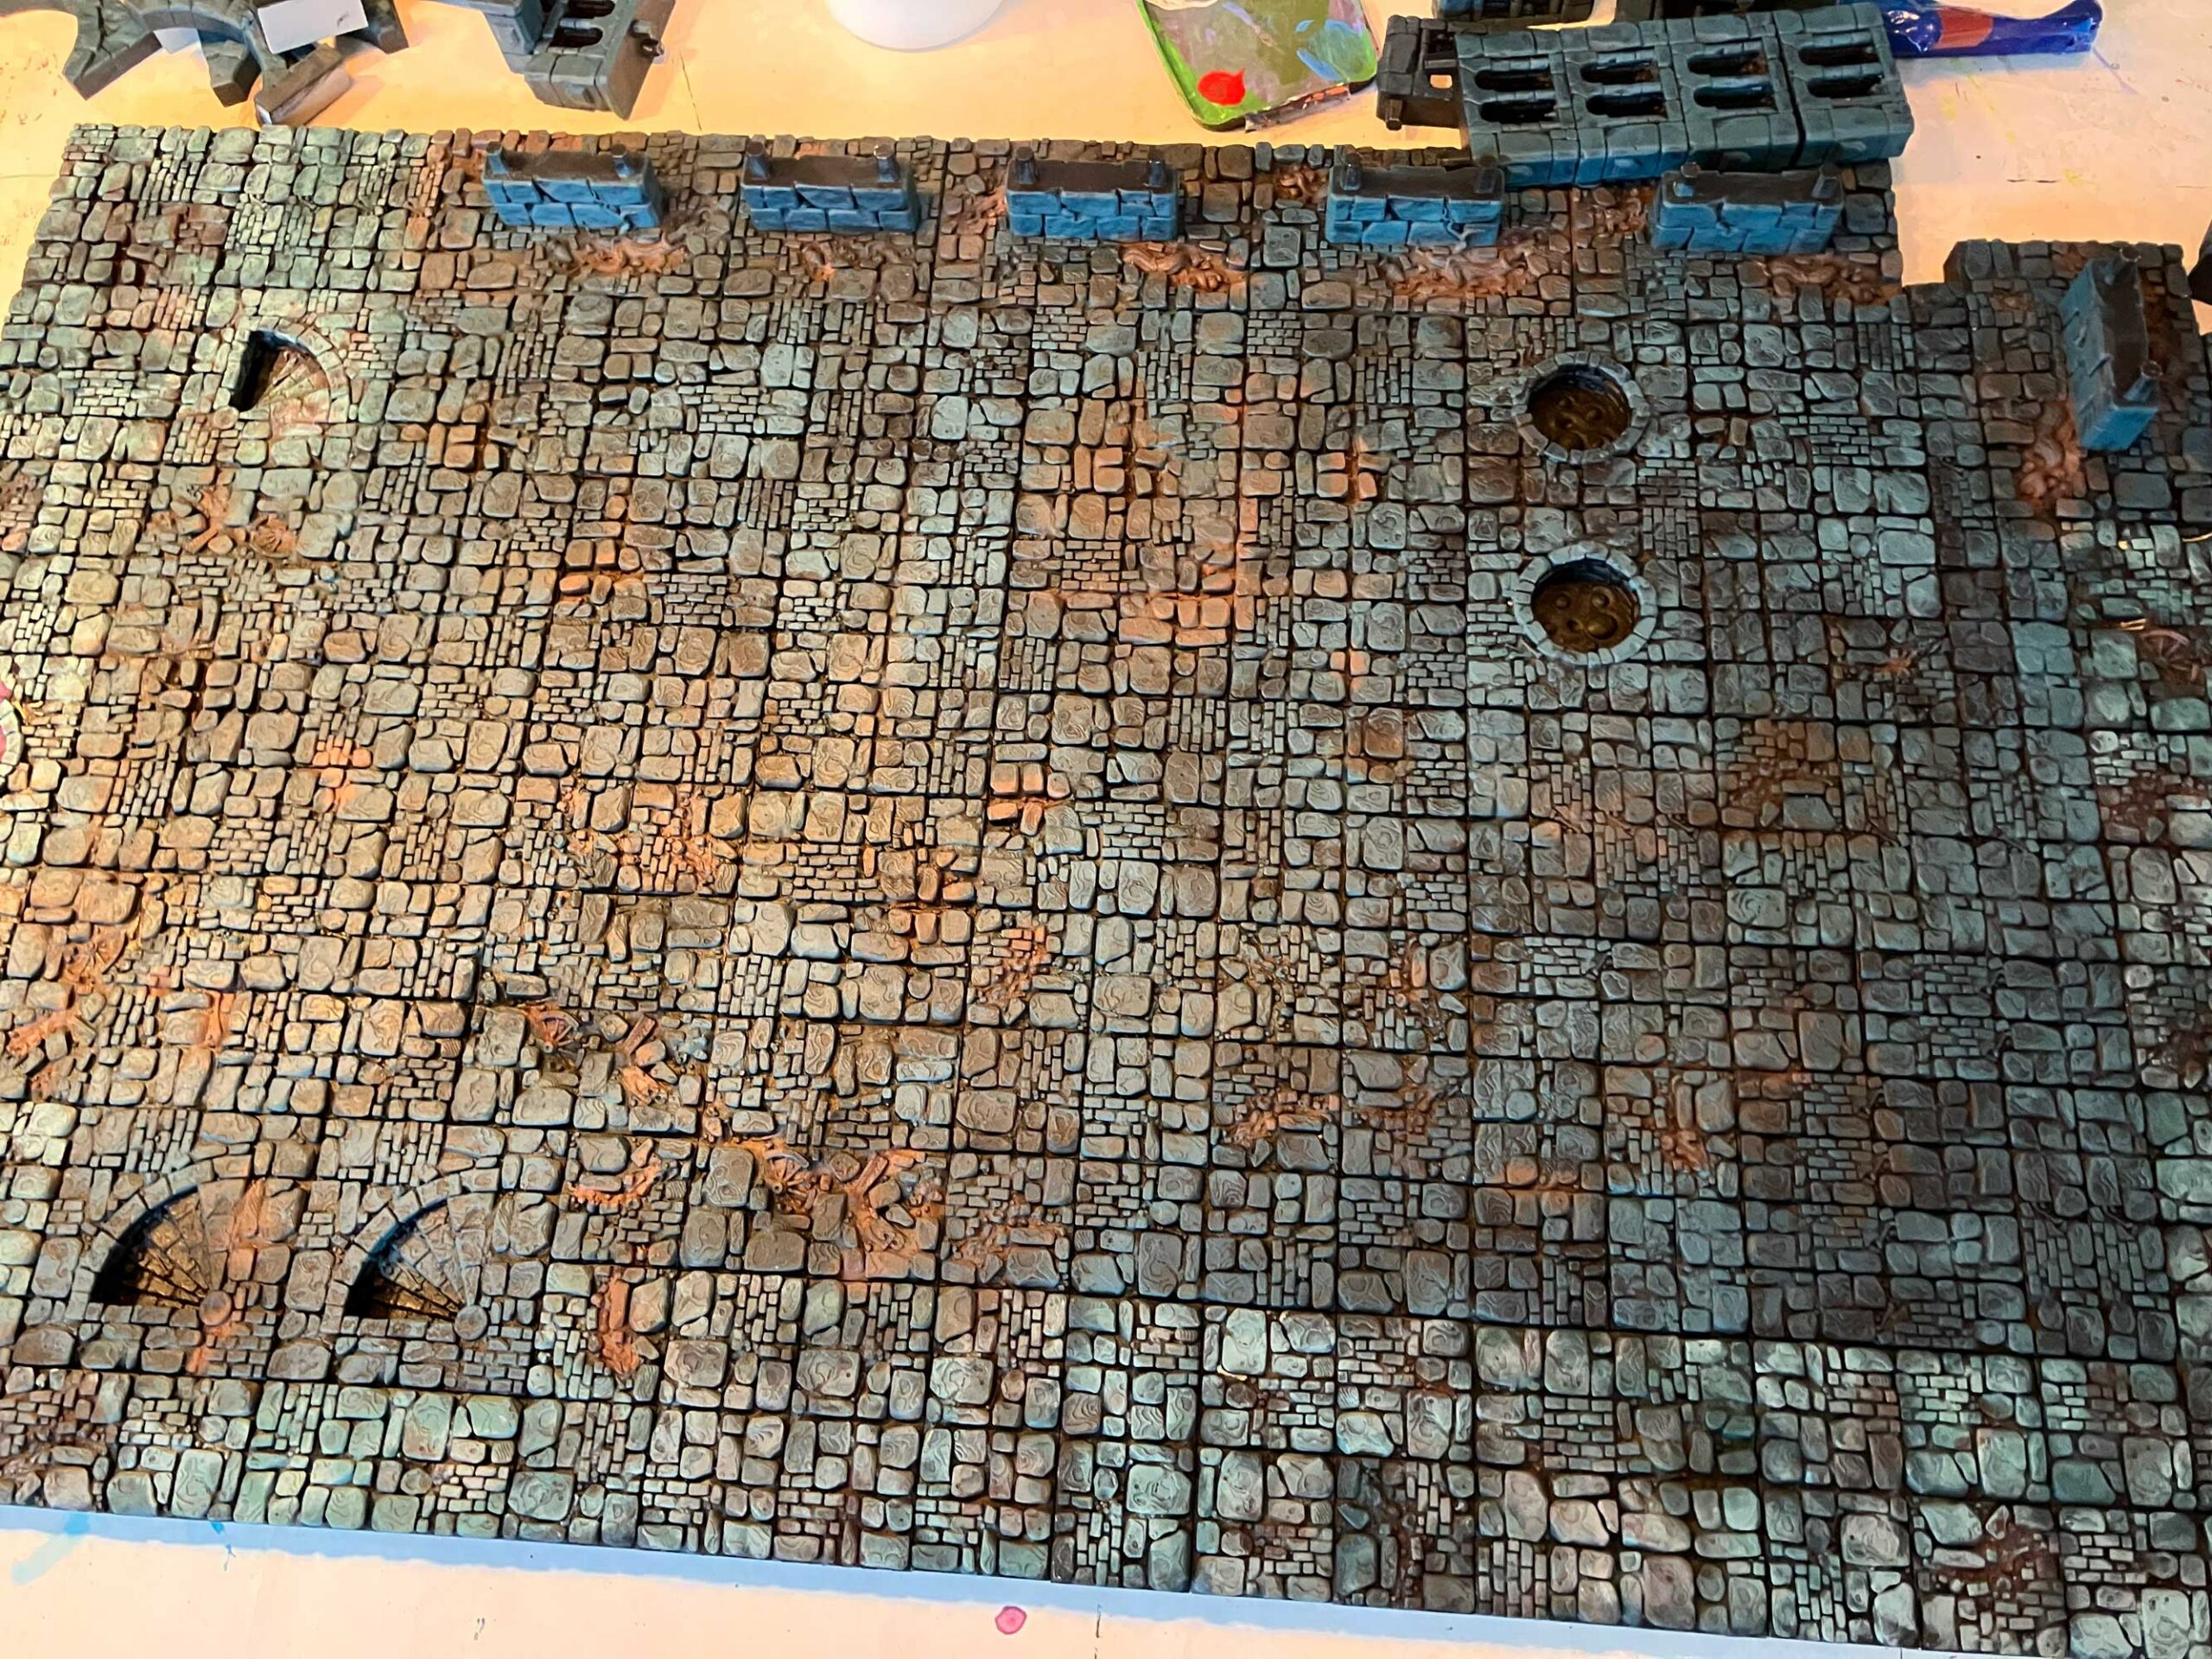
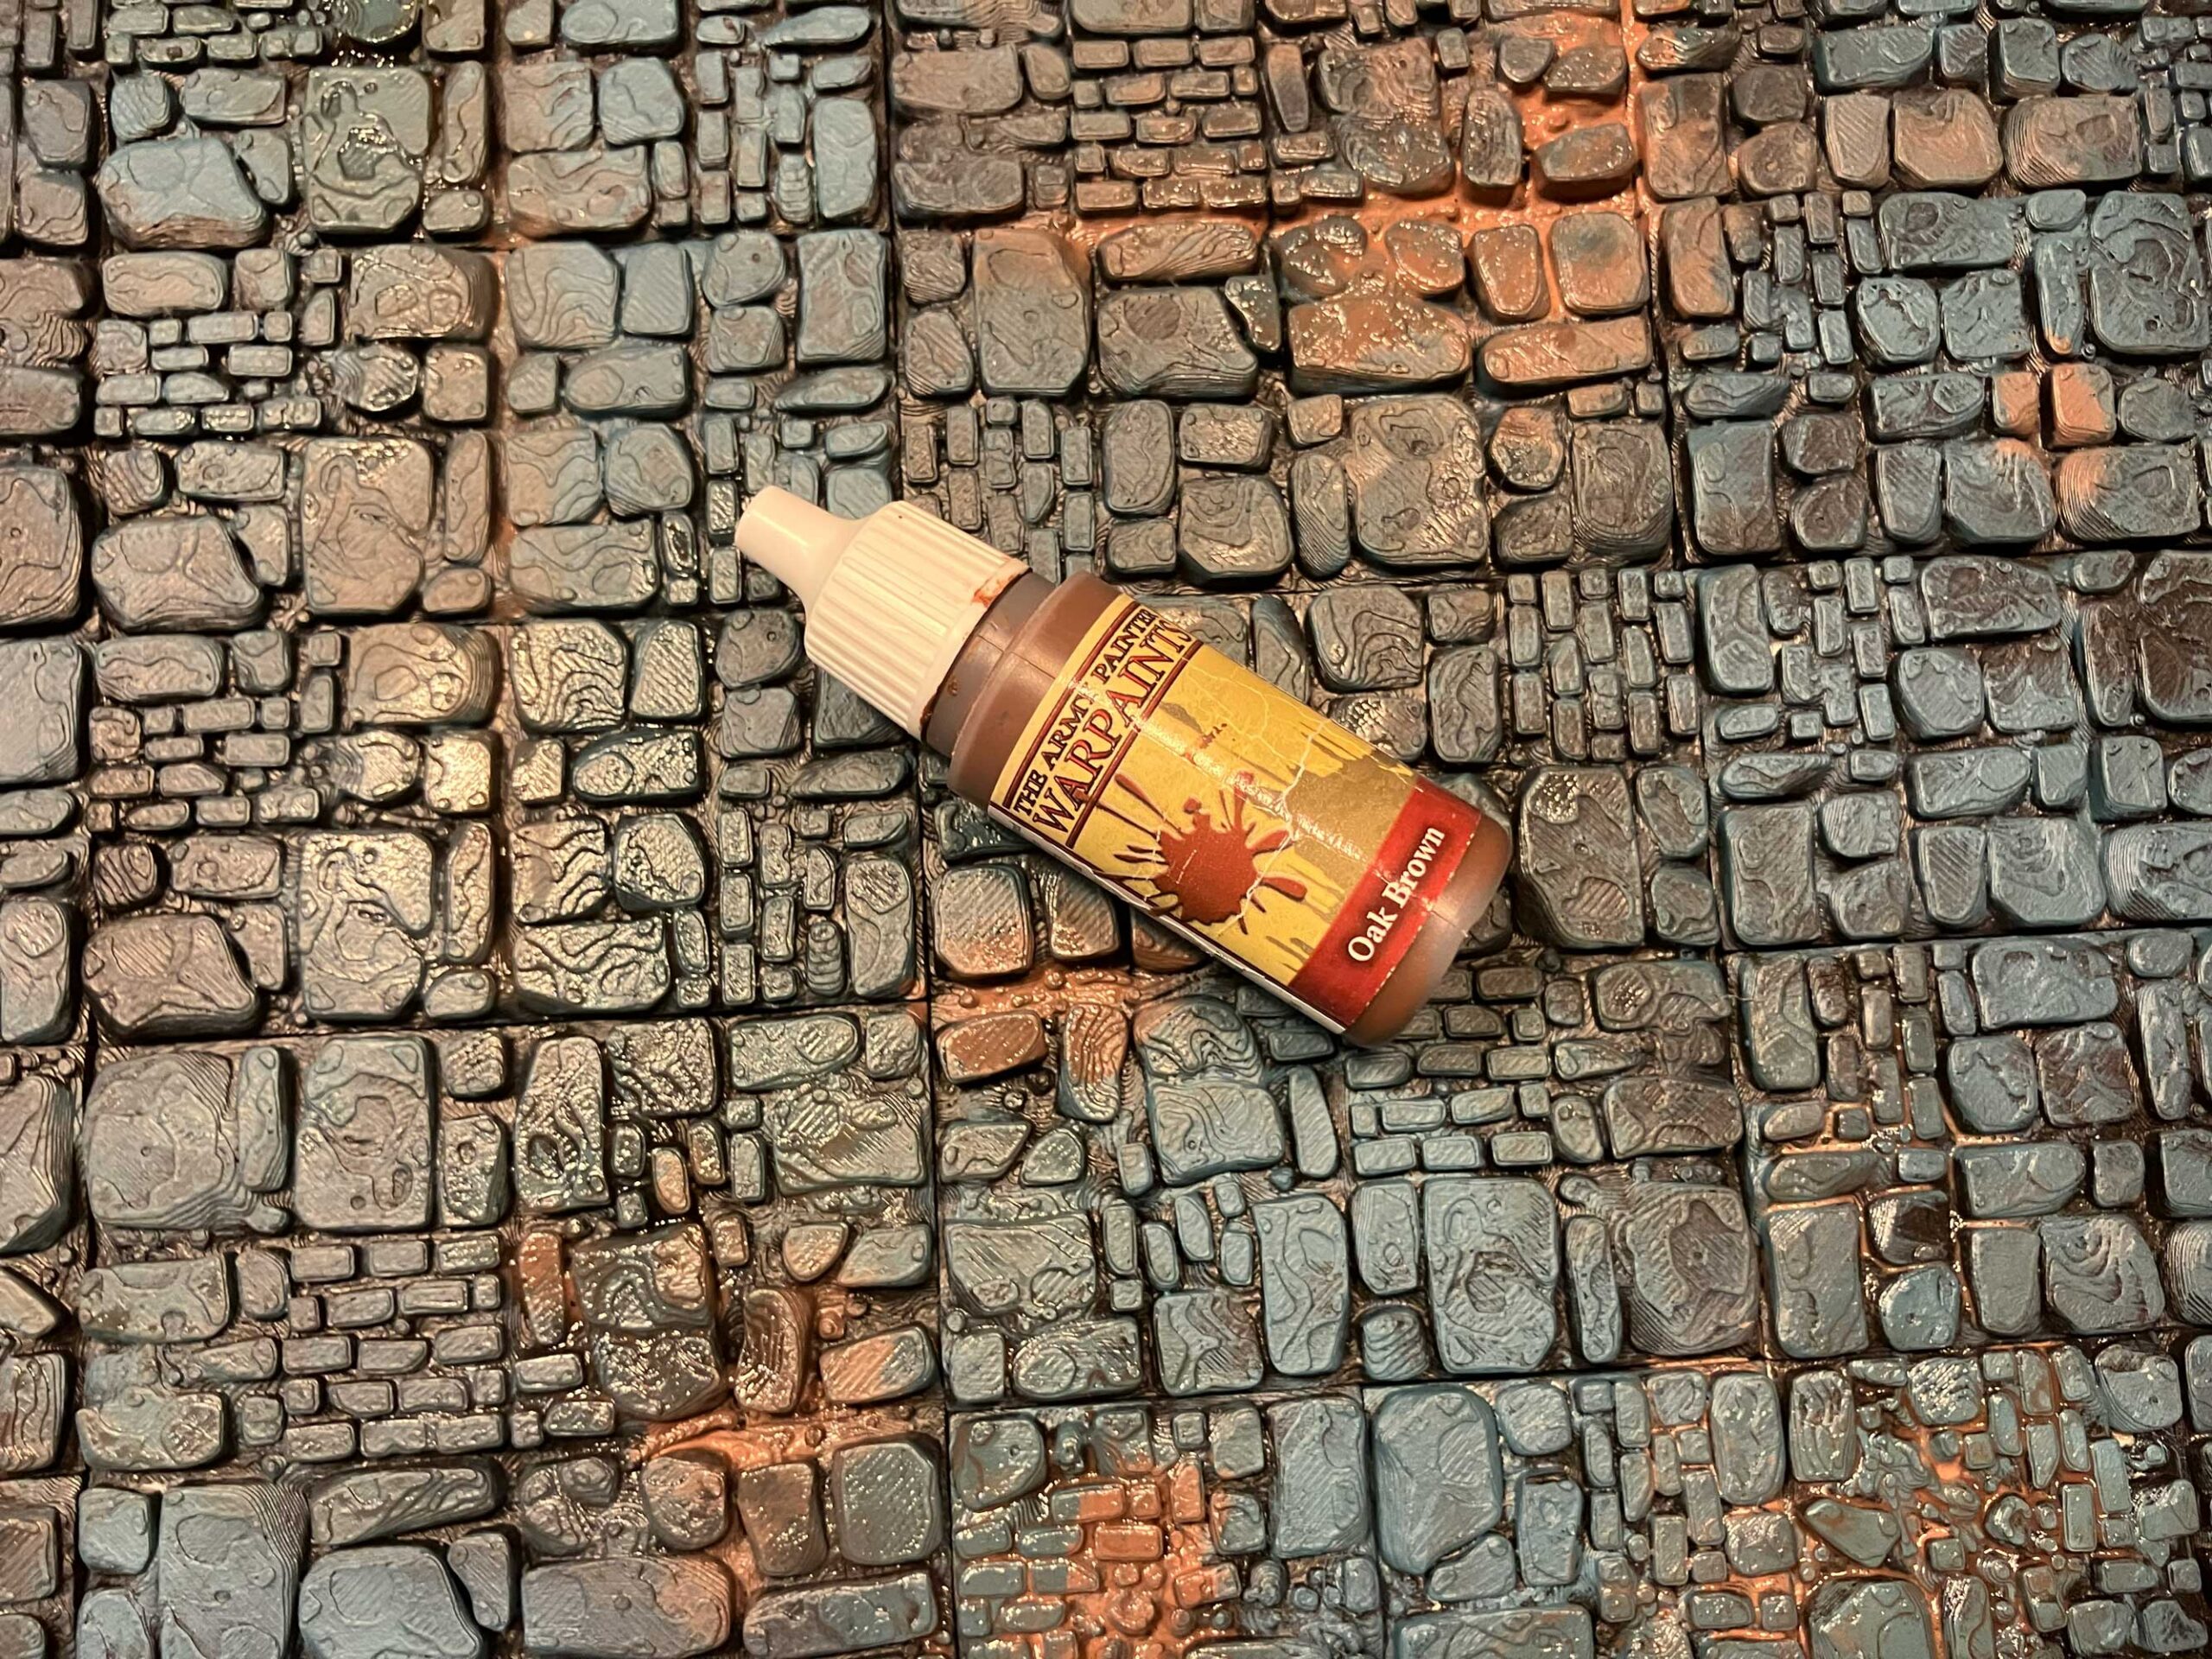
Next, I directly added some dirt and grime into the paint scheme, as I initially received feedback that my dungeon tiles looked a bit too clean. Since I also own a lot of Army Painter paints alongside the Citadel range, I used them as an addition to the Citadel colors, following the idea that “rules are meant to be broken.” As they are also very common and widely used, I think they make a good reference as well.
The following colors were used for the “dirt” layer:
- Gorthor Brown (Citadel)
- Agrax Earthshade (Citadel)
- Oak Brown (Armypainter Warpaints)






Step 04: Adding Highlights
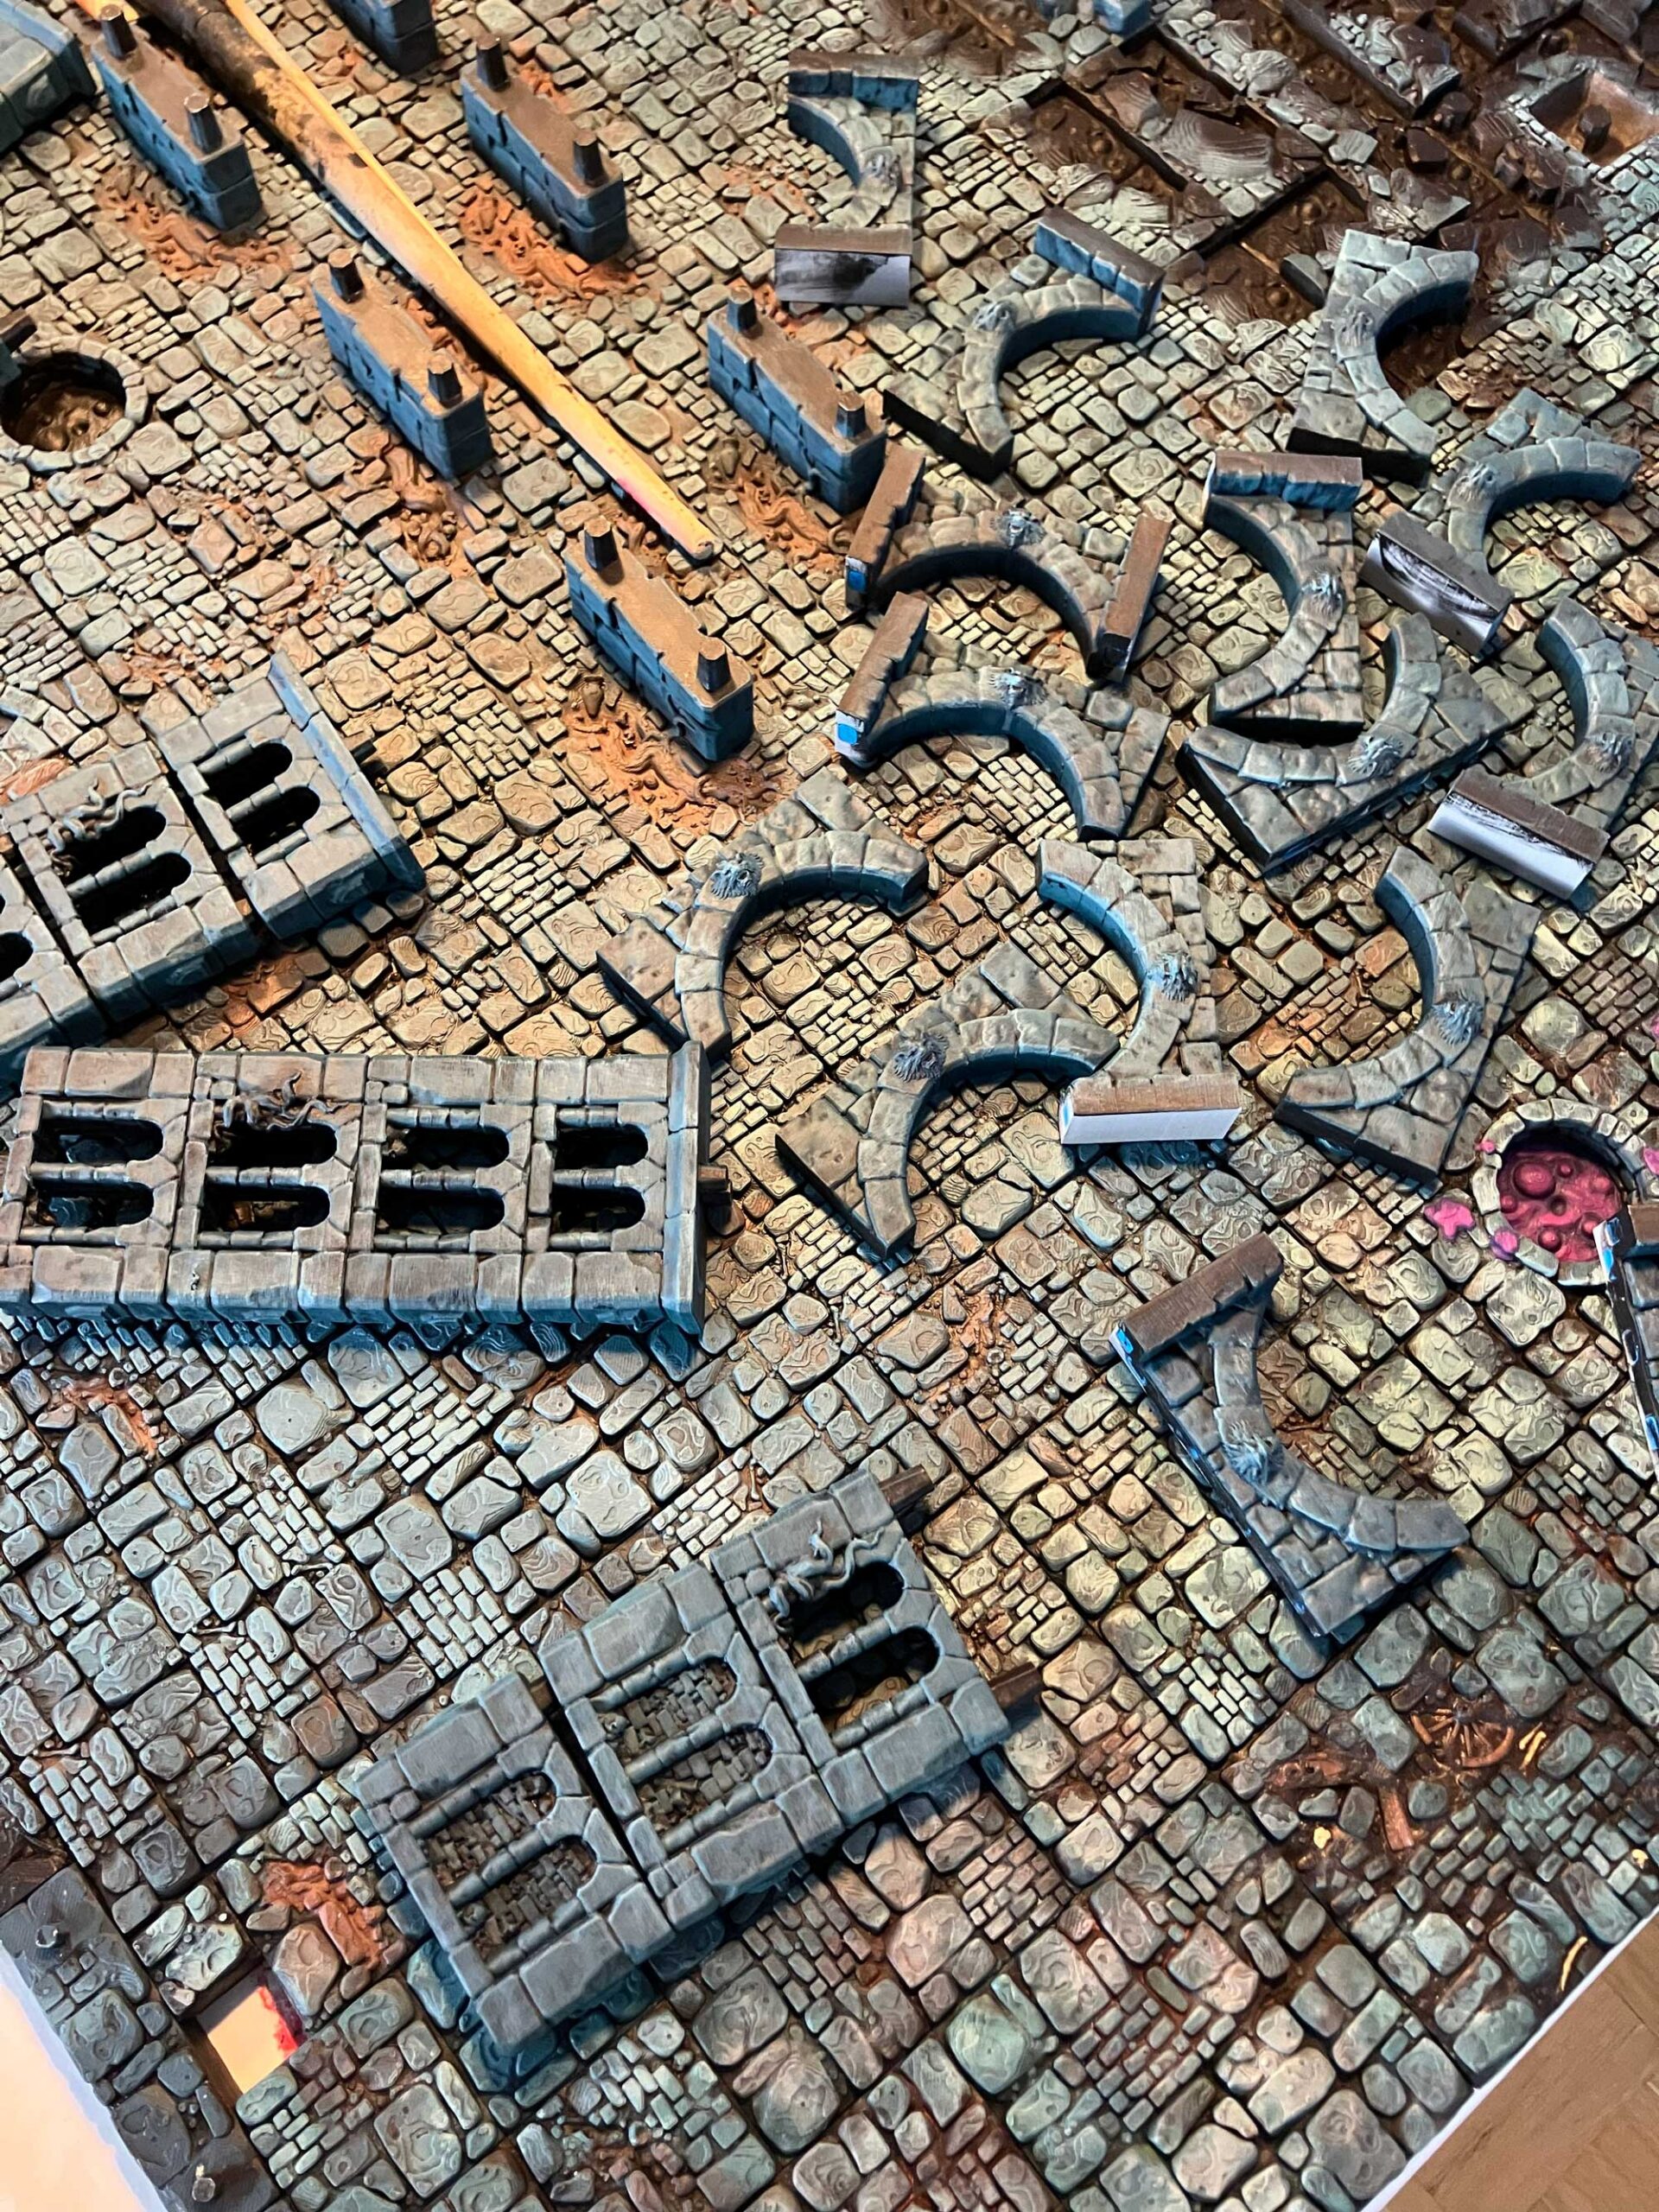
In principle, the final stage of the base color is a repeat of Step 1. However, this time I used a higher amount of Celestra Grey in the mix to create stronger and more visible lighting effects.
- Incubi Darkness
- Celestra Grey


Step 05: Adding Greenish Shadows

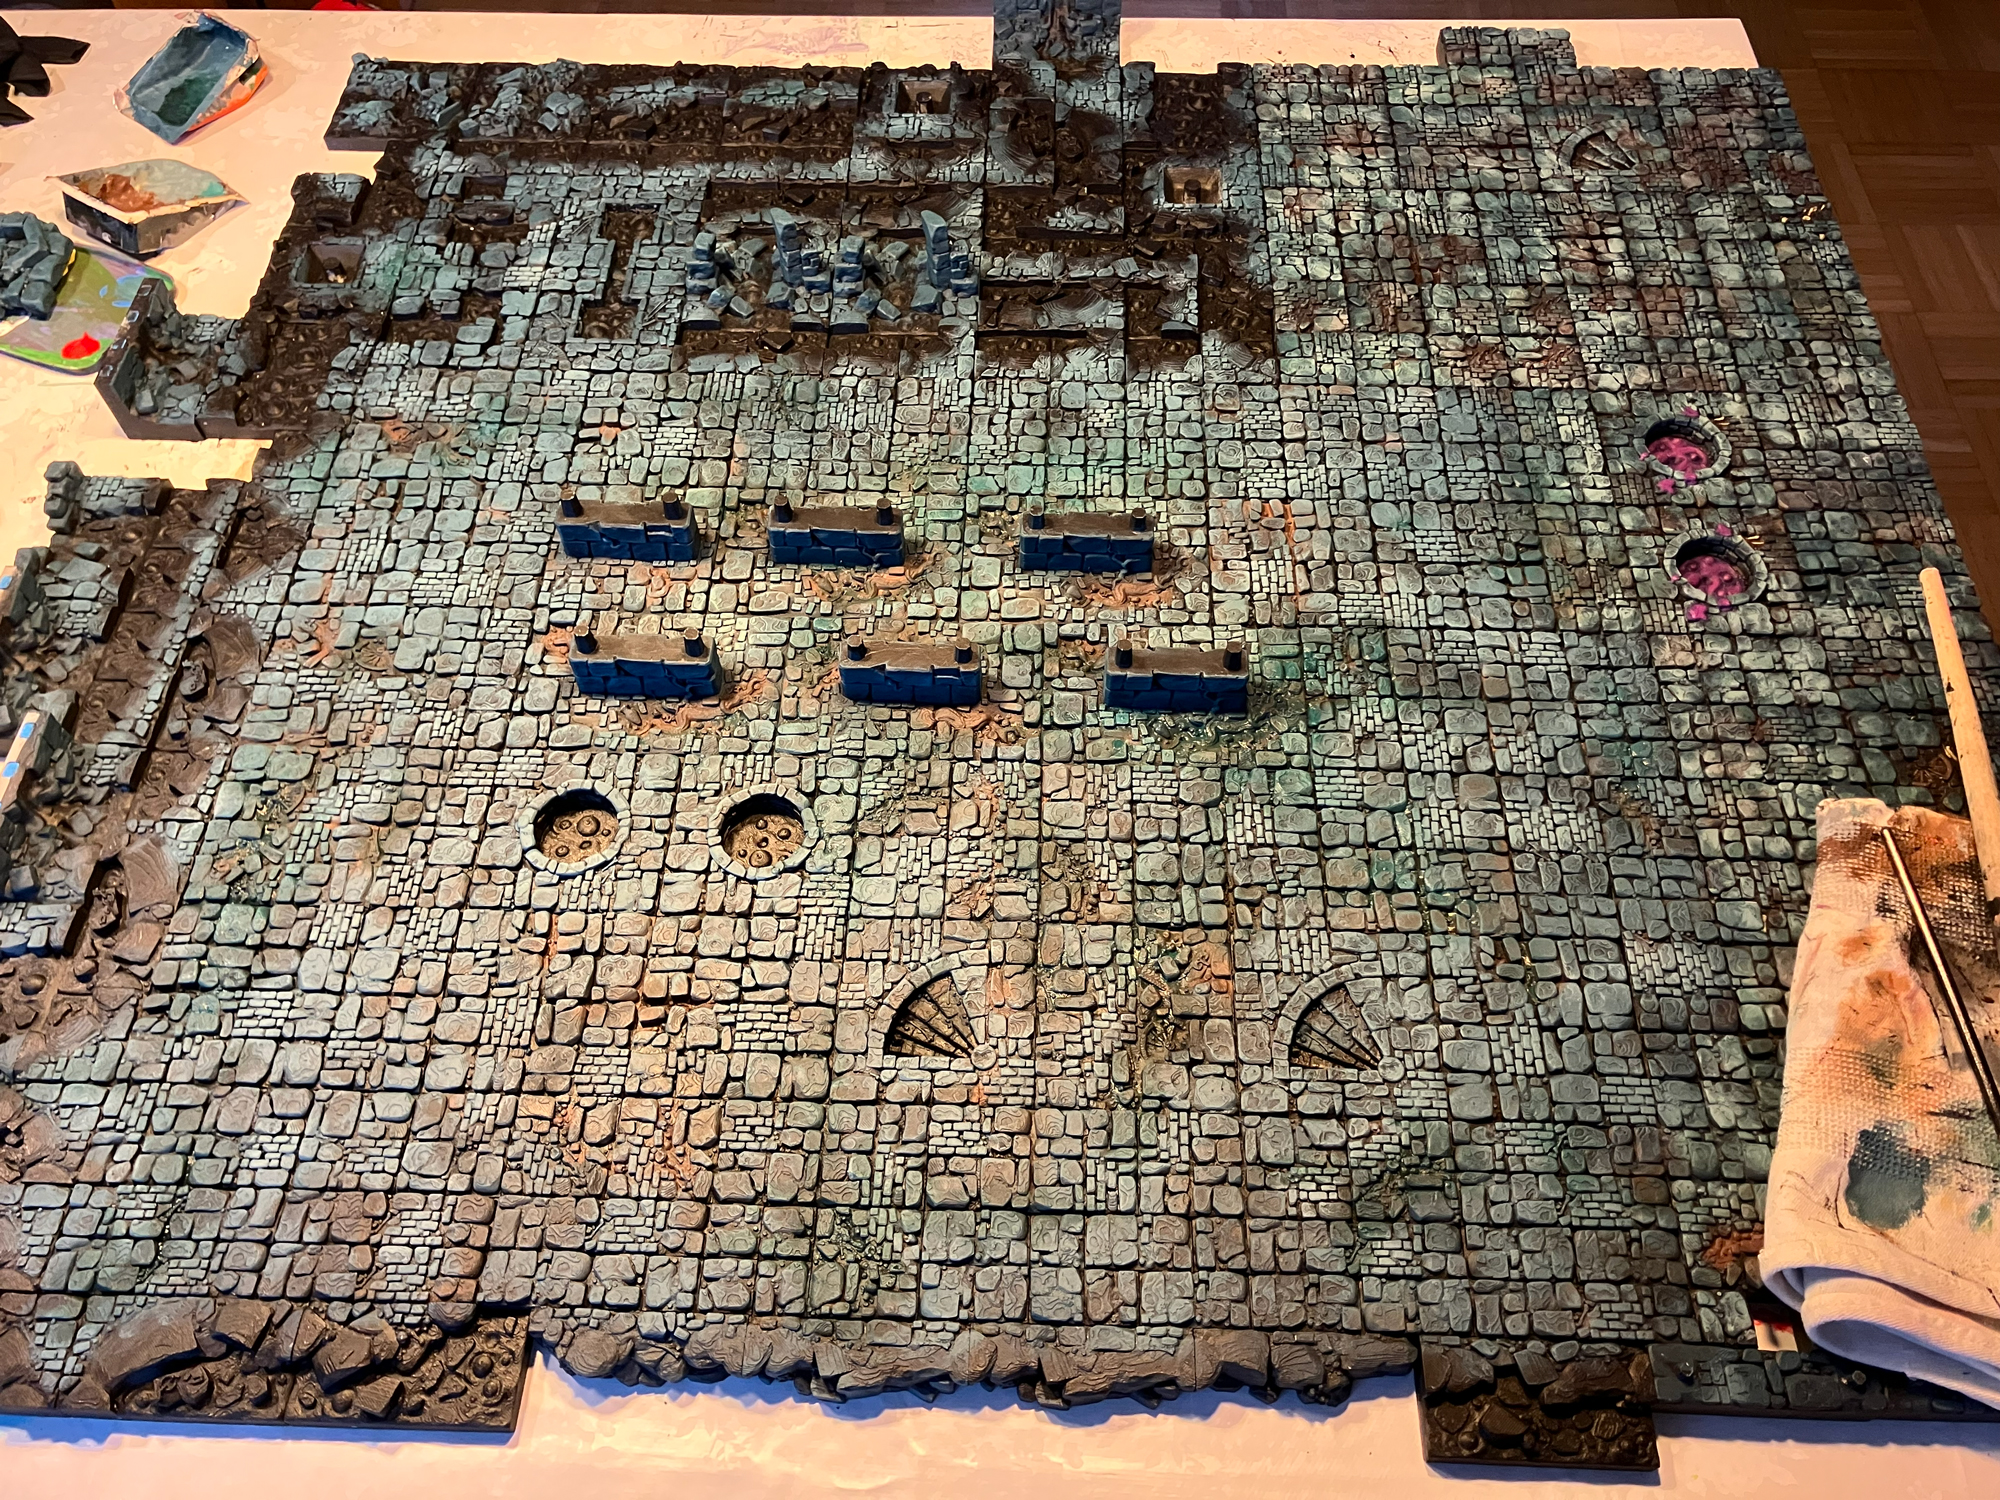
To make the overall look a bit more alive, I use Nocturne Green as a final step to add shadow effects that complement the color palette.
Note
So far, I’ve only done this step on the CotC floor tiles. I’m not yet sure if I will also apply it to the walls—I’ve spared myself the extra work for now 😉
- Nocturne Green




Step 06: Painting Details: Bones

For the bones, I first chose a slightly darker bone tone, which I can easily brighten later if needed.
- Morghast Bone


Step 07: Mystique Shadows
This final step (for now) is more of an idea than a finished technique.
I was thinking about adding a bluish, magical glow coming from the stair elements.
I believe this effect will need to be approached in a similar way to fire effects, and I’ll continue experimenting with it when I have the time.
- Macragge blue